Turn any variety of edible pine cone into a dark, delicious, highly aromatic syrup! This Pine Cone Syrup could not be easier to make, and the result is nothing short of magical.
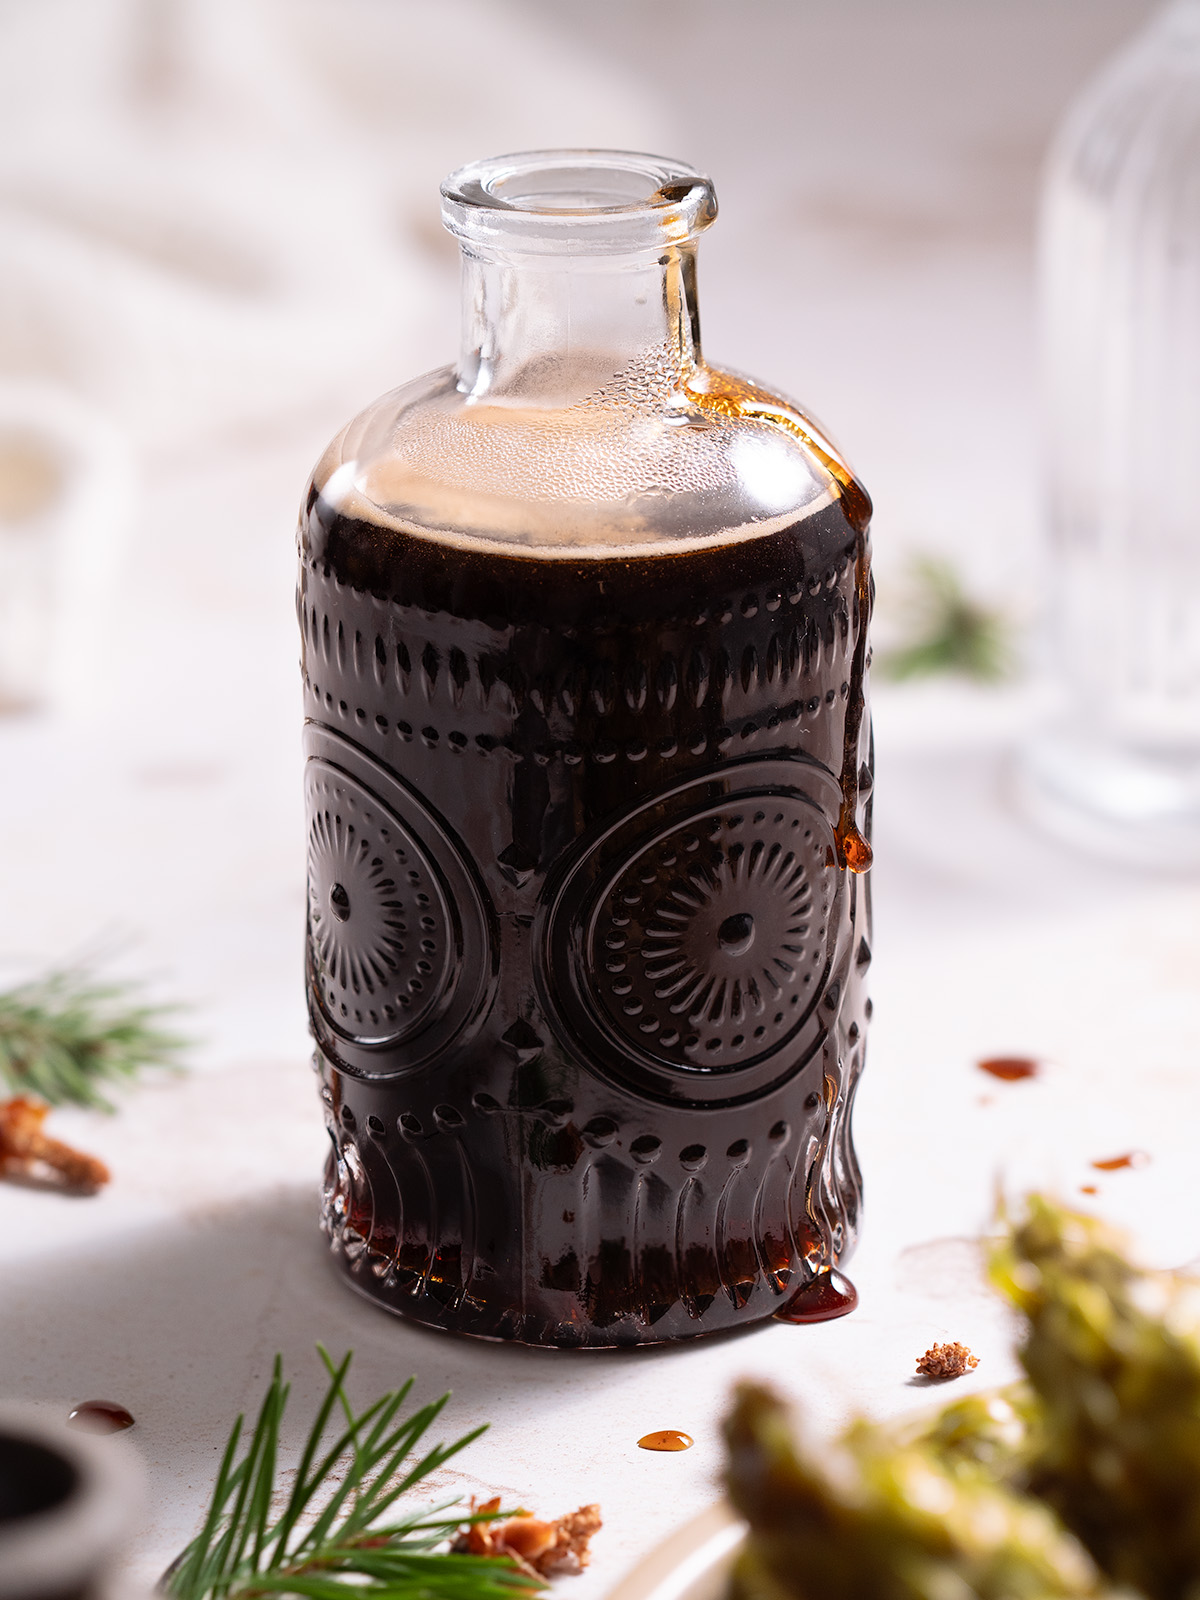
This may end up being one of the weirdest recipes on my site (which is saying a lot for me), but I’m telling you, it’s a keeper. If nothing else, it’s a fun experiment, but you’ve got nothing to lose here. It’s impossibly easy to make, super unique and surprising, and ridiculously tasty.
So here’s the deal… If you simply layer unripe pine cones with sugar for a few weeks, you’ll end up with a magically delicious syrup. The water and sap from the cones mingles with the sugar, giving up all that delicious conifer flavor and turning into something akin to maple syrup or molasses, but with way more depth of flavor.
You can use any edible conifer tree cone for this. The syrup will take on the unique flavor notes of whatever tree you’ve chosen. (If you’ve ever made anything with spruce tips, fir tips, or pine needles, you’ll be familiar with how different each can taste.)
I use Douglas fir because it’s so abundant here in western Oregon. It brings flavor notes of grapefruit, pine, and resin to a deep caramel backdrop.
Use pine cone syrup anywhere you would use molasses or maple syrup, like in glazes, cookies, cozy fall bakes, and even savory applications.
Below, I’ll cover important safety tips, teach you how to make this wild concoction, and give you tons of ideas for how to use this special syrup.
🌲 If you like this recipe, you might also be interested in my recipes for Douglas Fir Cookies, Nocino (a green walnut liqueur), and Pine Needle Old Fashioned.
Recipe highlights
- Highly aromatic, unique flavor from unripe pine cones
- Easy recipe with just 2 ingredients: pine cones & sugar!
- Brings big flavor to bakes, desserts, and savory dishes
- Long shelf life: keeps in the fridge for several months
Recipe overview
⏱️ Prep: 5 mins • Infuse: 1 month
🍴 Yield: ~2 cups syrup
💪 Skill level: Beginner
😋 Flavor profile: Depends on the type of cone you use, but may have flavor notes of citrus, molasses, maple, pine, caramel, brown sugar. Pairs well with: Cocktails, lattes, pancakes, French toast, berries, cream, cozy fall bakes, spices, roast meats.
What type of pine cones to use
You can make pine cone syrup with the cones from any edible conifer tree. That includes pine, spruce, fir, and Douglas fir like I’m using here (which isn’t actually a true fir at all). The flavor of your final syrup will vary depending on what species you use.
But to be clear, we’re talking about green, unripe cones that haven’t opened yet. These are late spring to early summer cones, which are usually covered in sticky sap.
Things to look for:
- Time of year to harvest: late spring to early summer
- Appearance: green (or black in the case of black pine), small, unopened, sappy
- Texture: solid, relatively soft, sticky
- Tree varieties: spruce, pine, fir, piñon, Douglas fir, redwood
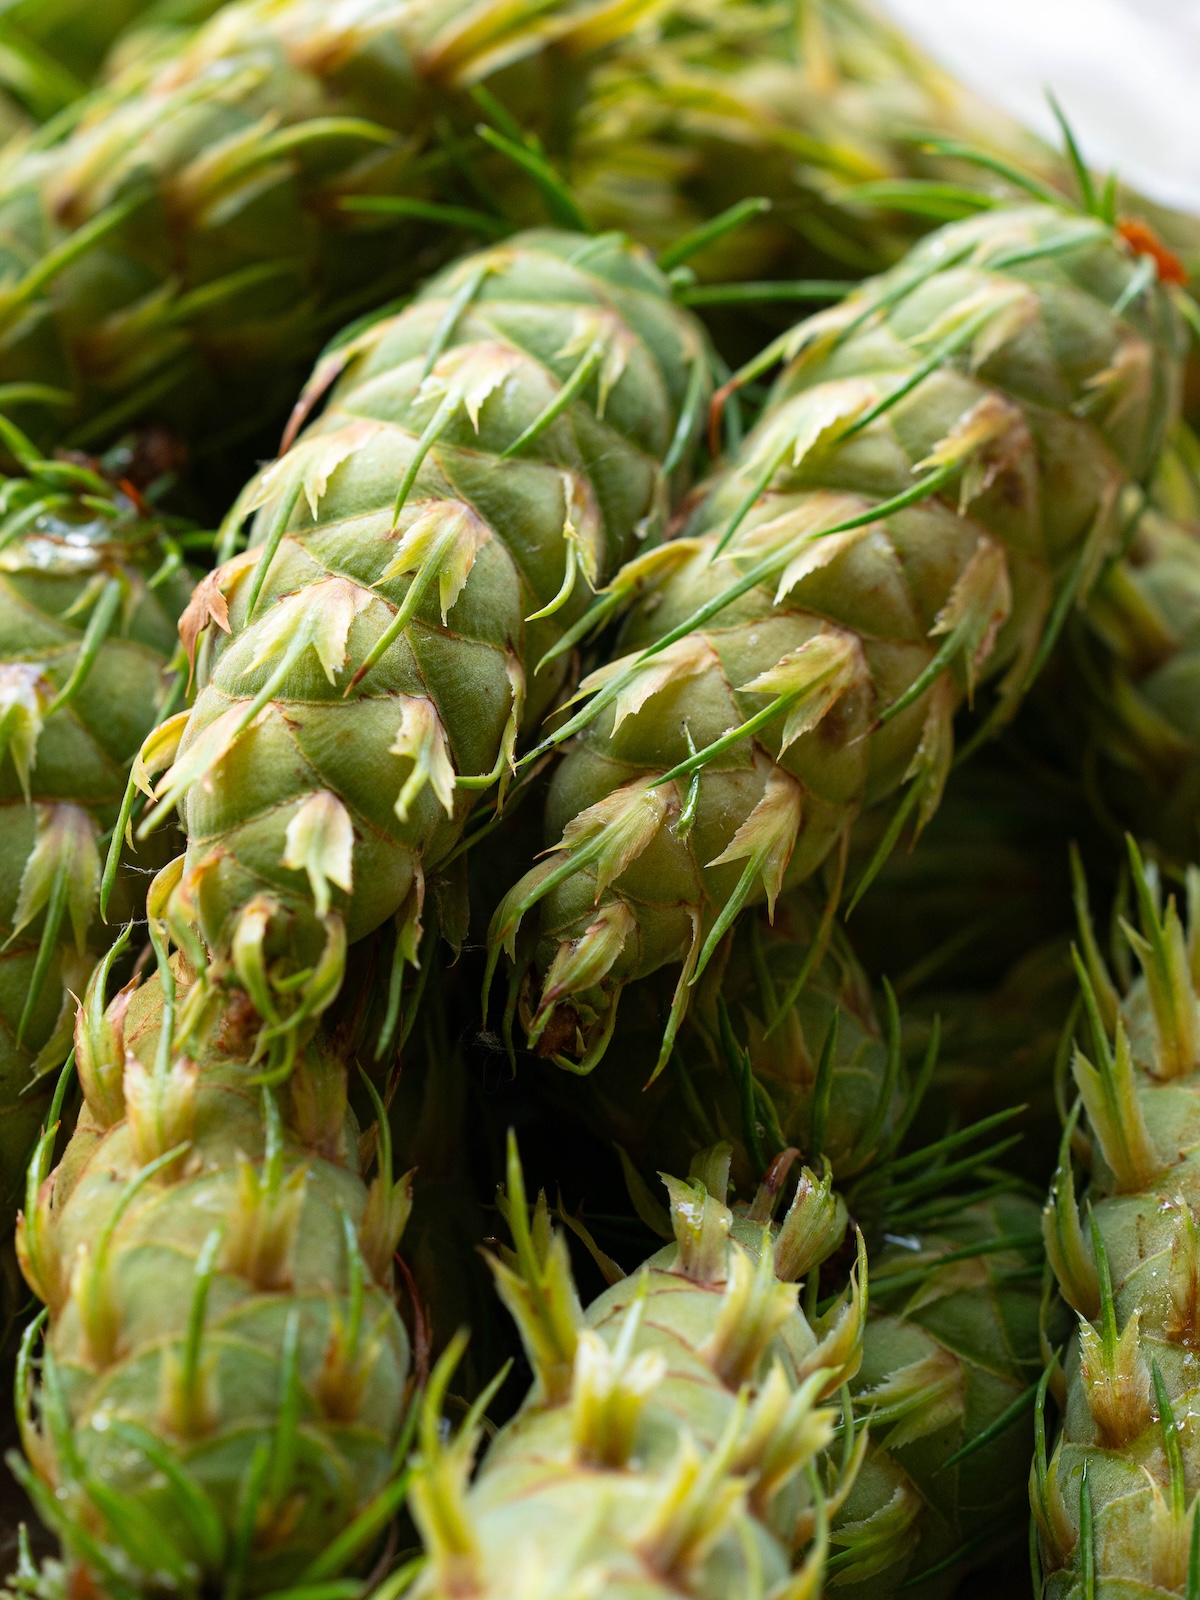
💀 Note: Every part of the Yew tree is considered toxic. Do NOT use Yew cones for this syrup. Be sure you know how to identify your trees!
Is this a recipe for mugolio? Maybe.
To some, mugolio is a very specific and traditional recipe. You might read that the dark syrup has to be made with a certain type of cone (from Mountain Pine, Pinus mugo), and that the cones must be of a particular size (very small). The recipe has its origins in the mountains of Italy, where the Mountain Pine grows.
But the truth is, you can make pine cone syrup with the cones from any edible conifer. And in fact, this method for making syrup is really no different than the technique used for a Korean cheong syrup or an oleo saccharum.
👉 Curious about the unique flavor of Douglas fir? Explore my fir tip recipes, like Lemon Fir Tip Curd Thumbprint Cookies and Buttermilk Cake with Strawberries & Fir Tips.
For more information on using different types of cones for this syrup (like black pine and balsam fir), check out Forager Chef’s in-depth article on Mugolio.
Harvesting & preparing green pine cones
When it’s time to harvest your cones, here’s a few things to keep in mind:
- Bring gloves! The cones are super sticky. Trust me, you’re gonna want these.
- Collect the cones in something that can handle the sap. I like to simply use a produce bag from the grocery store. Whatever you carry the cones in will end up very sticky.
- Harvest only what you’ll actually use.
- Wash them if you want, but I don’t recommend it. They’re pretty difficult to clean, and you want that sap, anyway – there’s tons of flavor there.
- If you’re not ready to use them right away, you can store the cones in your refrigerator for a few days.
How to make pine cone syrup
For full recipe instructions, scroll down to the recipe card at the bottom of this post. Here’s a quick step-by-step breakdown to make pine cone syrup:
- Gather pine cones: Harvest your cones and grab some sugar and a clean jar.
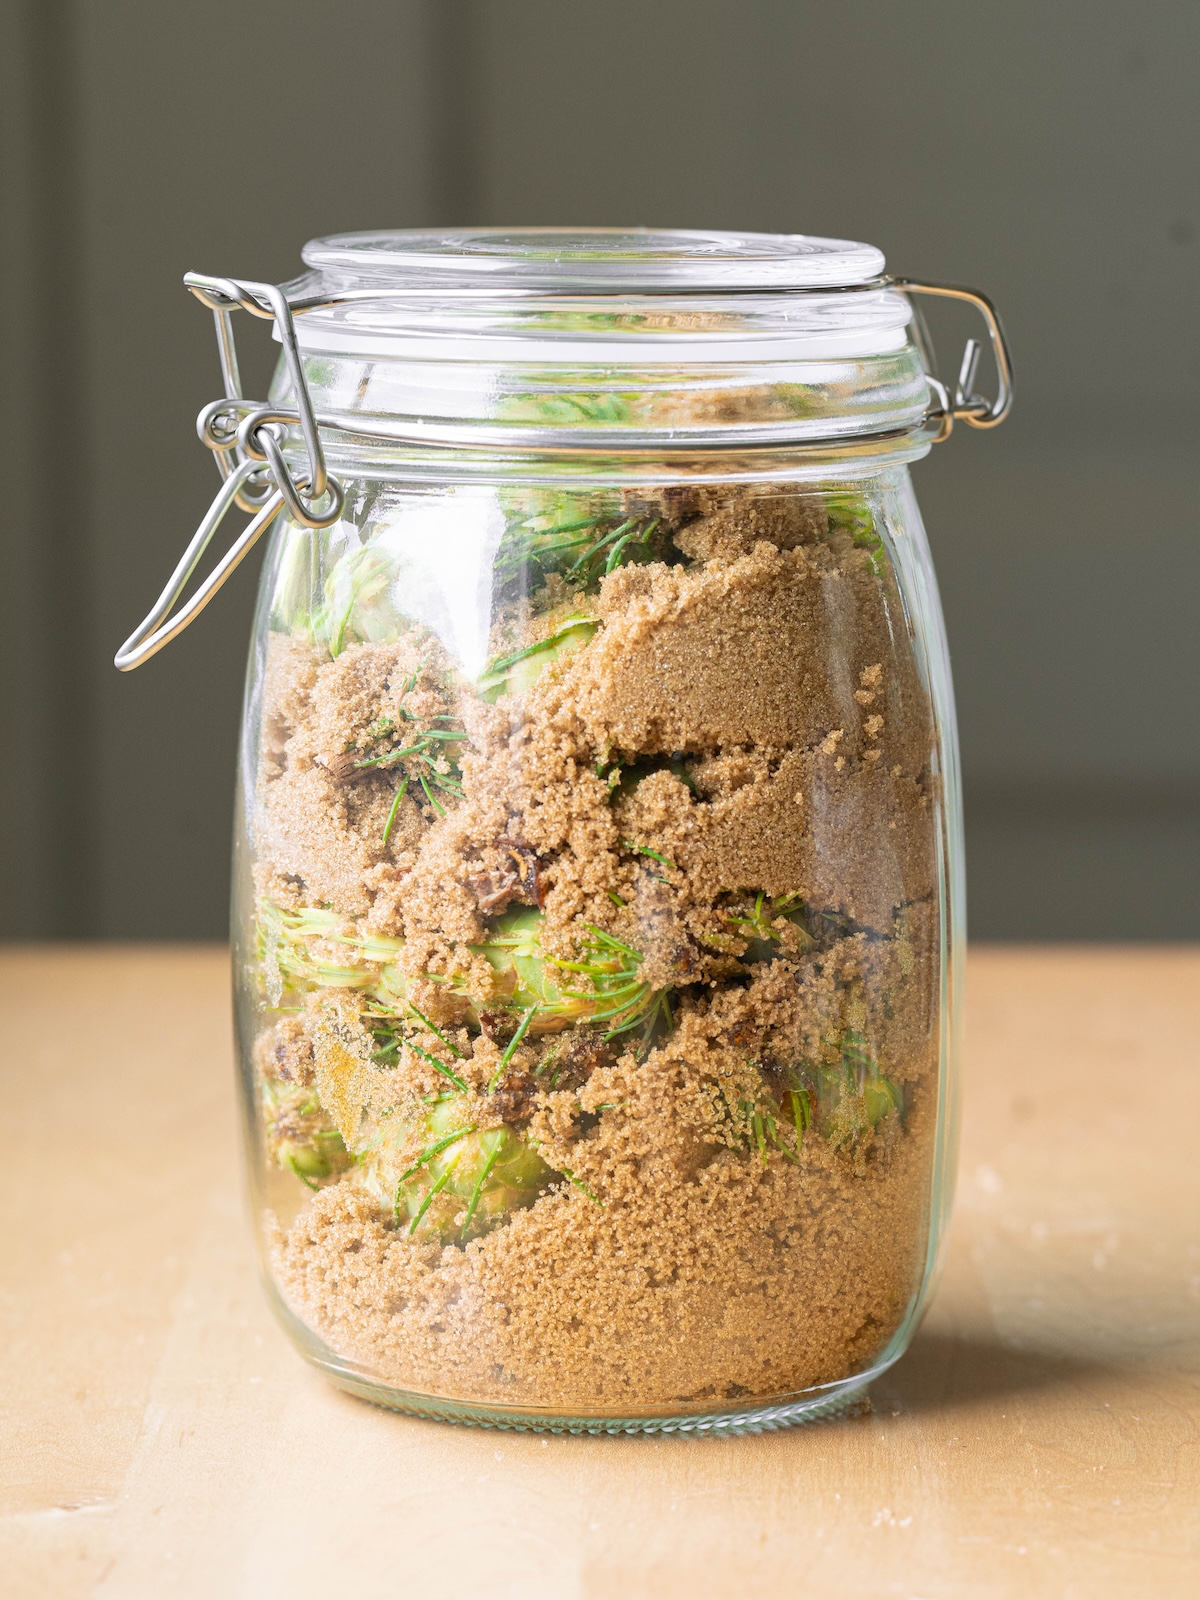
- Layer cones & sugar: Alternate sugar and pine cones in a jar until full. Give it a good shake, then place it somewhere warm-ish.
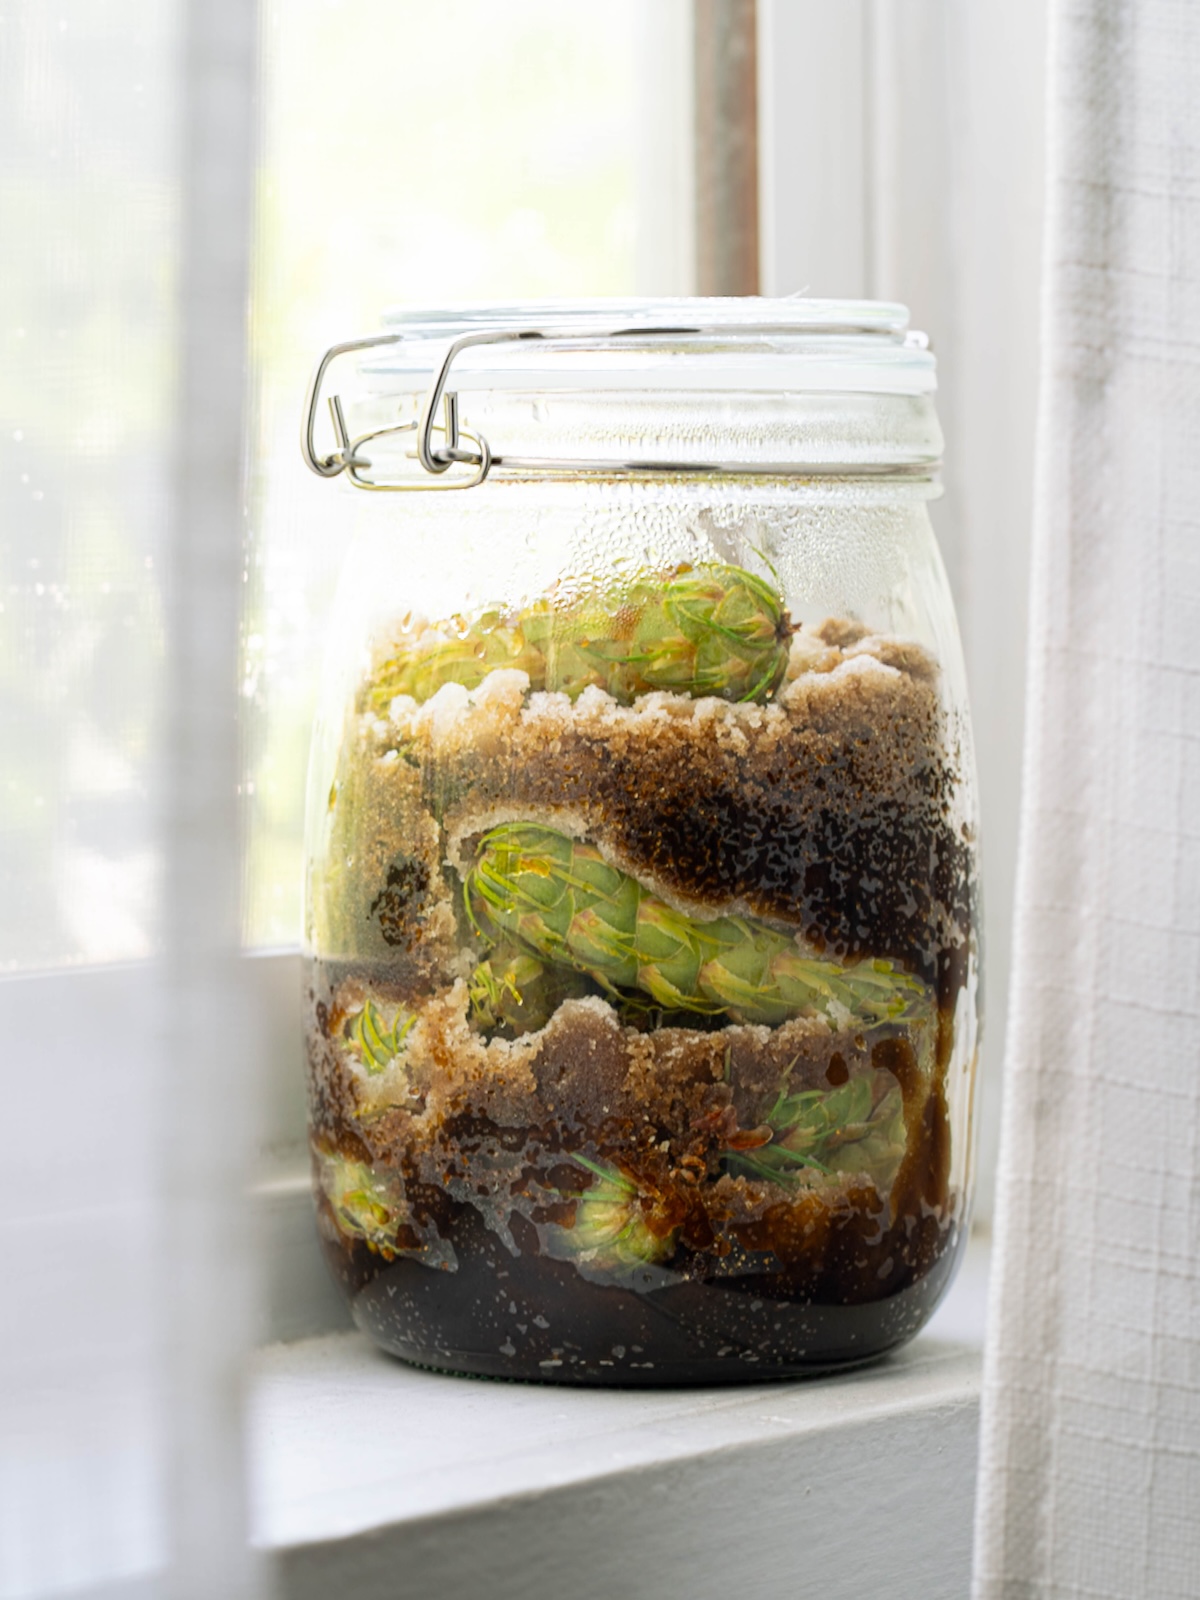
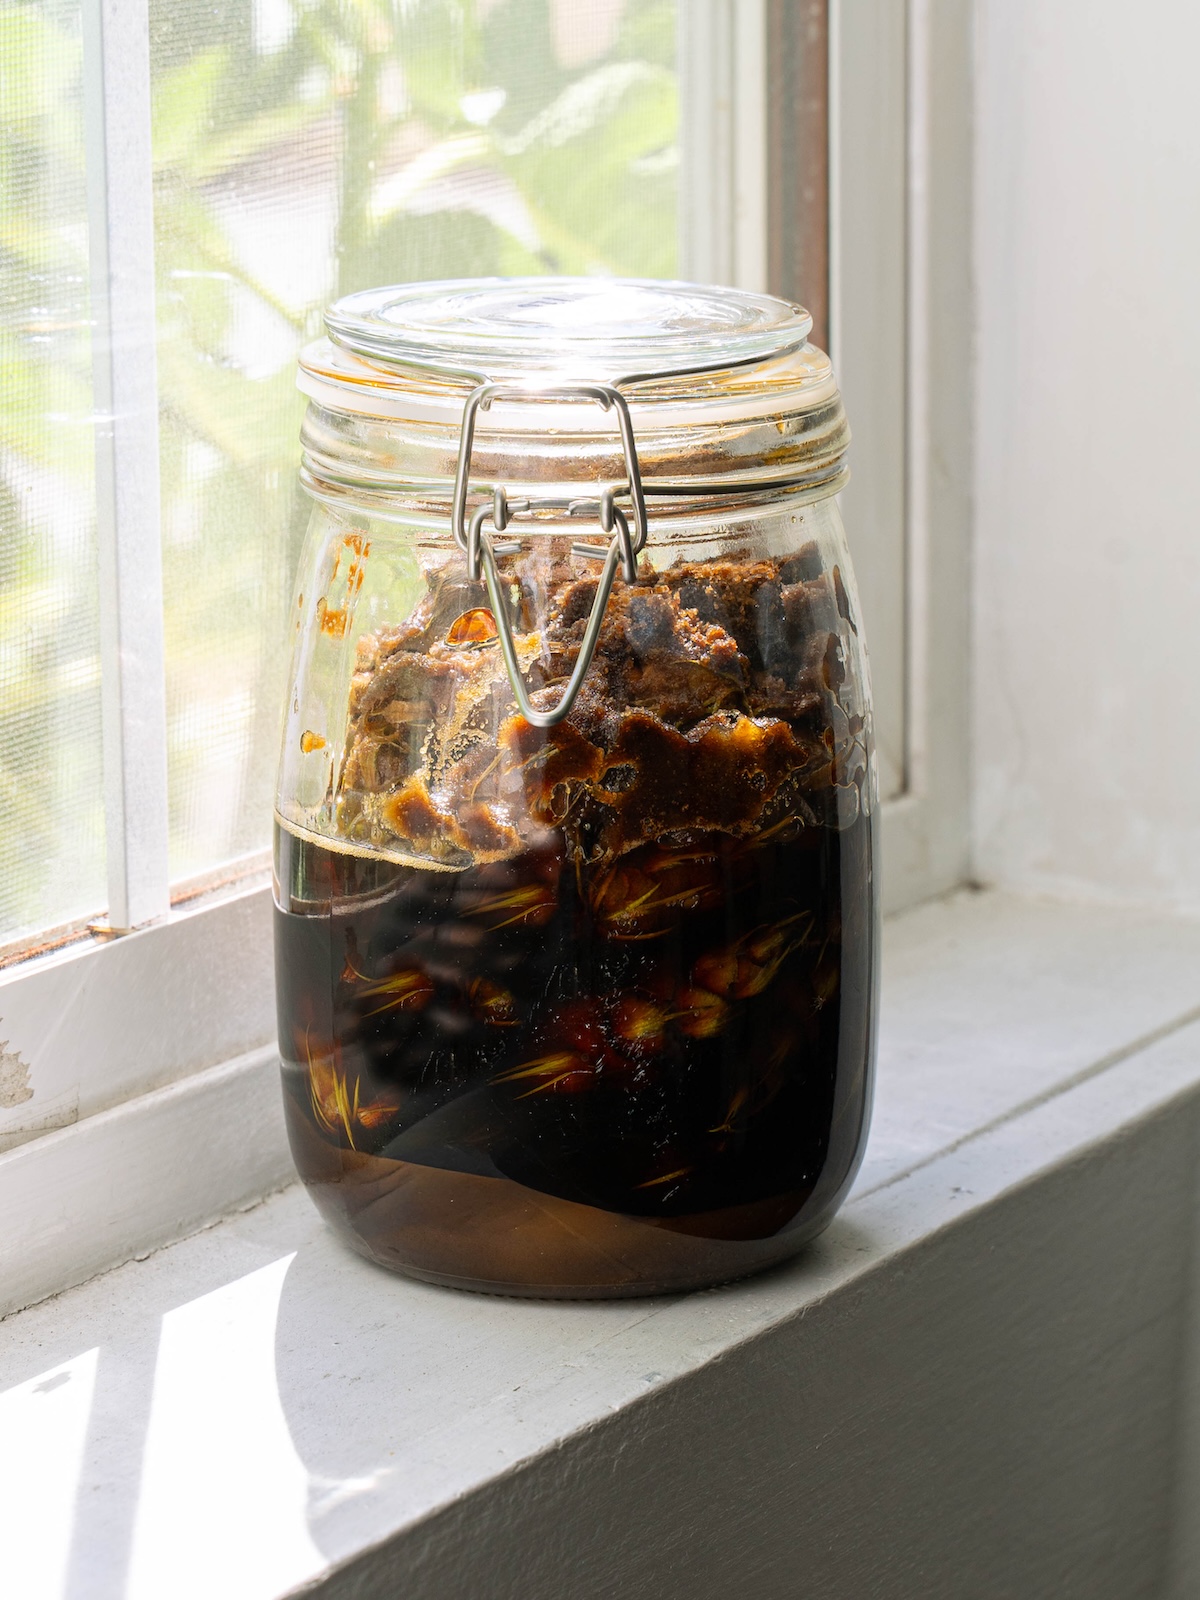
- Infuse: Let the mixture sit for roughly a month. Every few days, give it a little shake or turn it upside down for a few minutes to re-distribute the sugar. As the sugar turns to liquid, you can add more, filling up the space in the jar.
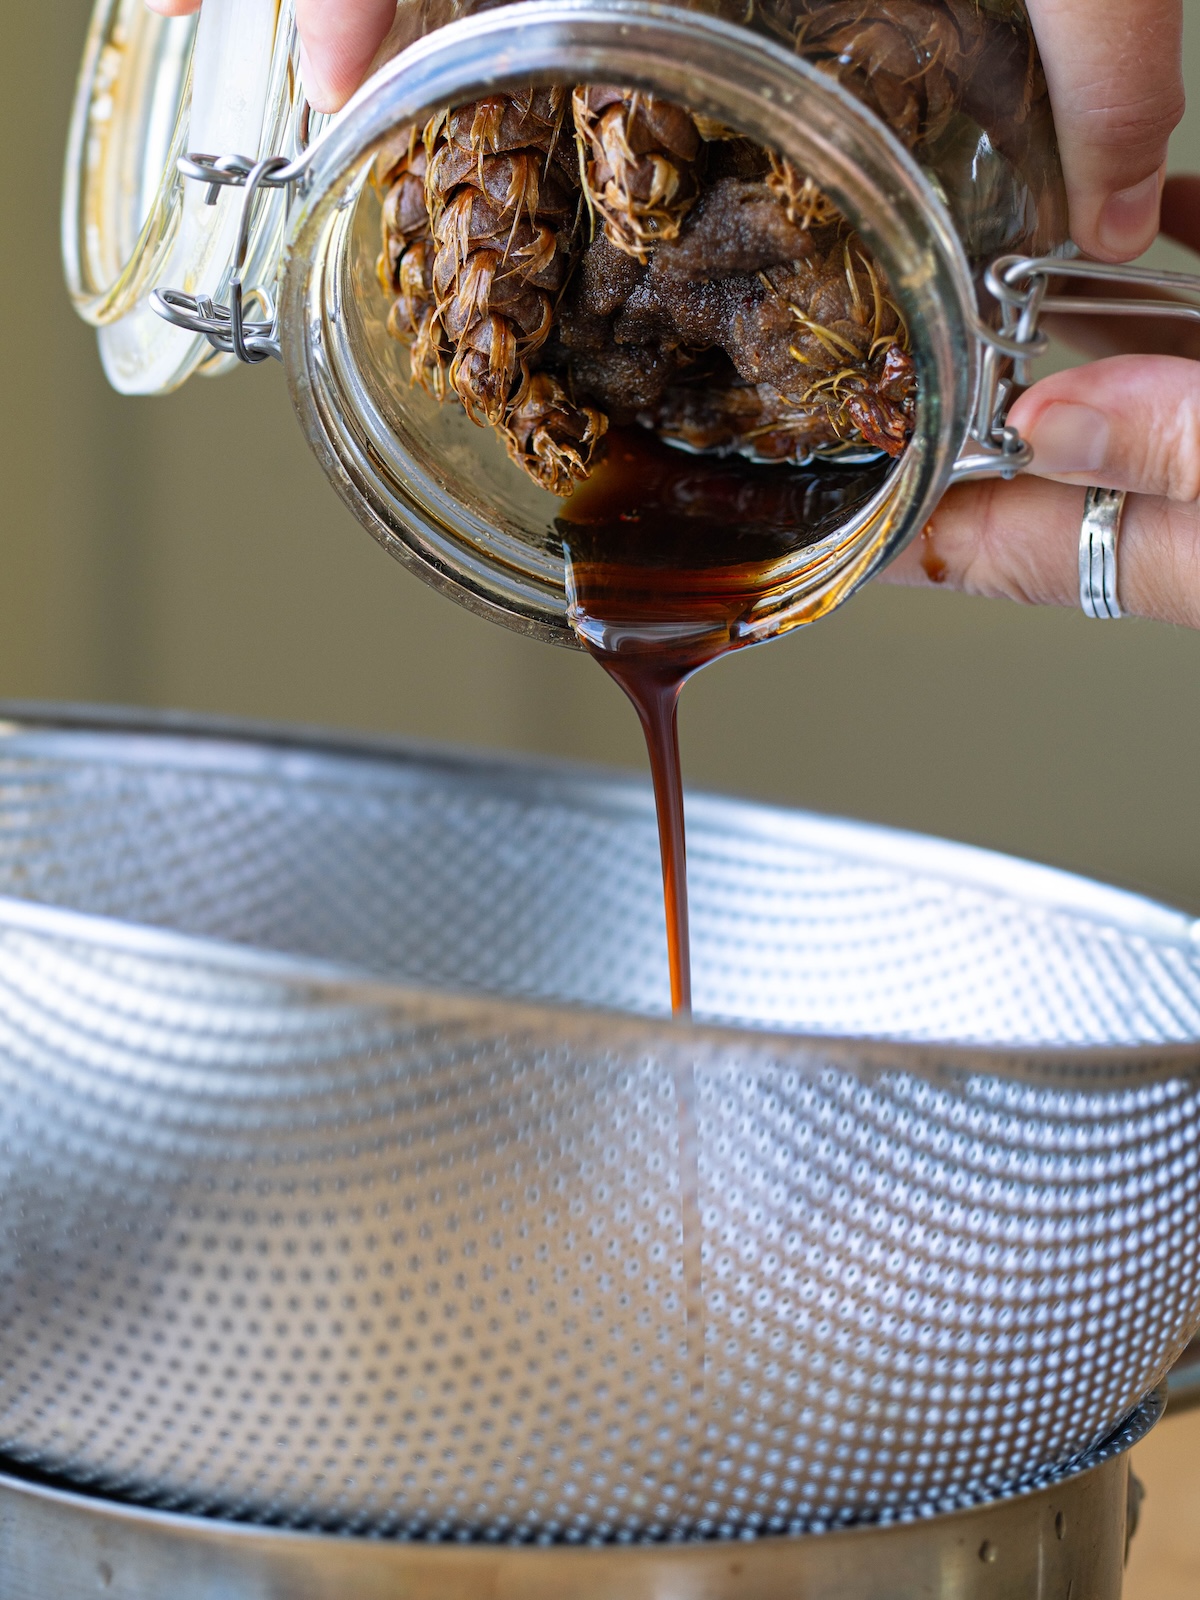
- Strain: After the maceration period, strain or pluck out the pine cones and discard.
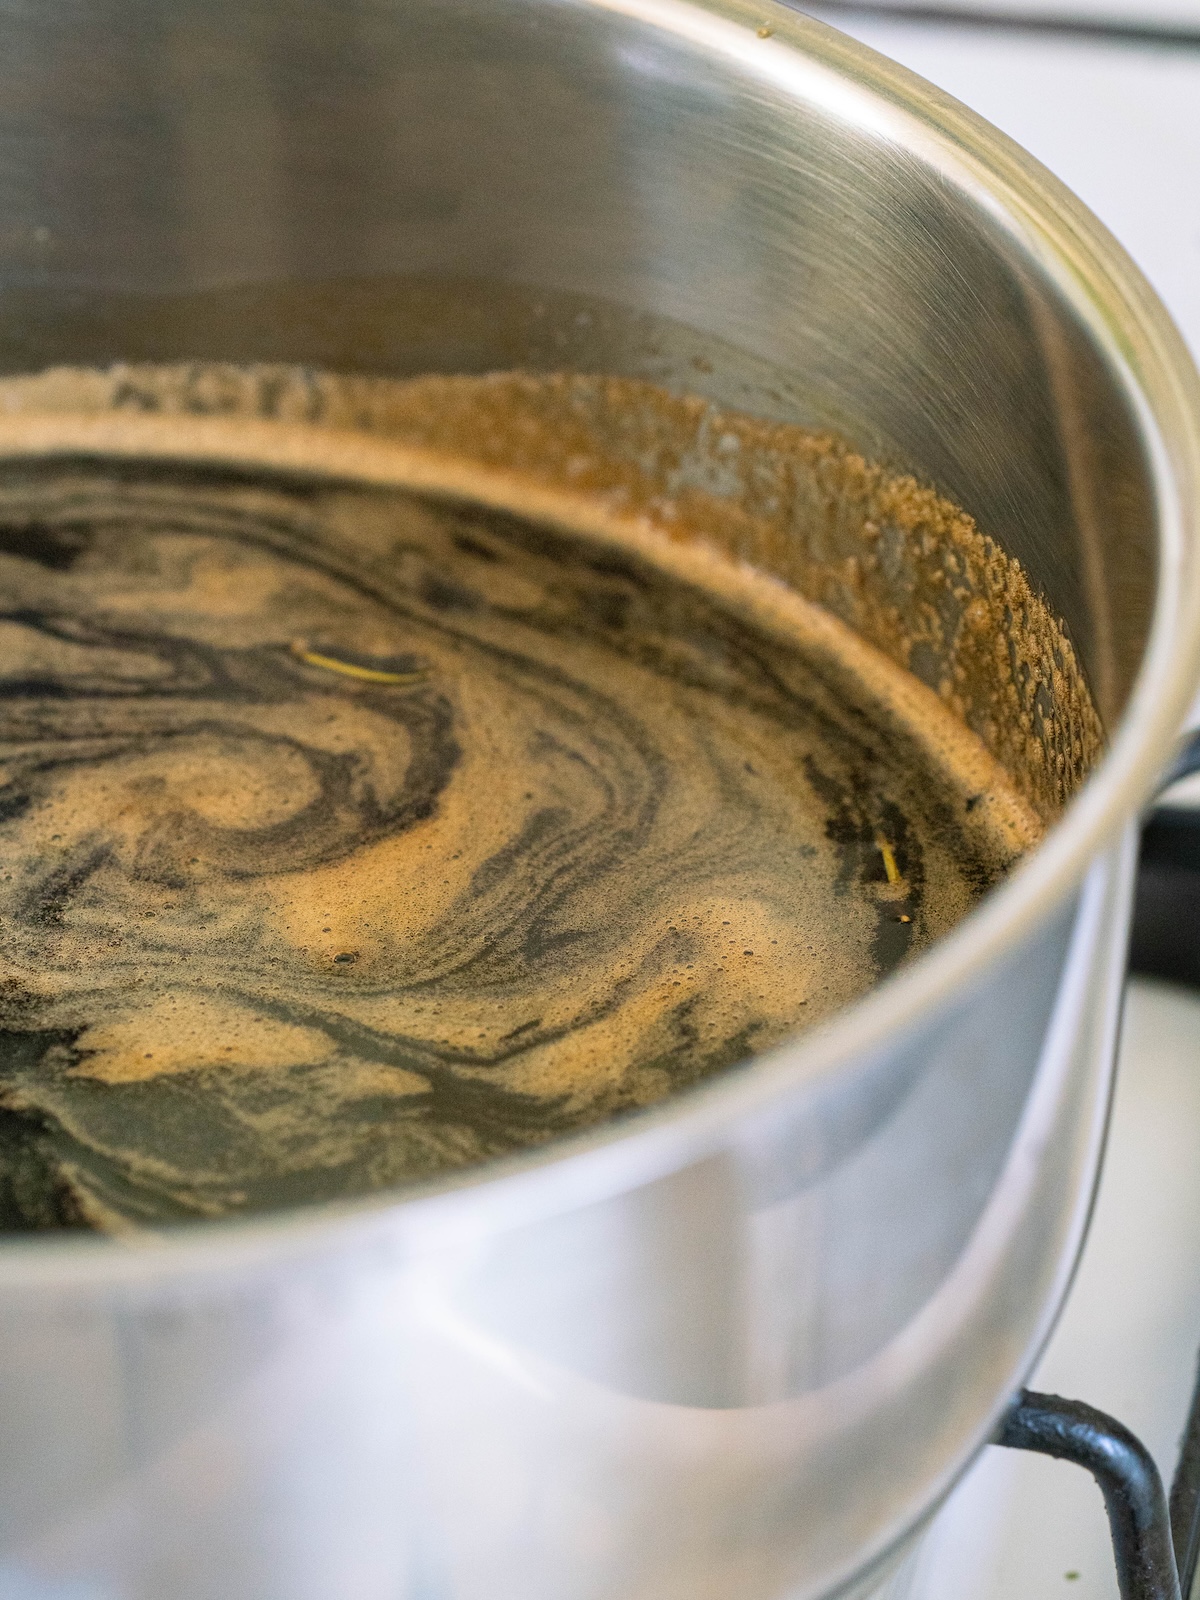
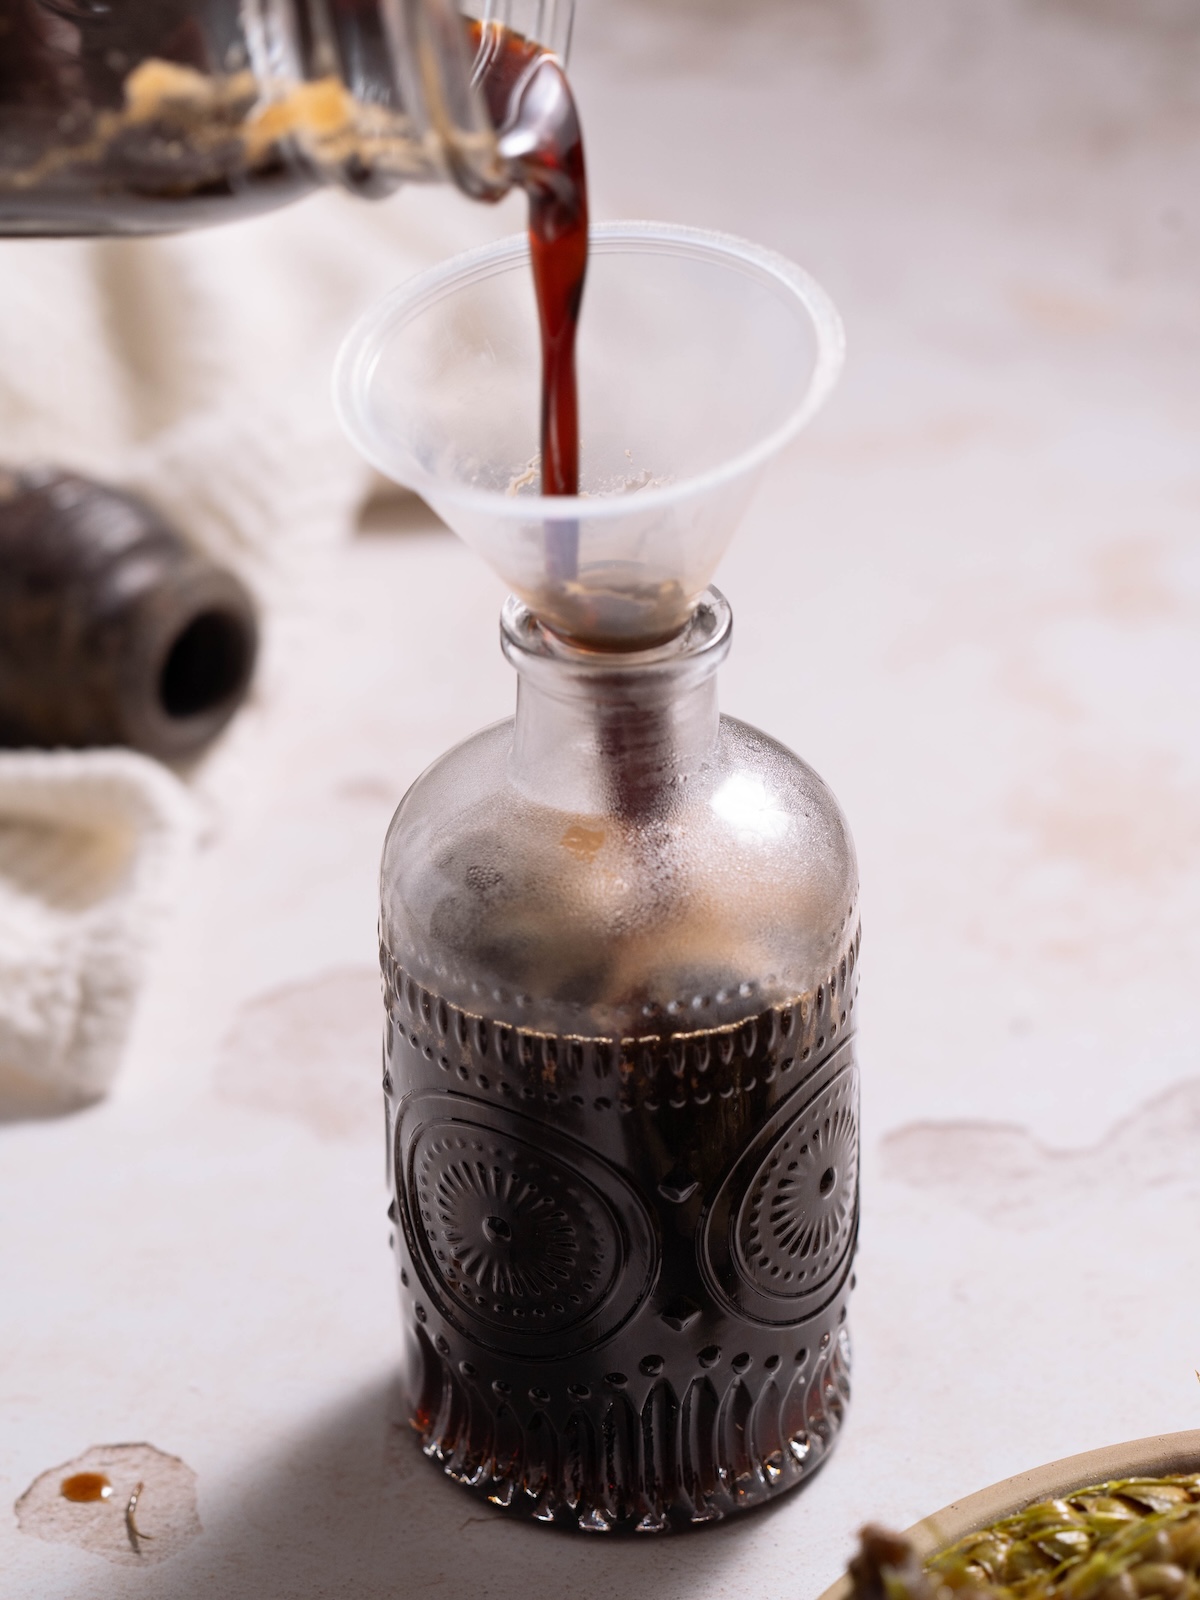
- Melt: Pour the infused sugar in a heavy-bottomed pan and warm over low heat for a few minutes, just to melt the sugar and remove any crystallization. Allow to cool, then pour into a clean jar and store in the refrigerator.
A few tips
Use any type of dry sugar. I like brown sugar and/or muscovado for this, but you can also use white, turbinado, coconut, raw sugar, panela, or demerara. If you have any brown sugar that’s hardened into a rock in your cupboard, this is a great use for it!
Open the jar every once in a while. This is essential if your mixture starts to ferment, so you can release extra carbon dioxide.
Keep adding sugar. As the mixture sits, the sugar will combine with the sap and water from the pine cones, turning it into a liquid. This creates extra space in your jar. You can keep topping the jar off with more sugar. Not only will this give you more syrup in the end, but it also prevents spoilage by keeping the cones covered.
Using your pine cone syrup
Now for the best part – using this delicious syrup for everything!
Here are just a few ideas:
- Use for coffee and lattes: Delicious for sweetening your morning beverage. It’s especially good in a homemade gingerbread latte!
- Soak cake layers: Brush onto cake layers to add moisture and rich flavor (especially good for fall cakes like Apple Butter Cake or Gingerbread Cake).
- Flavor creamy desserts: Use it as the sweetener in whipped cream, crème brûlée, panna cotta, homemade ice cream, vanilla sauce, and pastry cream.
- Drizzle it: Use like maple syrup on top of pancakes, waffles, French toast, oatmeal, or even vanilla ice cream.
- Add to cocktails: Makes a remarkably delicious Old Fashioned.
- Use in place of molasses or maple syrup: Swap some pine cone syrup in recipes that use honey, maple syrup, or molasses.
- Serve on a charcuterie board: A nice addition to a board so guests can drizzle it over crostini, cheeses, and berries.
- Glaze meats: Excellent used in place of honey or brown sugar in simple meat glazes (think oven-baked ham or roasted pork loin).
FAQs
You can use cones from any edible conifer, as long as they’re green (unripe) and unopened. Do NOT use cones from the Yew tree, which is considered poisonous.
Any (dry) sugar you like! Brown, white, muscovado, turbinado, demerara, coconut, or even maple sugar. I like to use a mixture of brown & muscovado.
Each conifer has its own unique flavor profile, so this will vary a bit. However, you can certainly expect it to taste somewhat like maple syrup with a richer, deeper, more nuanced flavor. Some cones may taste of citrus, baking spices, pine, and/or resin.
Storage
Store your syrup in a sealed jar in the refrigerator for the longest shelf life and best flavor. It will keep for several months.
More botanical sugars & syrups:
Did you make this Pine Cone Syrup recipe? Please leave a star rating & comment below. It helps other readers and truly makes my day. Thank you!
Pine Cone Syrup
Equipment
- 1 quart jar with lid
Ingredients
- 15-20 green pine cones
- 2-3 cups sugar
Instructions
- Layer pine cones & sugar: Alternate sugar and pine cones in a clean quart jar until packed full, ending with a layer of sugar on the top. Try to fit in as much sugar and pine cones as you can. Give the jar a good shake, then place it somewhere warm, like a sunny windowsill or on top of your refrigerator.
- Infuse: Let the mixture sit for roughly a month. Every few days, give it a little shake and/or turn it upside down for a few minutes to re-distribute the sugar. As the mixture sits, the sugar will combine with the sap and water from the pine cones, turning into a liquid. This creates extra space in your jar. You can keep topping the jar off with more sugar. Not only will this give you more syrup in the end, but it also prevents spoilage by keeping the cones covered.
- Strain: After the maceration period, strain or pluck out the pine cones and discard them.
- Melt: Pour the infused sugar in a heavy-bottomed pan and warm over low heat for a few minutes, just enough to melt the sugar and remove any crystallization. You don't actually need to cook the syrup or reduce it down.Allow to cool to room temperature, then pour into a clean jar and store the syrup in the refrigerator. It will keep for several months.
Notes
Did you try this recipe?
Be sure to leave a comment below!