This tomato focaccia is super bubbly, soft, and chewy, with crispy crust and all the flavors and colors of summer. No kneading, no equipment, no fancy techniques — this is lazy girl baking at its best.
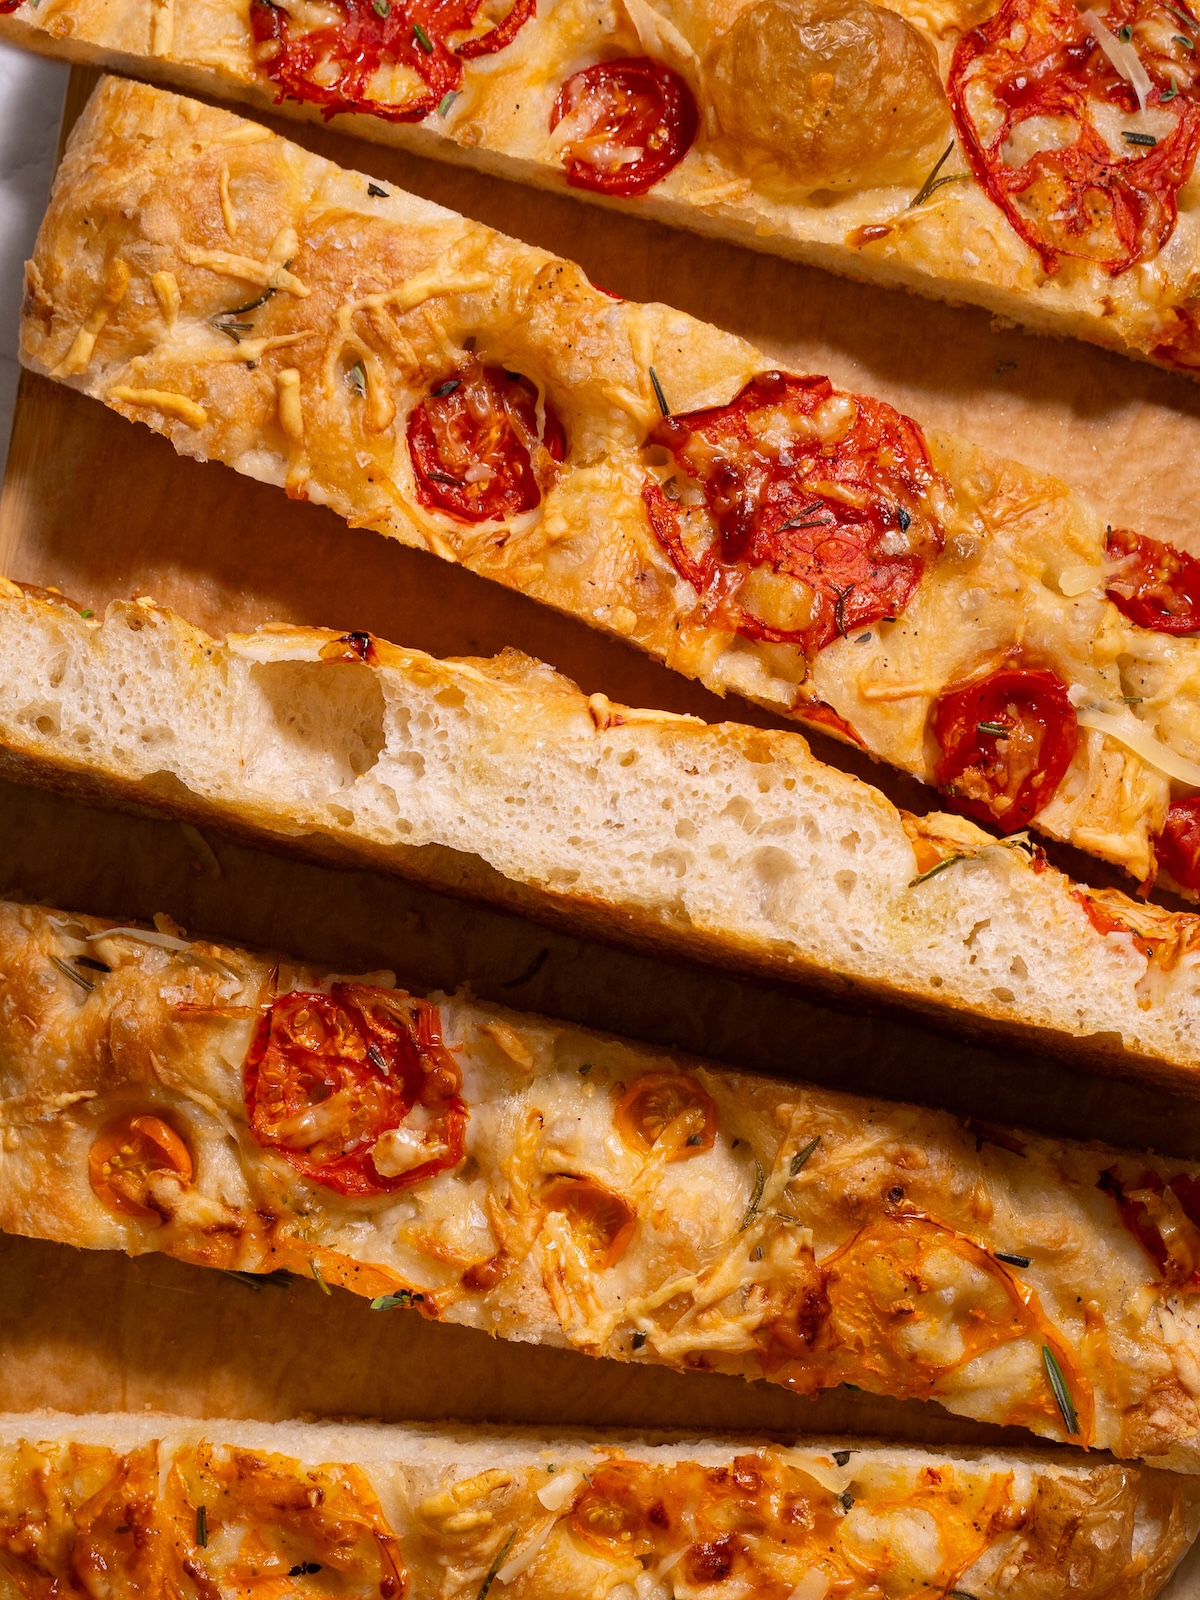
Tomato girl summer is calling, and this Tomato Focaccia is the essential lazy girl bread. It’s the perfect way to give those gorgeous summer tomatoes their moment without requiring too much effort. This rustic loaf is joyfully bubbly and chewy with crispy edges, loaded with juicy summer tomatoes and plenty of savory flavor.
It’s super versatile for summery meals. Drizzle it with basil flower oil, dip into homemade tomato soup, or eat alongside entrée salads and Italian-inspired meals.
Below, you’ll find step-by-step photos and key tips for making super bubbly, fluffy-yet-crispy homemade focaccia.
Recipe highlights
- Soft & fluffy interior, satisfyingly crispy, crackly crust
- Beautifully bubbly focaccia perfection
- Low effort, high reward: the ideal combo for summer baking
- Deliciously flavorful with fresh tomatoes + rosemary + parmesan
- A versatile side for soups, summery dinners, and Italian-inspired meals
- No equipment and no kneading – so easy to make by hand!
Recipe overview
⏱️ Prep: ~15 mins total active time • Rest/Proof: ~3 hrs • Cook: ~35 mins
🍴 Yield: 1 large rustic loaf
💪 Skill level: Beginner
😋 Flavor notes: Lightly herby + sweet summer tomatoes + crispy, caramelized parmesan. Pairs well with: Breakfast, pasta, salads, soups, basil flower oil, more fresh tomatoes.
👉 If you enjoy this recipe, you might also like my Sourdough Caprese Focaccia, Sourdough Discard Focaccia, Tomato Basil Sourdough, or Heirloom Tomato Galettes.
How to make this tomato focaccia
Find the full ingredients list and detailed recipe instructions in the recipe card at the bottom of this post. Here’s a quick step-by-step overview of how to make this recipe:
- Mix: Whisk together water, olive oil, and salt. Add bread flour and yeast to form a shaggy dough. Cover and rest for 30 minutes.
- 1st stretch-and-fold: Perform a round of stretch & folds to build tension and structure in your dough. Cover it back up and rest another 30 minutes.
- 2nd stretch-and-fold: Do a second round of stretch & folds, then rest an additional 30 minutes. At this point, the dough will be hydrated, a little sticky, and a bit bubbly.
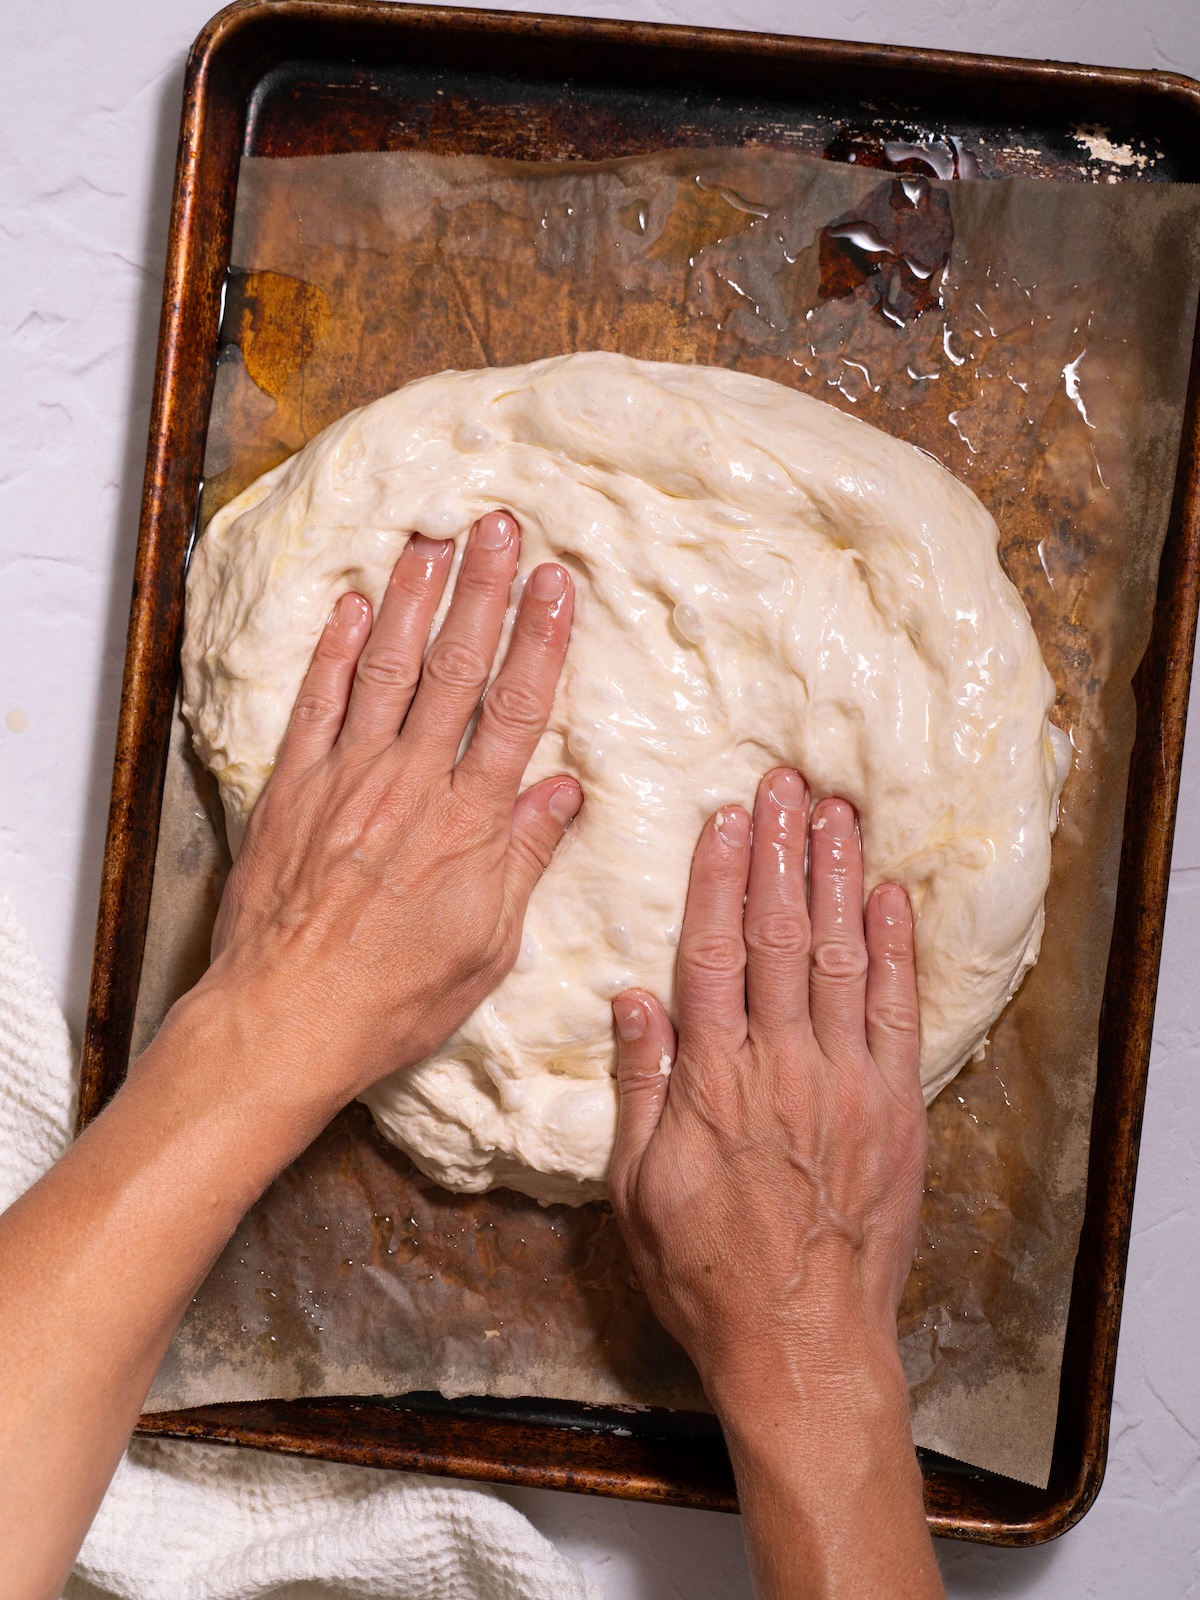
- Shape: Pour dough out onto a generously oiled sheet pan, stretching and pressing the dough gently to form a rough rectangle. Cover and allow to rise for about an hour.
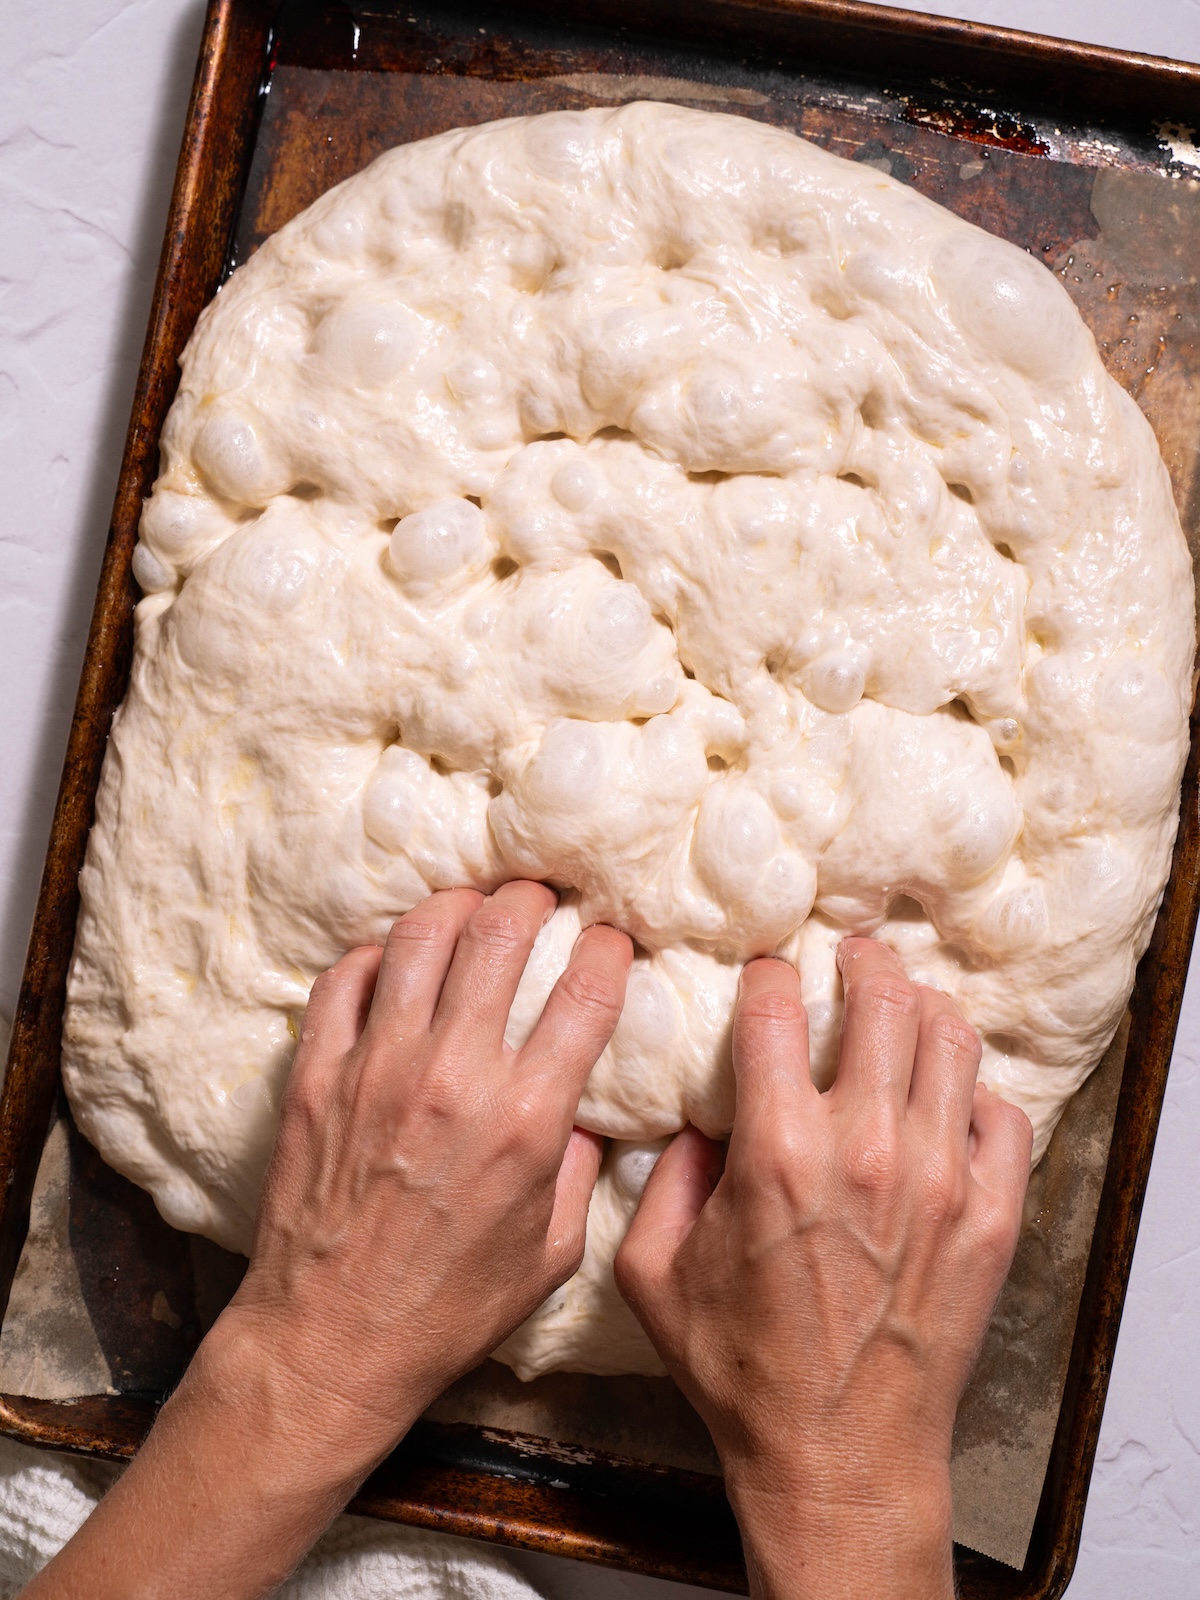
- Dimple: Use your fingers to dimple the dough all over, pushing all the way through the dough to the pan while being careful not to tear the dough.
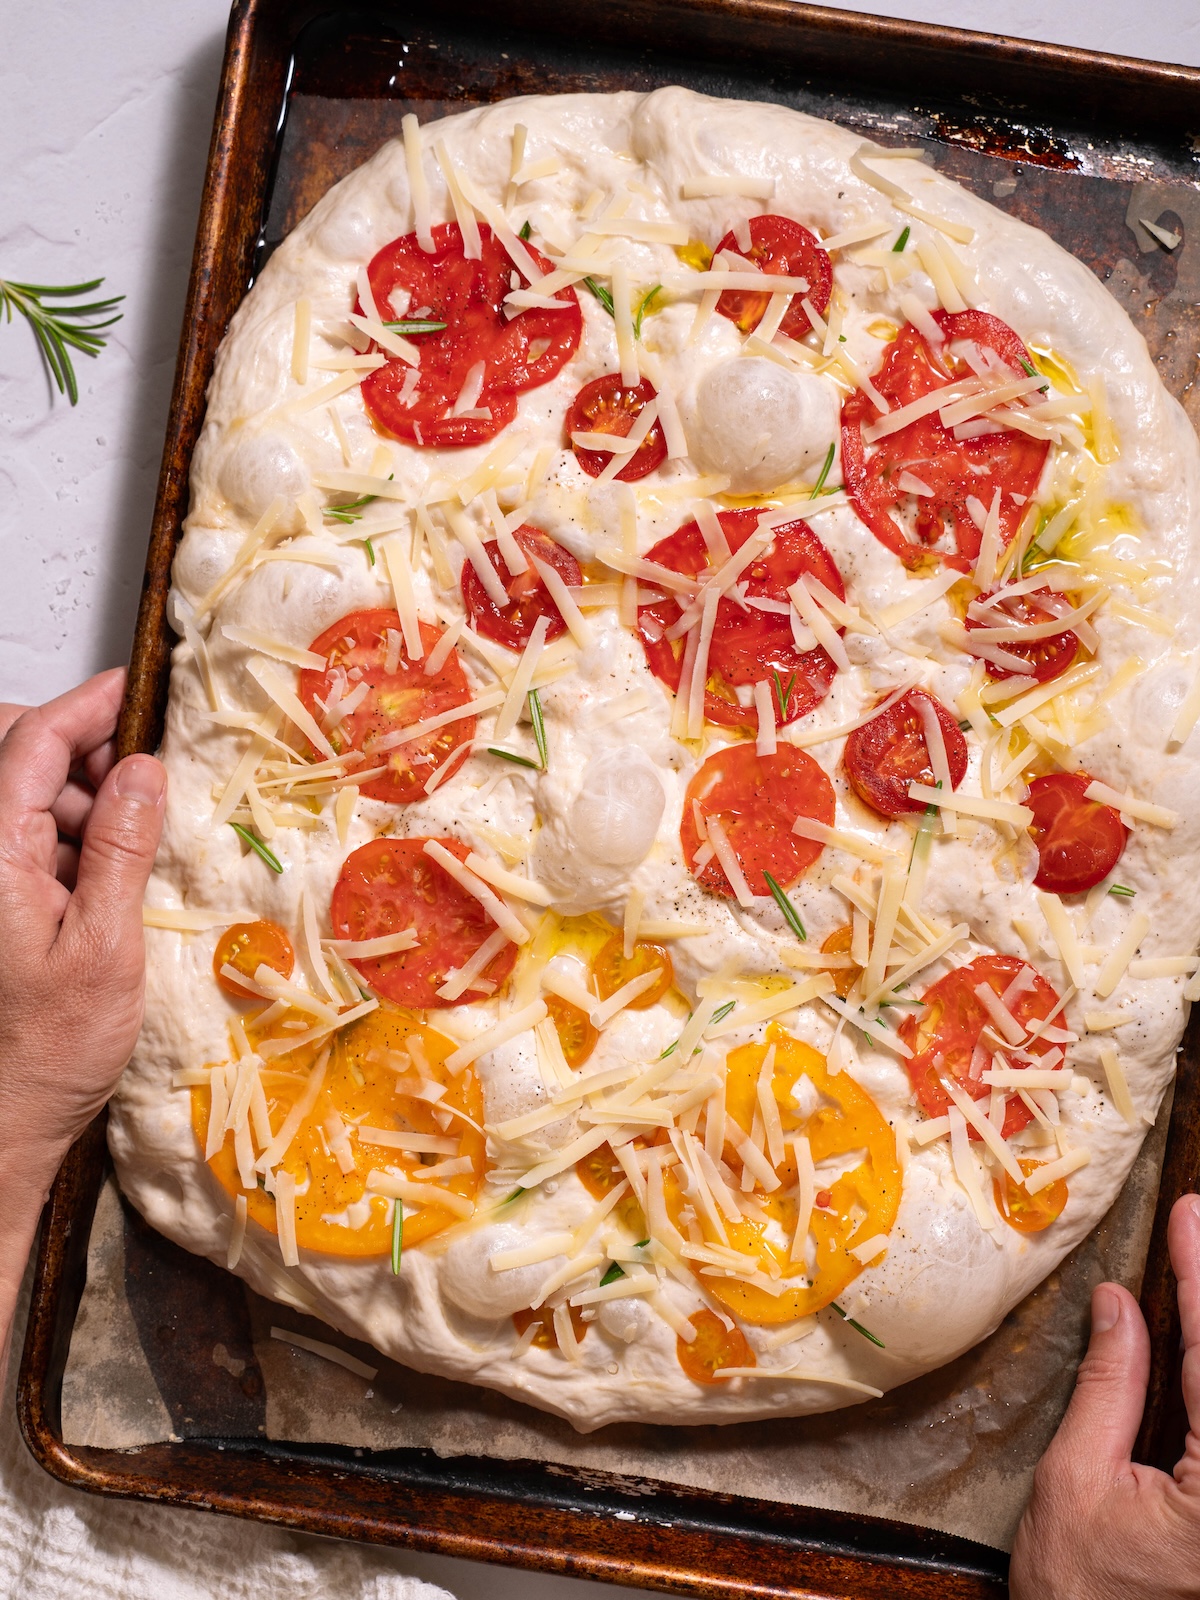
- Add toppings: Drizzle a bit more olive oil over the dough and decorate with tomatoes, herbs, salt and pepper, and grated parmesan.
- Bake: Place bread in a preheated oven and bake until golden brown on top and bottom, about 30-35 minutes.
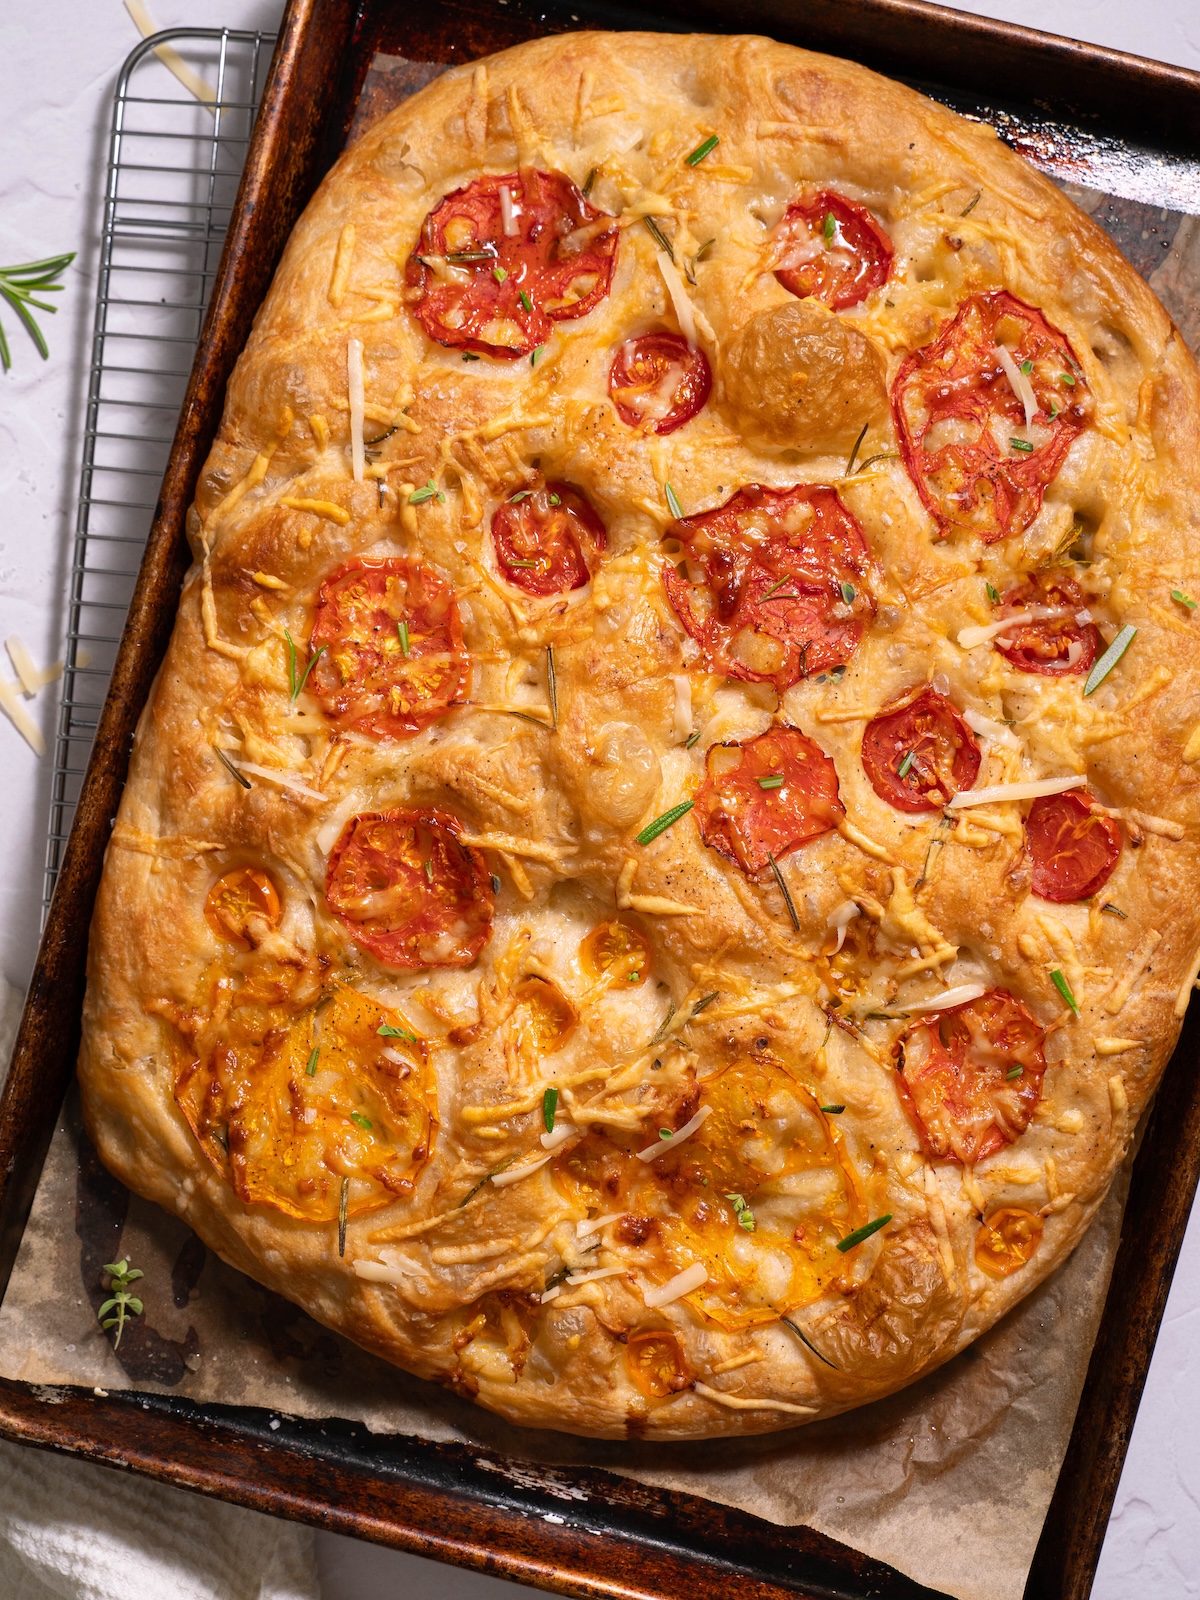
Pro tips for perfect focaccia
Weigh your flour. The best way to get those big beautiful focaccia bubbles is by making a high-hydration dough. If you have a kitchen scale, it’s best to weigh your flour to ensure you don’t add too much. If you don’t have a scale, use the fluff-and-scoop method to measure your flour.
Don’t be shy with the olive oil. Olive oil is essential in creating the texture and flavor of a good focaccia. This is a time to be quite generous with it.
Dimple the dough gently. Be careful not to tear the dough when dimpling.
A little seasoning goes a long way. I like to sprinkle a little salt and pepper on the tomatoes before baking. It makes their flavor pop even more!
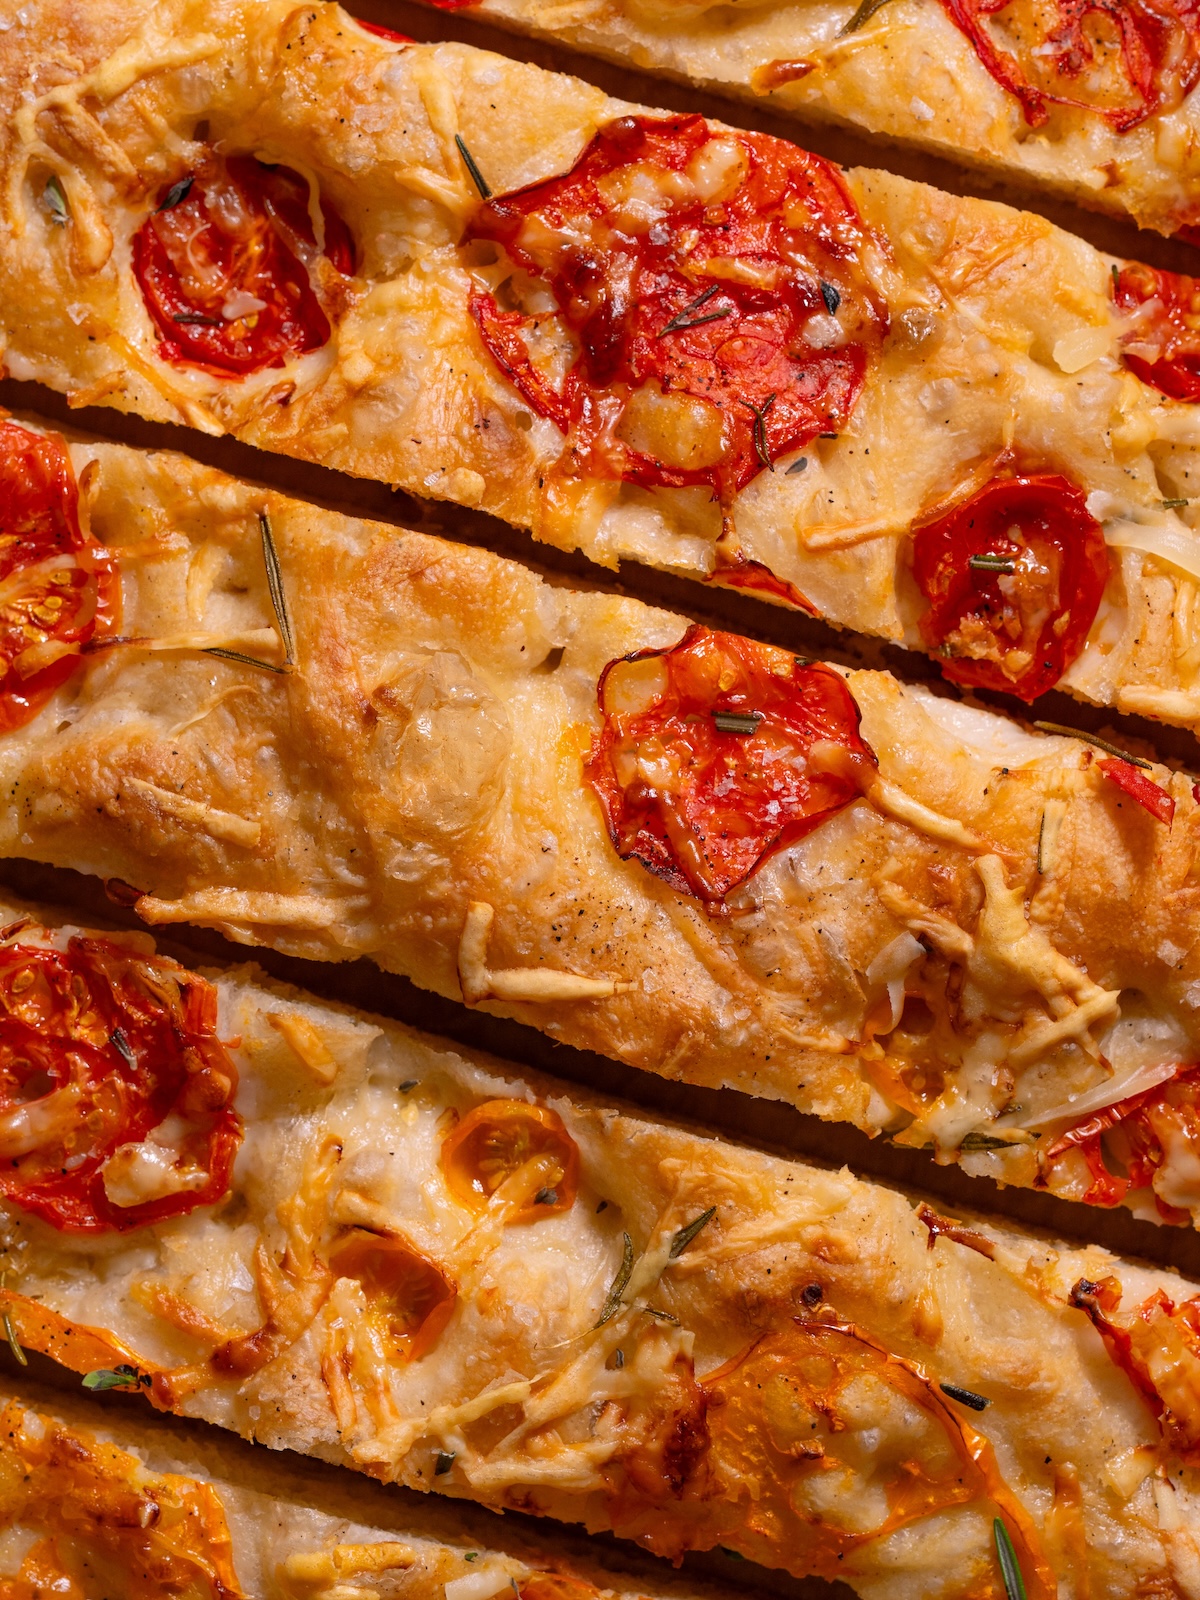
Tomato focaccia variations
Size & shape: You can make this recipe on a standard baking sheet or in a 13×9 inch pan. The sheet pan will yield a thinner result that’s chewy and super crispy on the top and bottom. A 13×9 inch pan will create a bread that’s a bit thicker and softer (you may need to increase the baking time slightly if using this option).
Tomatoes: Use your favorite tomatoes for this! They’re the star of the show here. I like to use a combination of cherry tomatoes and fresh heirloom tomatoes from my garden. If you use tomato slices, be sure to slice them fairly thin. A mixture of colors looks gorgeous here!
Other toppings: The herbs and parmesan are optional here. Feel free to skip them or use different toppings. Other options that would be lovely: thin slices of garlic, roasted garlic cloves, fresh oregano, pitted olives, fresh mozzarella, crumbled feta, basil flower oil.
Make it sourdough: If you’d like to leaven this bread with sourdough instead of yeast, use this recipe for sourdough focaccia instead. Or try this sourdough discard focaccia recipe for a version that’s in-between.
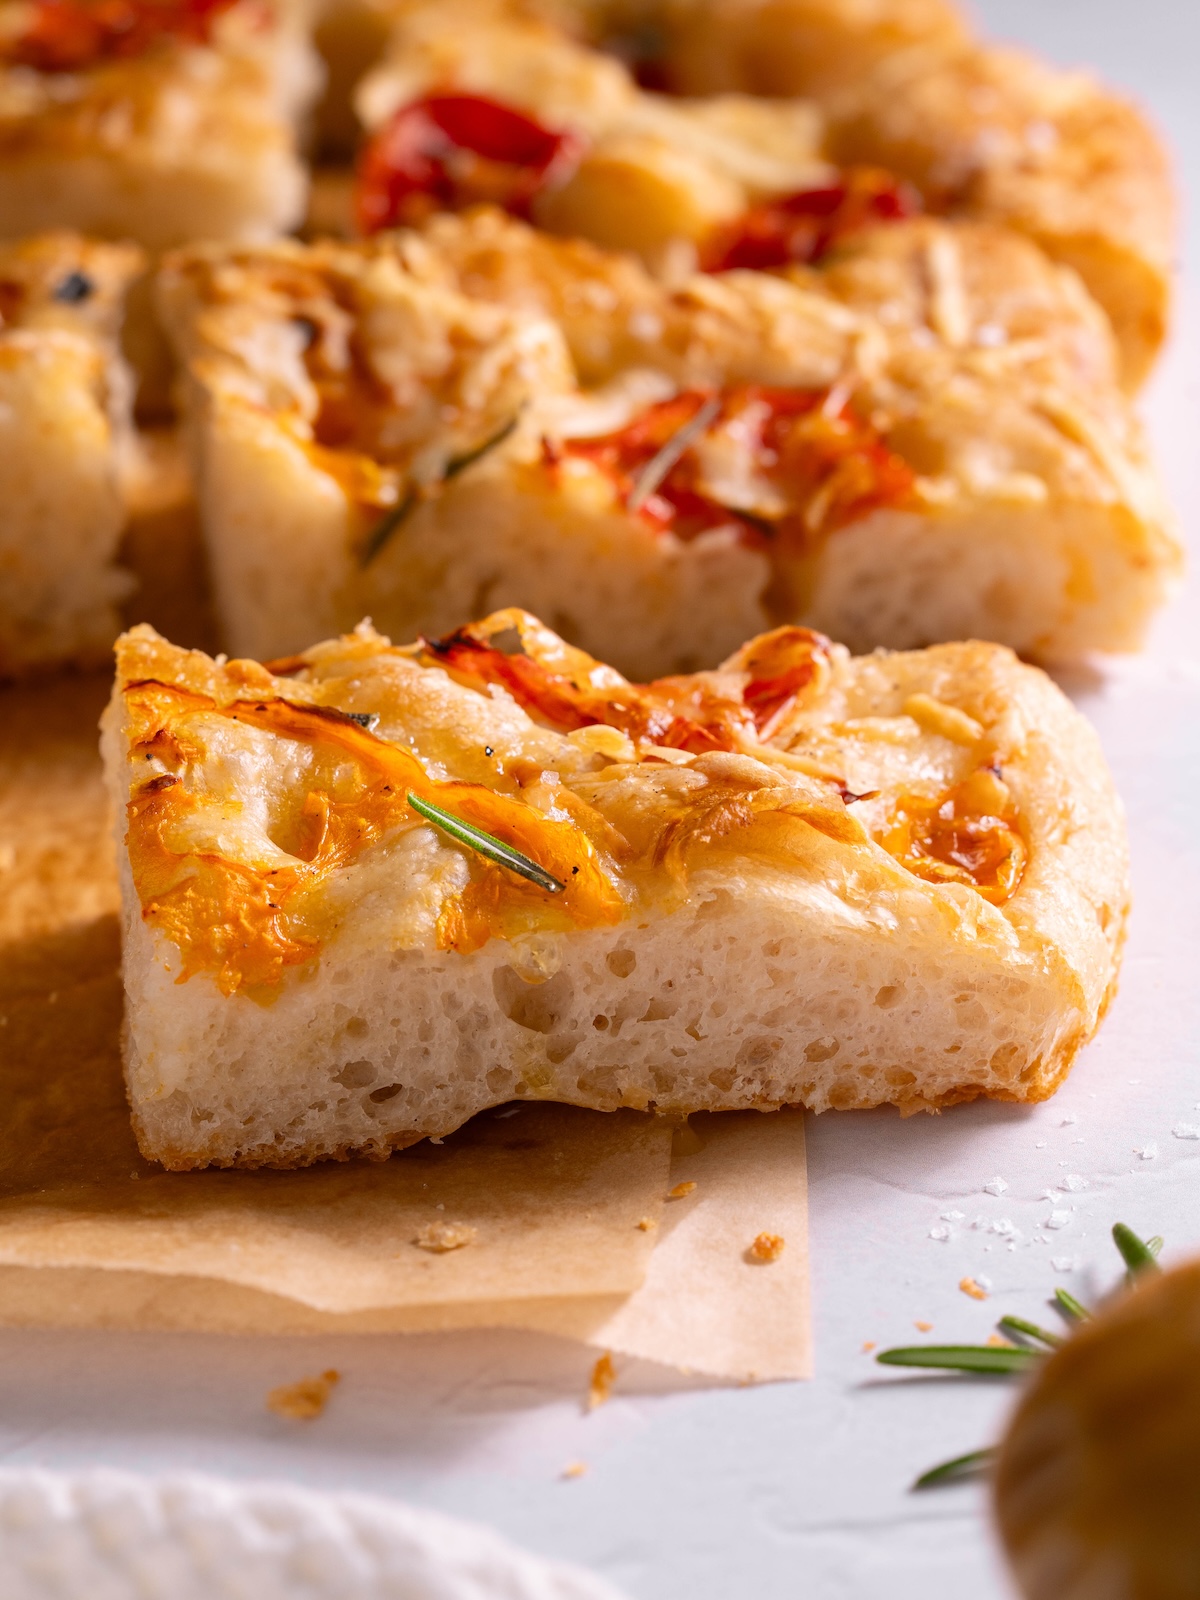
Serving & storing
Tomato focaccia doesn’t keep quite as well as a basic focaccia, as the fresh tomatoes add quite a bit of moisture to the bread. For that reason, it’s best eaten within three days. You can store it at room temperature, loosely wrapped or in an airtight container.
You can also store it in the fridge. This will extend the shelf life by a day or two, but it also dries the bread out a bit faster.
To re-warm your focaccia: Place slices of tomato focaccia in a saute pan and cook for a minute or two, until warm and softened. You can also warm it in a 350° F oven or toaster oven. I like to wrap slices in foil before putting them in the oven for a softer texture.
To serve: This bread pairs perfectly with soups, salads, and summery meals.
Here are some of my favorite ways to serve it:
- Dipped into homemade tomato soup
- Drizzled with basil flower oil
- Alongside a big summer salad
- Topped with more slices of fresh tomatoes
- As a side for pasta and Italian-inspired meals (I especially loved it with this Sausage & Zucchini Orzo!)
- Served with breakfast, especially if it’s a frittata or shaksuka
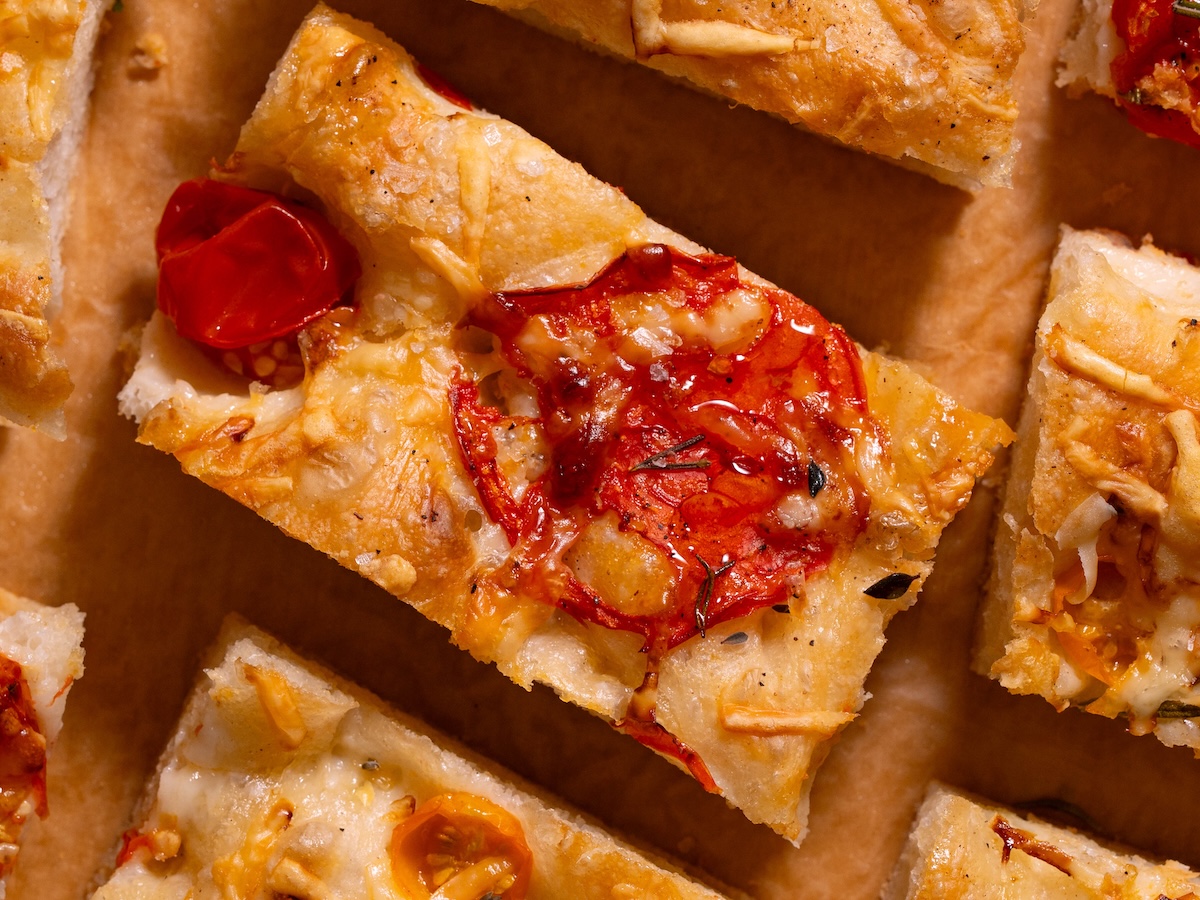
What to bake next: Try Raspberry Brie Focaccia, Sourdough Caprese Focaccia, Edible Flower Focaccia, or any of these delicious bread recipes!
If you make this Tomato Focaccia recipe, please leave a comment & star rating. It means so much to me! 🙏

Tomato Focaccia
Equipment
- Baking sheet or 13×9-inch pan
Ingredients
- 1 ¾ cup (420 grams) warm water, about 100-120°F
- 2 tablespoons olive oil
- 1 tablespoon salt
- 4 cups (480 grams) bread flour
- 2 ¼ teaspoon (1 package) instant yeast
Toppings
- 2+ tablespoons olive oil, divided
- ~12 ounces fresh tomatoes*
- salt & pepper
- a few sprigs fresh rosemary
- ½ cup parmesan, grated on large holes of box grater
Instructions
- Mix dough: In a large bowl, whisk together 420 grams warm water, 2 Tbsp olive oil, and 1 Tbsp salt. Add 480 grams bread flour and 2 ¼ tsp instant yeast, mixing to form a shaggy dough. Cover and rest for 30 minutes.
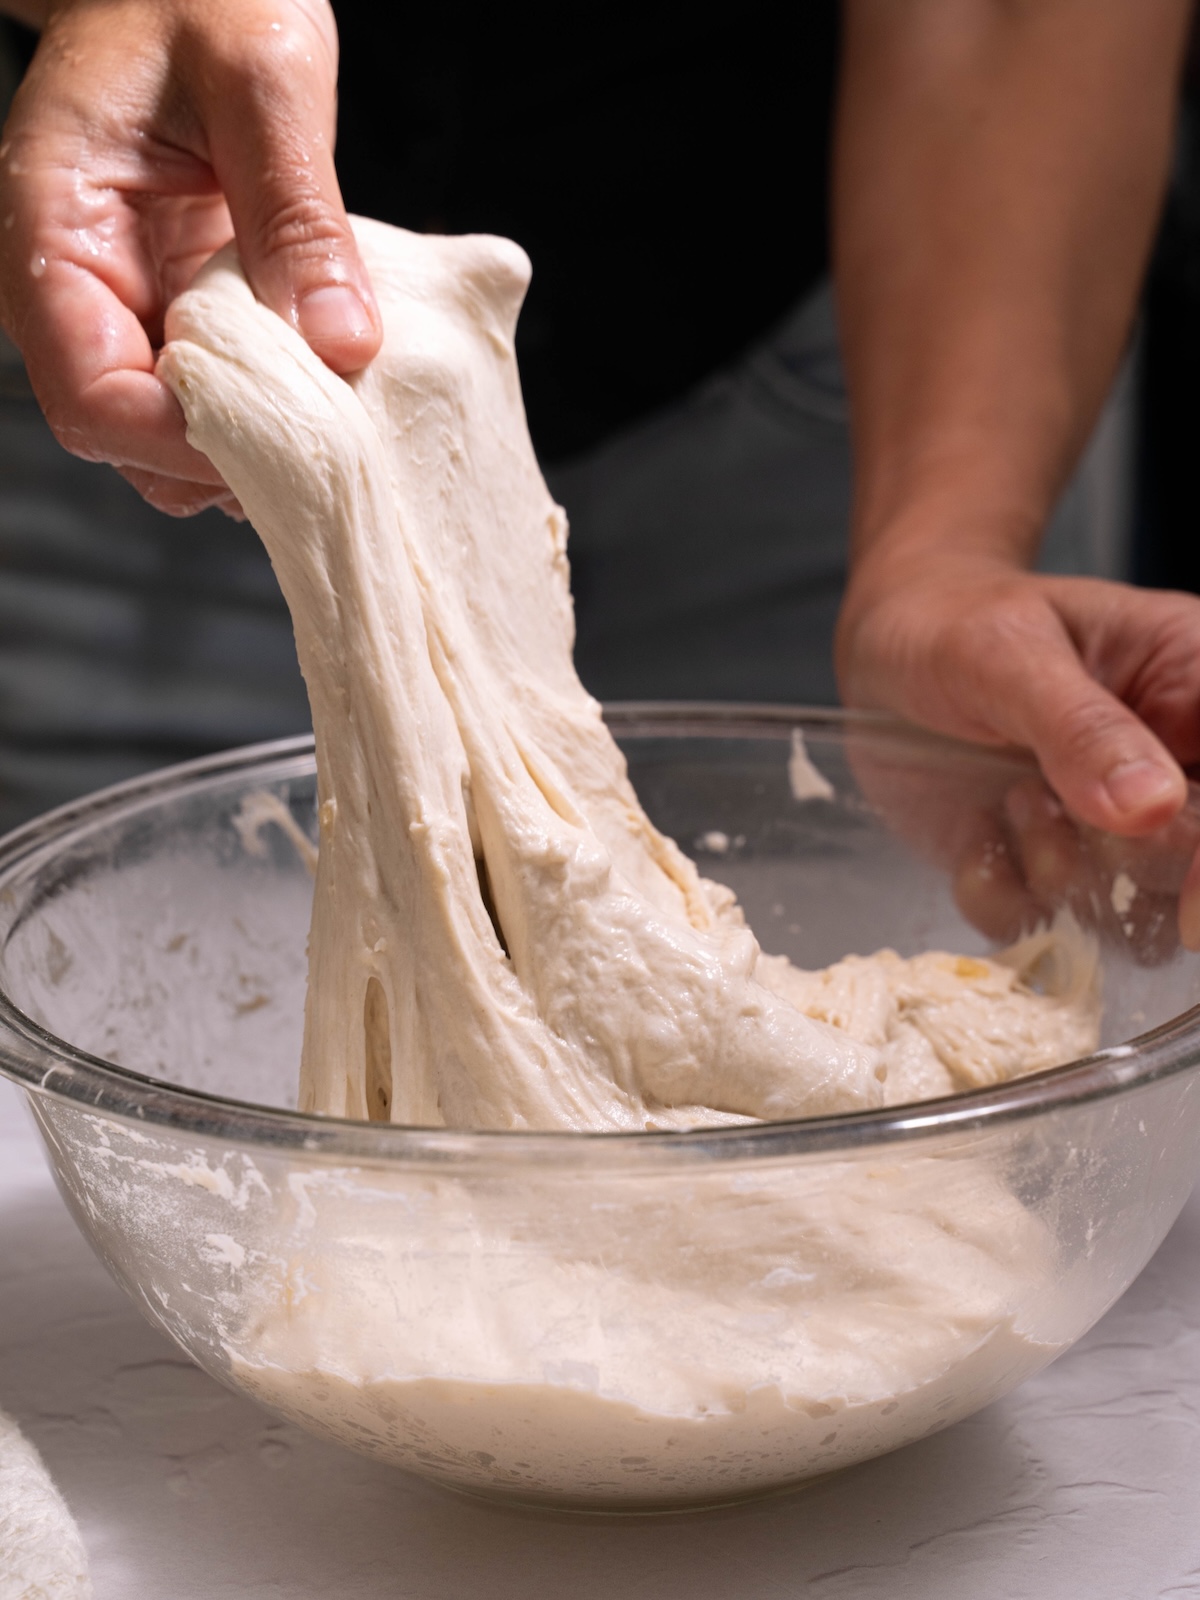
- 1st stretch-and-fold: Perform stretch & folds to build tension and structure in your dough. With damp hands, gently stretch one side of the dough upward, then fold it over itself. Rotate the bowl and repeat on all four sides.Cover it back up and rest another 30 minutes.
- 2nd stretch-and-fold: Do a second round of stretch & folds, then cover and rest an additional 30 minutes. At this point, the dough has been resting and fermenting for a total of an hour and a half. It should feel hydrated, a little sticky, and a bit bubbly.
- Shape the dough: Use 1-2 Tbsp of olive oil to generously grease a baking sheet (or 13×9 inch pan). You can use parchment paper on the bottom if you like, but it isn't necessary. Use your fingers to spread the oil evenly over the pan. Scoop the dough out onto the prepared pan. With oiled hands, gently stretch and press the dough into a rough rectangle. It doesn't need to fill the pan by any means at this point, just stretch and thin it out a bit.
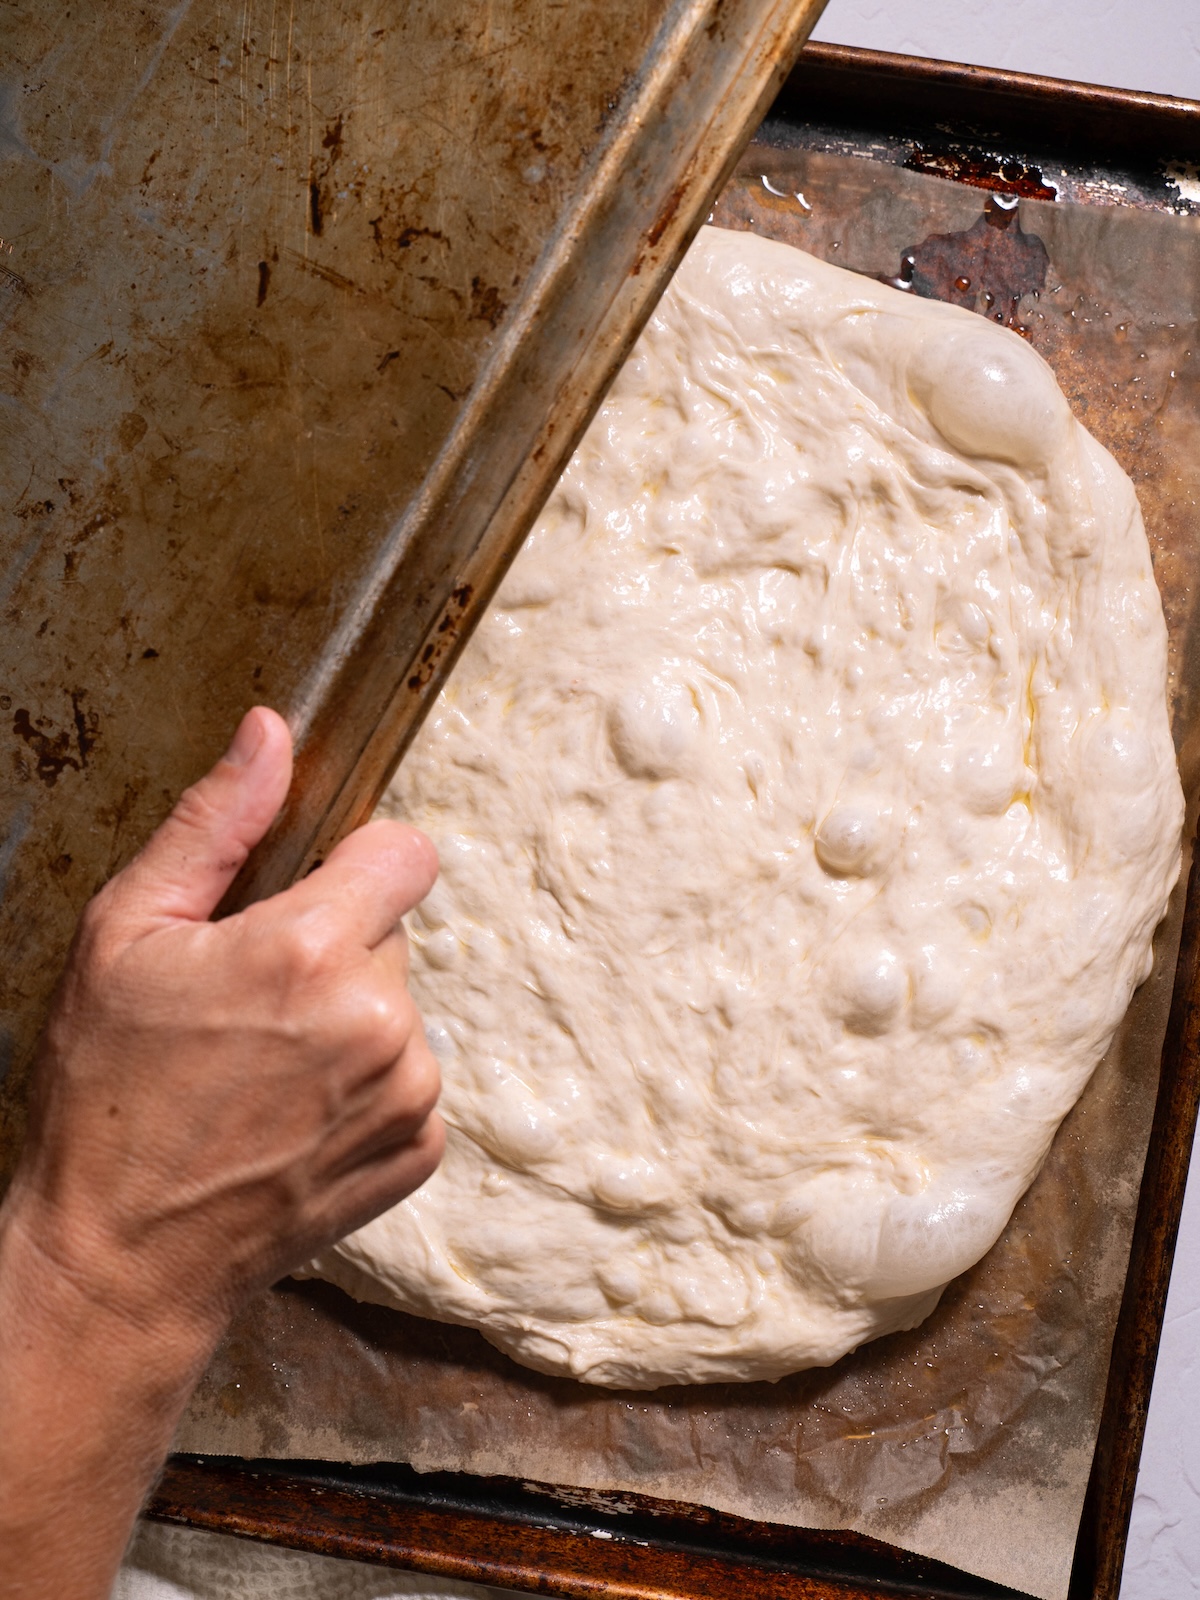
- Rise: Cover the dough** and allow to rise for 1 – 1 ½ hours, or until it has grown significantly. It should be very puffy, with tons of cute bubbles all over.
- Preheat oven to 425° F
- Dimple: Use your fingers to dimple the dough all over, pushing all the way through the dough to the pan while being careful not to tear the dough.
- Add toppings: Drizzle some more olive oil over the dough and decorate with tomatoes. Sprinkle the tomatoes with a bit of salt and pepper. Add rosemary and grated parmesan, if using.
- Bake: Place bread in the preheated oven and bake until golden brown on top and bottom, about 30-35 minutes.Cool on a cooling rack for at least 30 minutes before slicing.
Notes
Did you try this recipe?
Be sure to leave a comment below!