This is the easiest sourdough bread recipe I’ve ever made, and the one I make over and over again. It’s a simple no-knead method that gives you that gorgeous artisan sourdough look and flavor, yet takes very little hands-on time. You’ll mix the dough, do a few quick stretches and folds, then let it rest overnight in the fridge. In the morning, it’s ready to bake into a golden, crusty loaf.
I love this recipe because it’s so forgiving. It’s perfect for beginners who are just learning how to bake sourdough, but even seasoned bakers come back to it for its ease and consistent results. The overnight rest develops deep flavor and makes the dough easy to handle. And baking it in a Dutch oven traps the steam — giving you that beautiful oven spring and crisp crust you’d expect from a bakery loaf.
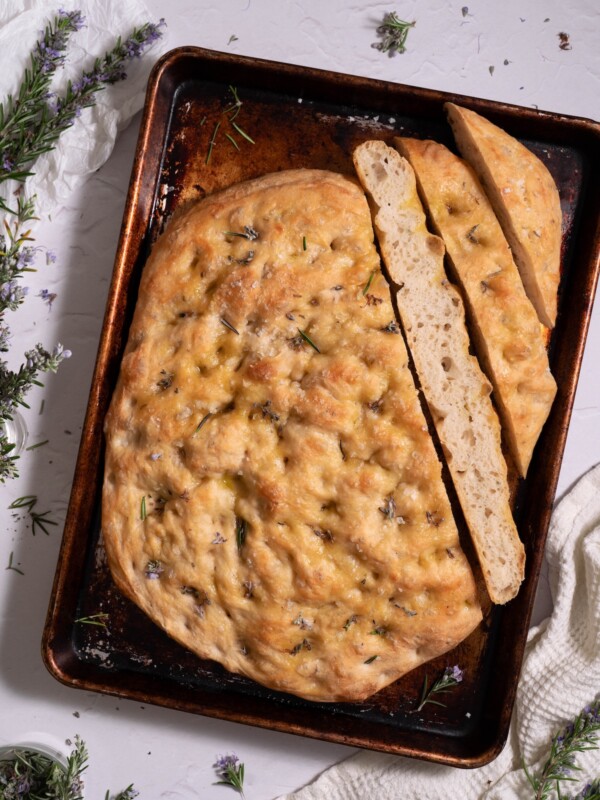
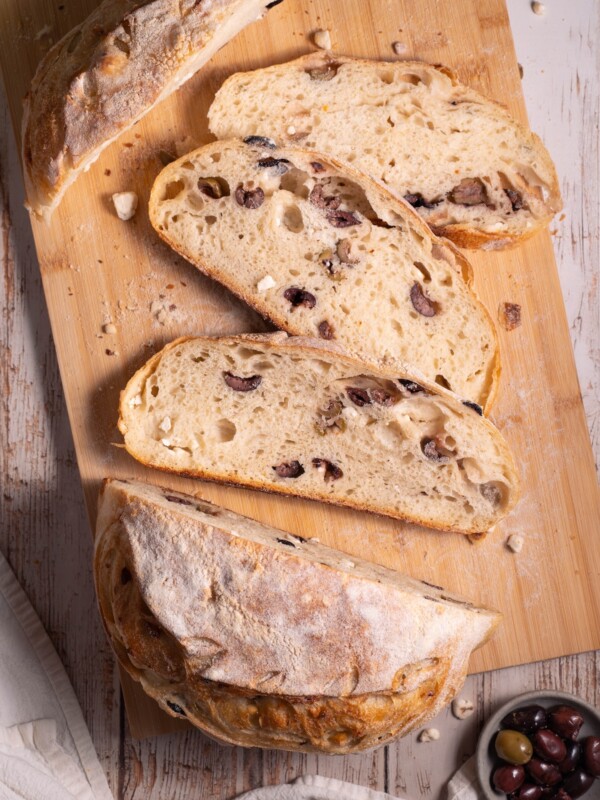
👉 Once you master this basic sourdough recipe, you’ll want to try Rosemary Sea Salt Sourdough, Sourdough Focaccia with Edible Flowers, and Roasted Garlic Parmesan Sourdough.
Table of Contents
- Why this recipe works
- Recipe overview
- What makes this an easy sourdough recipe
- When is sourdough starter ready?
- How to do the stretches and folds
- Why bake sourdough in a Dutch oven
- How to know your sourdough is ready to bake
- Pro baking tips for perfect sourdough bread
- Caring for your starter after baking
- Easy Sourdough Bread Recipe
Why this recipe works
- The Dutch oven method creates perfect steam for a high rise and crispy crust.
- Stretching and folding gently strengthens the dough without kneading.
- The overnight fermentation builds deep flavor and makes the dough easier to shape.
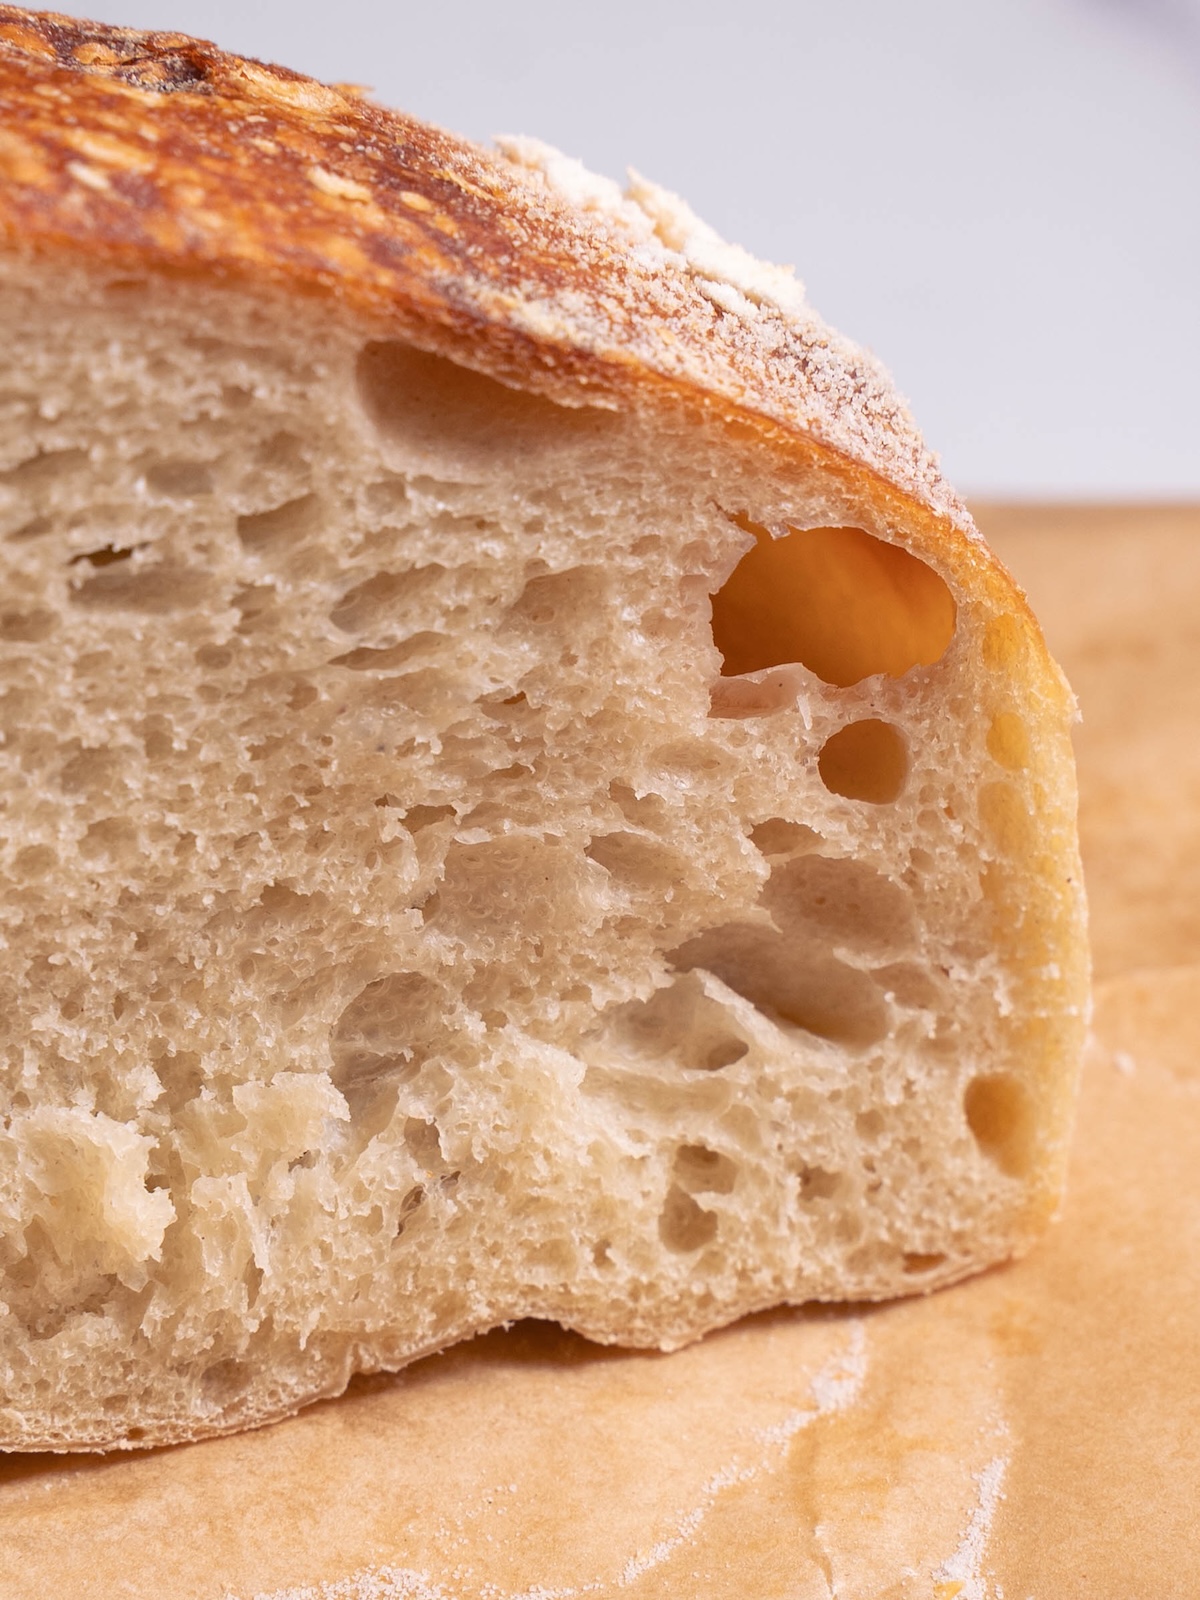
- High hydration keeps the crumb tender and open.
Recipe overview
⏱️ Prep: ~20 min active time • Rest: overnight (8–12 hours) • Bake: 45–50 min
🍞 Yield: 1 large round loaf
💪 Skill level: Beginner
What makes this an easy sourdough recipe
This no-knead sourdough uses time instead of effort to develop structure and flavor. Instead of kneading, you’ll mix everything together, let it rest (in the bread world, we call this an “autolyse”), and do a few short sets of stretches and folds (more on that below). That’s really it.
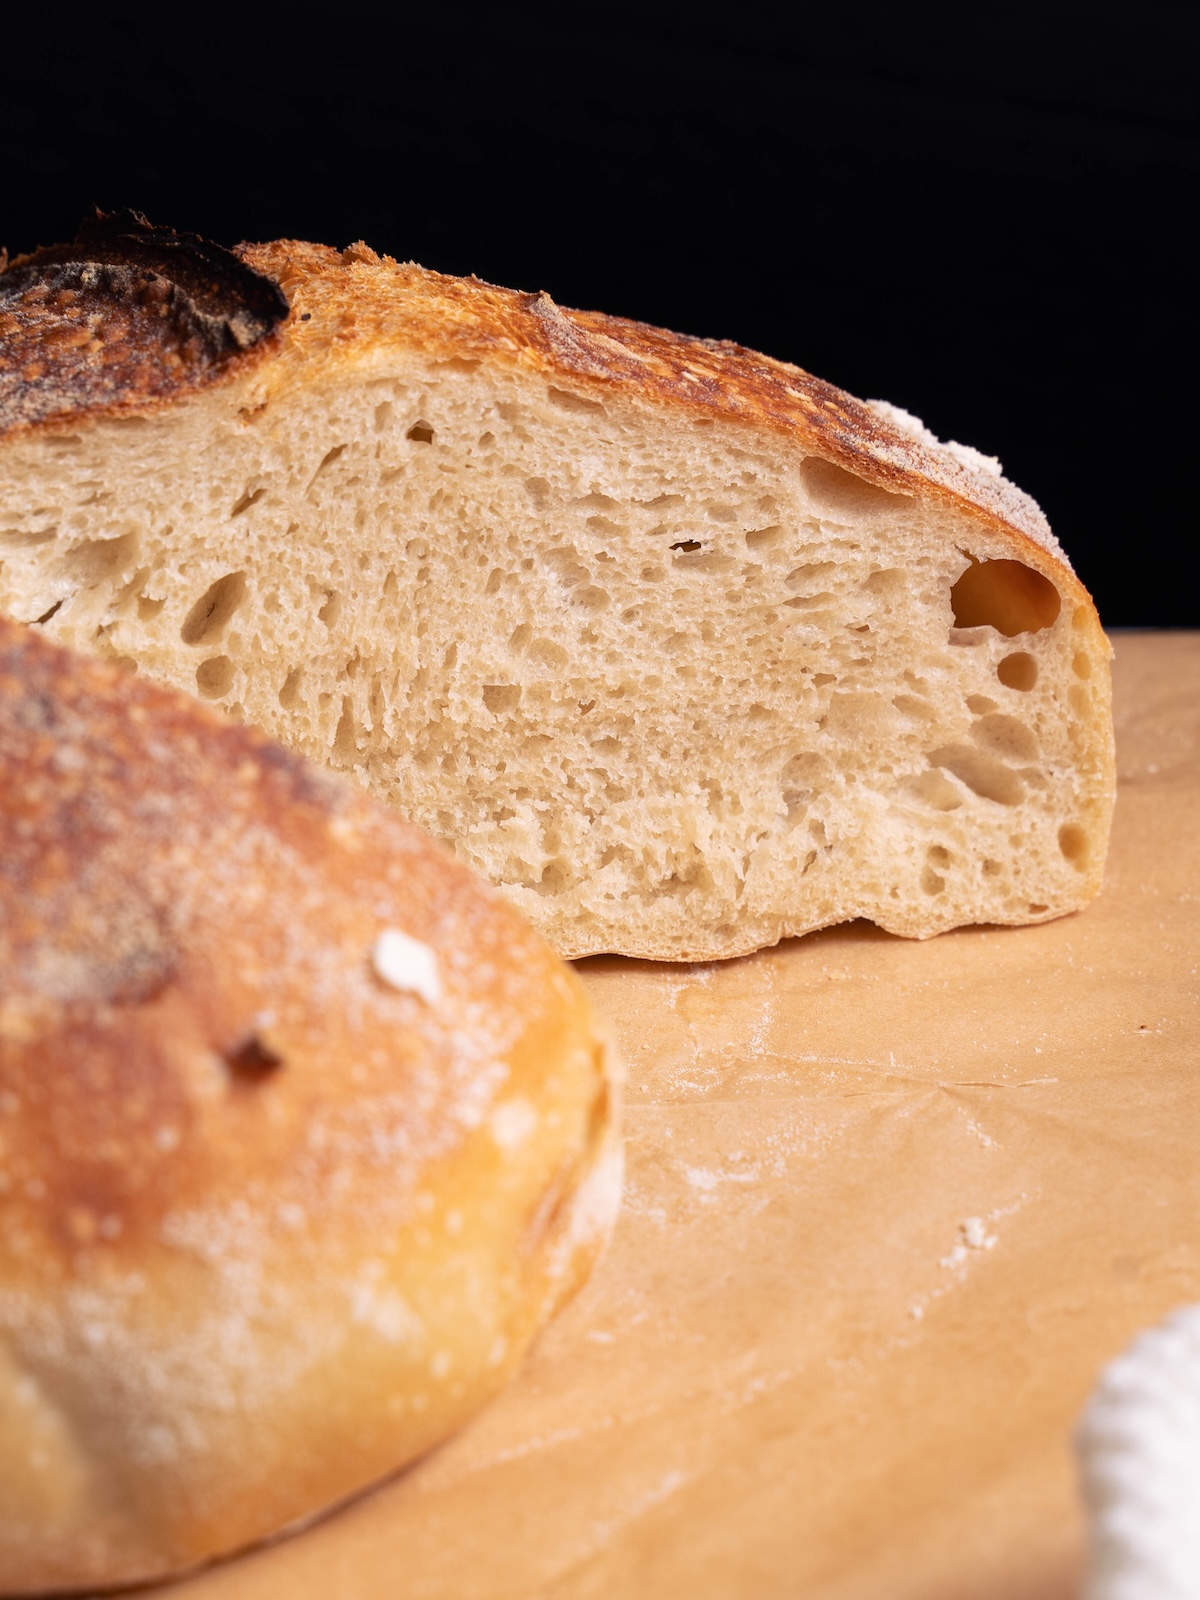
Your trusty sourdough starter + a long cold fermentation overnight in the fridge does a lot of the work for you. The result is an artisan sourdough bread with a chewy crumb, airy pockets, and a shatteringly crisp crust, no stand mixer or complicated steps required.
When is sourdough starter ready?
Before you start, make sure your sourdough starter is healthy and active. Feed it about 6–8 hours before mixing your dough (or the night before if it’s cool in your kitchen). You’ll know it’s ready when:
- It has at least doubled in size after feeding.
- The surface is full of bubbles.
- A spoonful of starter floats in a glass of water (the float test!).
If your starter lives in the fridge, take it out a day or two before baking and give it a few feedings to wake it up and develop that classic tangy flavor. After baking, you can return it to the fridge and feed it once a week to keep it happy.
👉 Need to make your own starter? See my sourdough starter recipe guide!
How to do the stretches and folds
Stretches and folds are easy and help strengthen your dough in place of kneading. This process builds tension in the dough, developing the gluten so that it gets stretchy and soft. The change in the gluten network enables it to hold carbon dioxide, which gives the bread its lightness.
Here’s how to do it:
- After mixing your dough, let it rest for about 30 minutes (this is called autolysing).
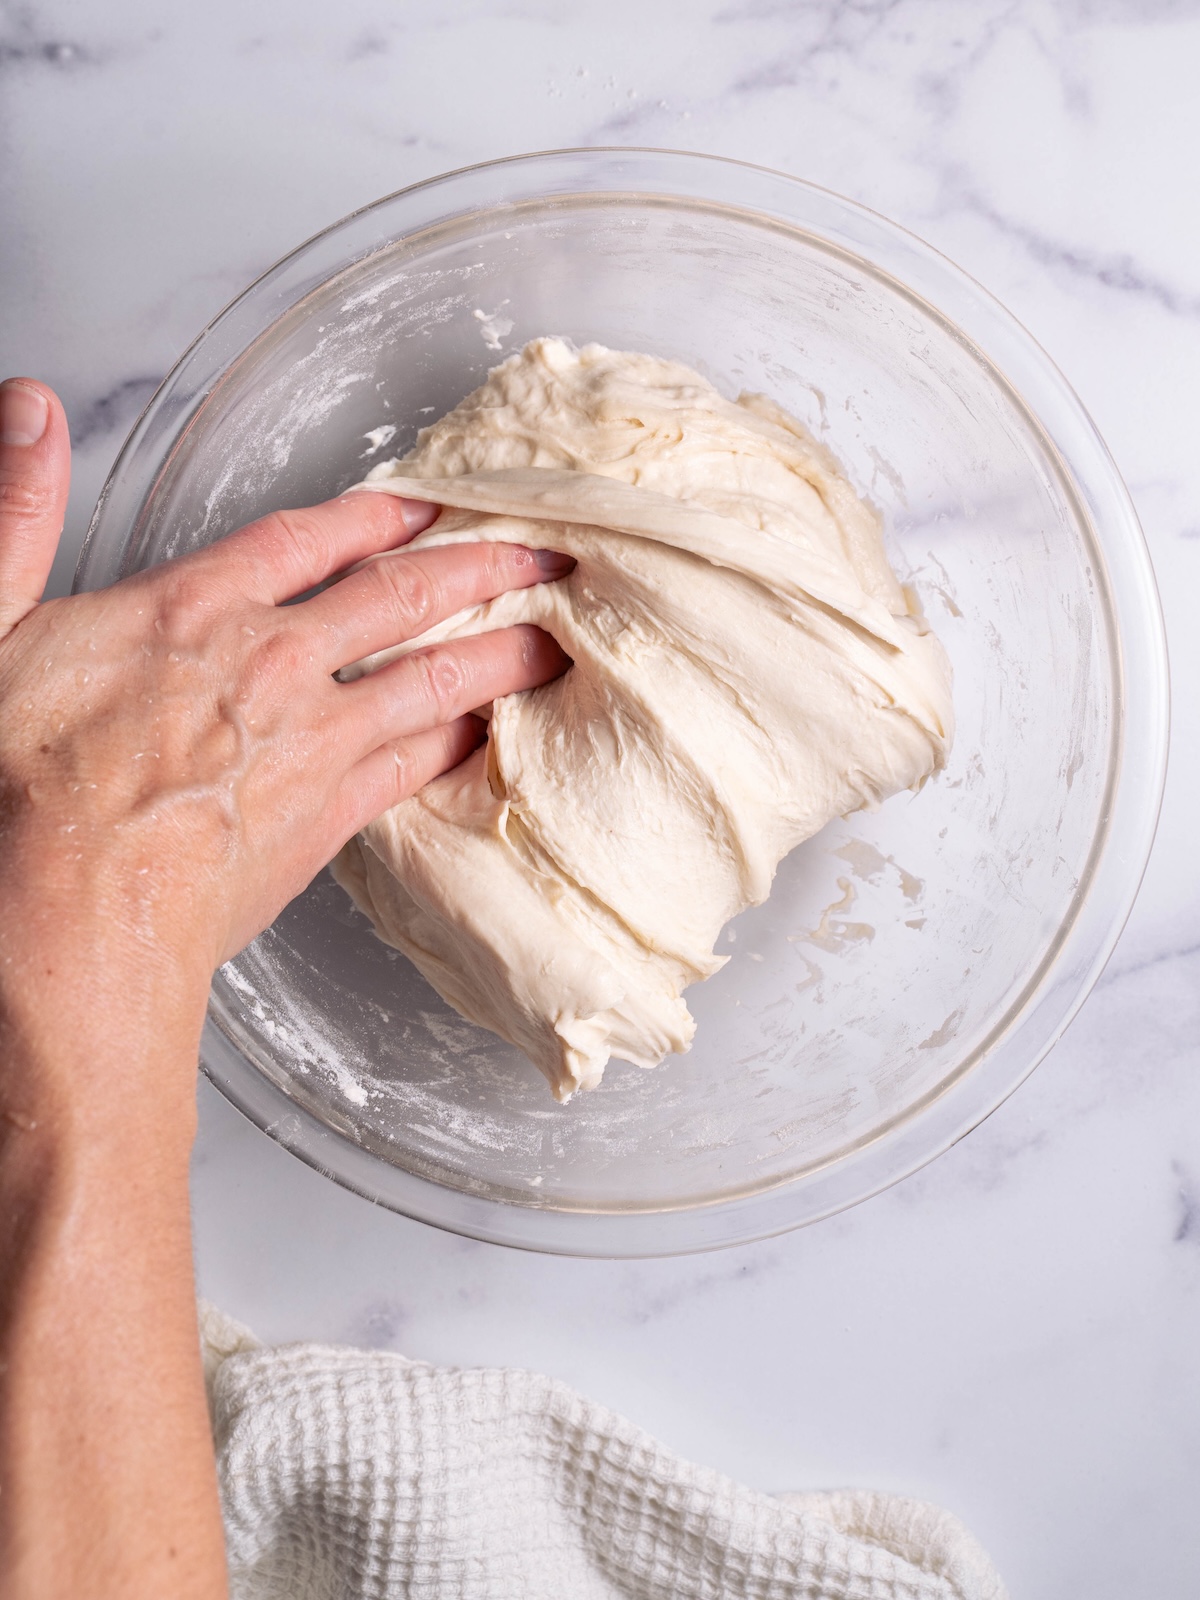
- Wet your hand to prevent sticking, then grab one side of the dough, stretch it up gently, and fold it over onto itself.
- Turn the bowl a quarter turn and repeat, doing 4 folds total.
- Cover and let rest another 30 minutes or so, then repeat this process 3-4 more times.
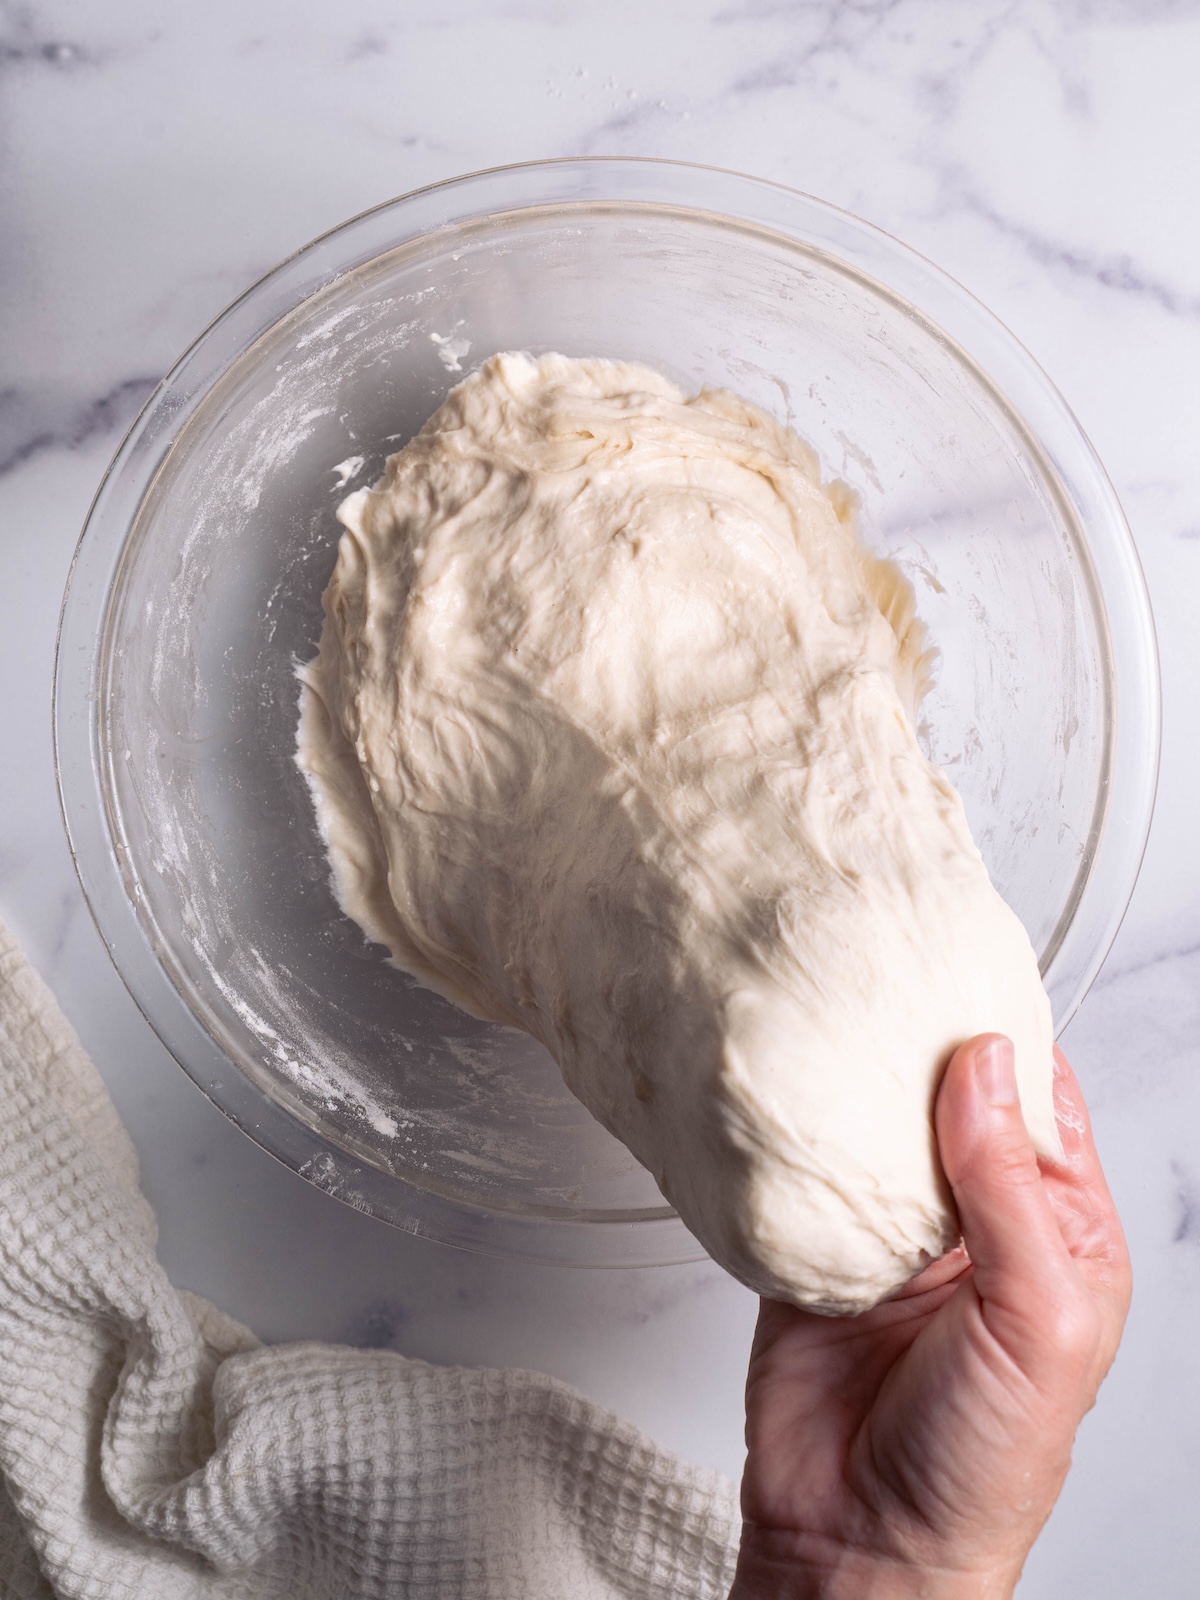
That’s it! You’ll notice the dough becoming smoother, stronger, and more hydrated each time.
Why bake sourdough in a Dutch oven
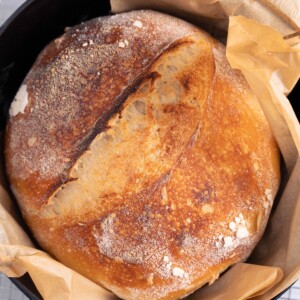
If you’ve ever wondered why nearly every sourdough recipe calls for a Dutch oven, it’s because it’s the easiest way to get bakery-style results at home. A Dutch oven traps steam from the dough, which keeps the crust soft and flexible during the first part of baking (the oven spring phase), so your loaf can fully rise. Once the lid comes off, the crust dries out and becomes beautifully golden and crisp.
No Dutch oven? No problem! You can still bake great sourdough at home. Try this instead: place your dough on a preheated baking sheet, then cover it with a large heatproof metal bowl for the first 20 minutes to trap steam.
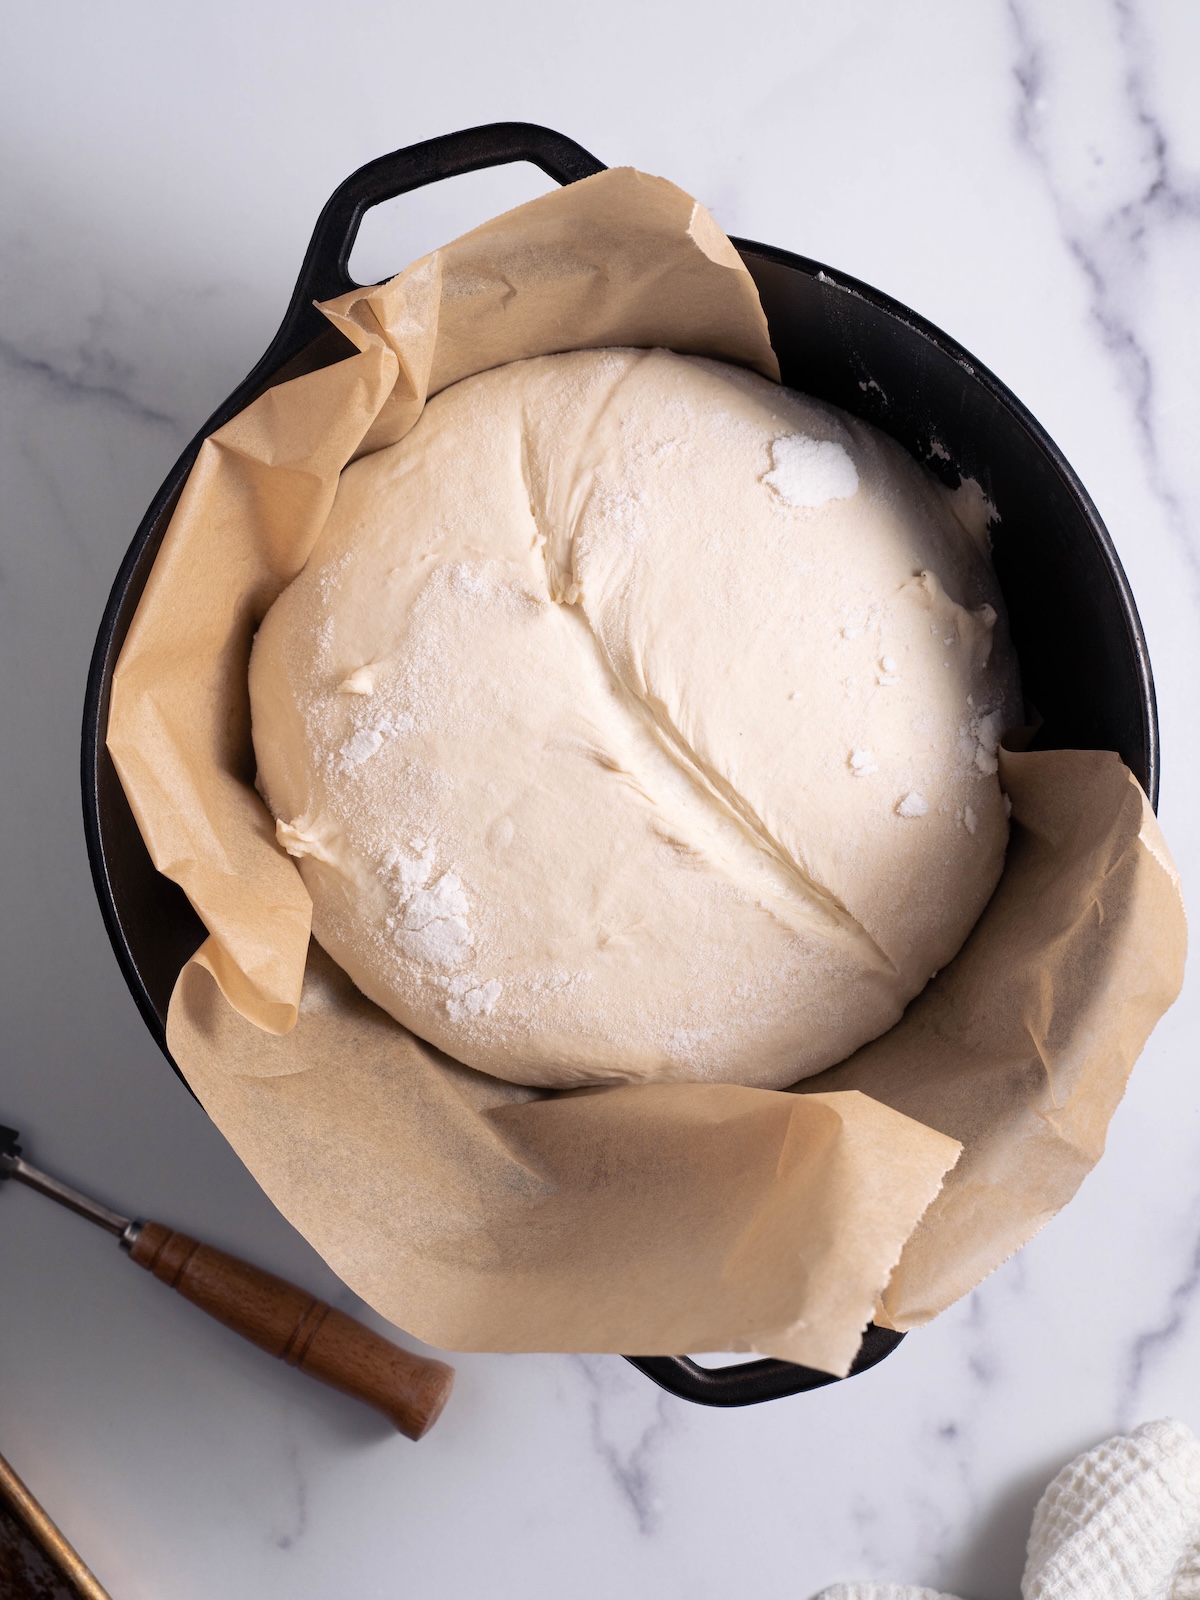
How to know your sourdough is ready to bake
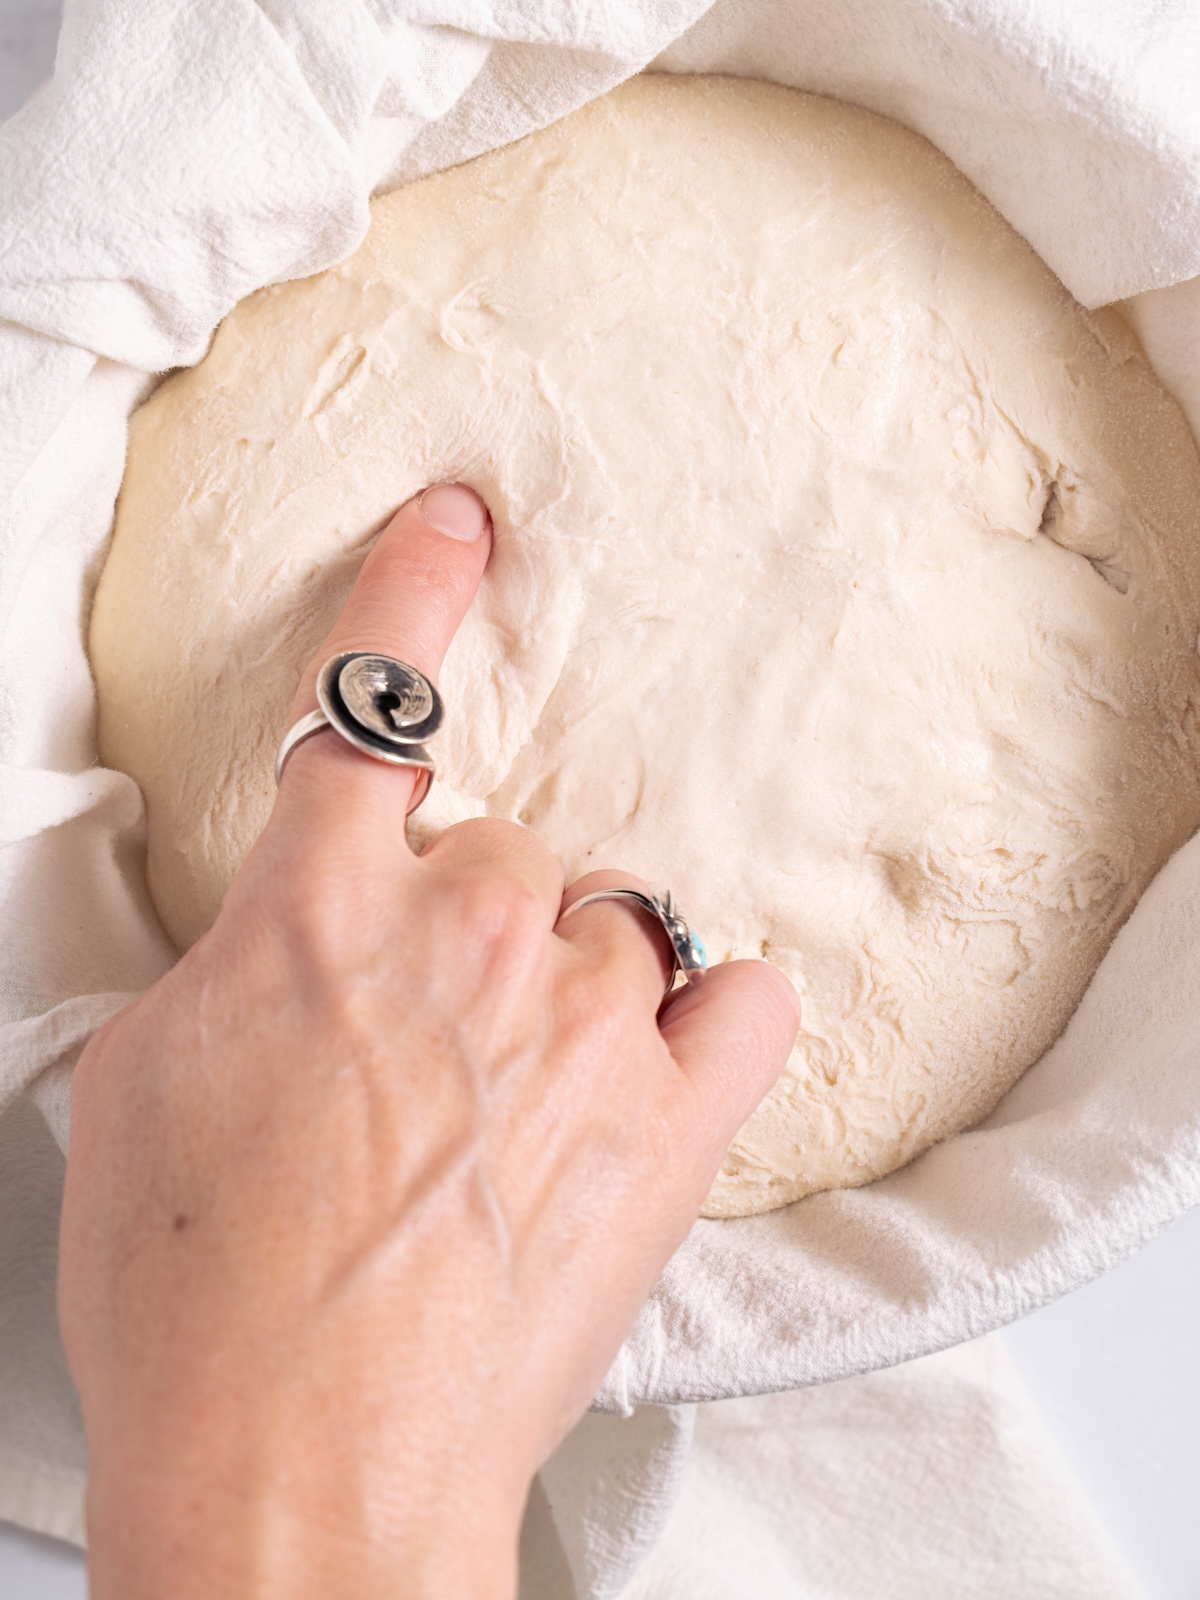
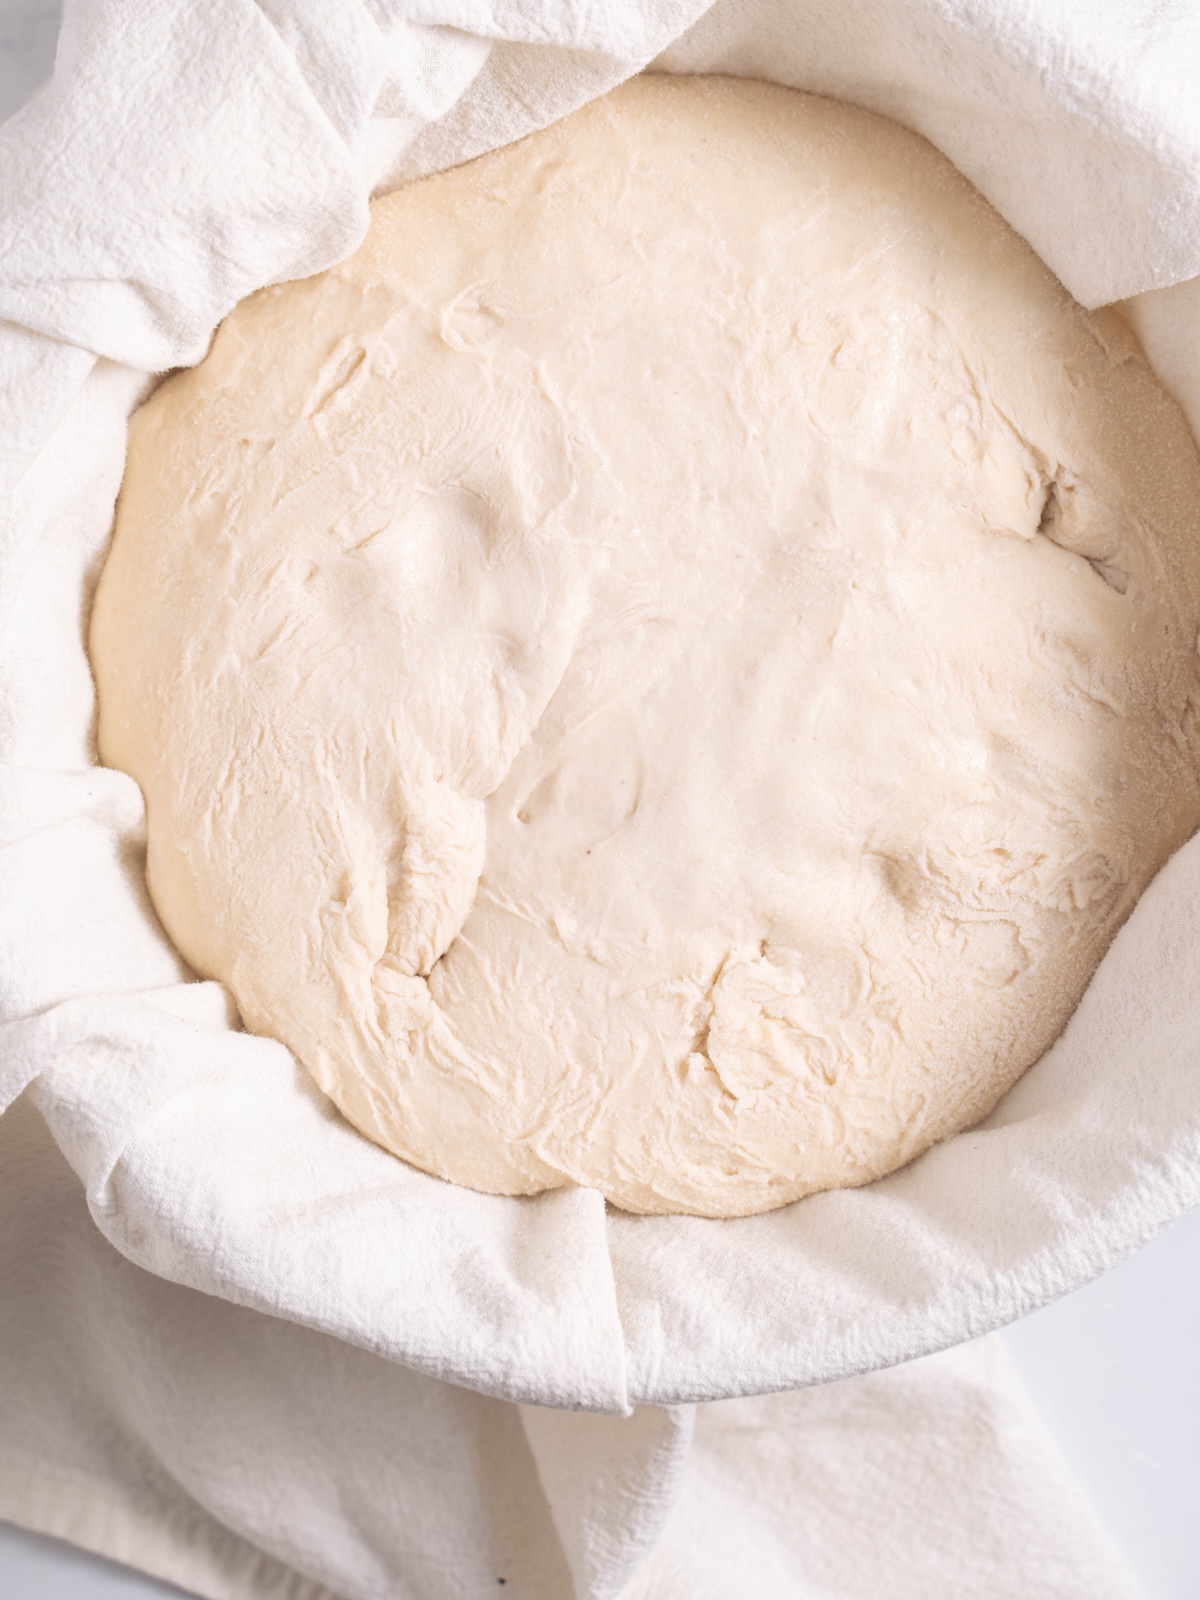
After the final proof, your dough should look slightly domed, airy, and have visible bubbles just beneath the surface. It should have risen significantly, but it doesn’t need to fully double in volume at this point. The dough should be a bit puffy but still have tension in it.
👉 Try the fingertip test: Gently press the dough with a wet or floured fingertip. If the dough springs back slowly and leaves a slight indentation, it’s ready to bake. If it bounces back immediately, it needs a little more time to rise; if it collapses or stays completely indented, it may be slightly over-proofed.
Bread over-proofed? You can always bake it anyway and hope for the best! It may be a little dense, but the flavor will still be good. If your bread is severely over-proofed, you can always turn it into focaccia. Just press the bread out onto an oiled pan, dimple the dough with your fingers, add some toppings, and bake at 425° F for 20-25 minutes. Check out my Sourdough Focaccia recipe if you need more guidance.
Pro baking tips for perfect sourdough bread
Use a kitchen scale. Precision matters for sourdough. Weighing your ingredients on a scale is much more reliable than going by volume.
Keep your dough in a warm place. Sourdough loves a cozy environment — aim for around 70–75°F during the bulk rise and stretch-and-fold stage. If your kitchen is cool, you can place the covered bowl in your oven with the light on or near a slightly warm spot to help fermentation along. If your house is cold, that’s fine, just keep in mind things will take a bit longer.
Use an active starter at “peak” rise. Your starter is ready when it’s doubled in size, bubbly, and just starting to dome at the top. This “peak” stage means it’s full of active yeast and bacteria, ready to give your bread the best rise and flavor. If it’s collapsed back down, feed it again before using in a recipe. If it hasn’t risen yet, give it more time.
Get steamy. Steam is essential for both a strong rise and a crispy crust. There are several ways to create steam in your home oven. Baking in a Dutch oven is the easiest and best method, but you can also cover your loaf with a large oven-safe bowl in the first half of baking or add a pan of water to the bottom of your oven.
Score your loaf. A clean slash helps control the rise and gives your bread that classic artisan look.
Caring for your starter after baking
After baking your super easy sourdough bread, don’t forget to feed your starter again! Set aside what you need to keep (I usually save about 50 grams) and feed it with equal parts flour and water by weight. Let it sit at room temperature until bubbly, then store it in the fridge if you’re not baking again soon. Feed it at least once a week to keep it strong and active.
And don’t toss that extra starter — it’s perfect for all kinds of sourdough discard recipes like Banana Chocolate Chip Muffins, Sourdough Chocolate Chip Cookies, pancakes, biscuits, and so much more!
If you make the Easiest Sourdough Bread Recipe, please leave a star rating and comment below. I’d love to hear what you think or answer any questions. Thank you!
Easy Sourdough Bread
Equipment
- Dutch oven optional but recommended!
Ingredients
- 150 grams active, bubbly sourdough starter, at peak rise
- 330 grams water
- 10 grams salt
- 500 grams bread flour
Instructions
- [Day 1] Mix the dough. Stir together sourdough starter, water, and salt in a large bowl. Add bread flour and mix until it starts to form a shaggy mass. Cover the bowl with plastic wrap or a clean kitchen towel and let it rest for at least 30 minutes.
- Stretch and fold. Pull dough from one side and give it a long stretch, then fold dough back to the middle. Turn bowl a quarter turn, stretch again and fold back to the middle. Repeat on all four sides, cover the dough back up, and allow it to rest again.
- Repeat. Over the next few hours, you’ll repeat this process of stretching and folding the dough about every 30-45 minutes or so (exact time doesn't matter). Plan to stretch and fold a total of four times, or until dough feels hydrated, smooth, and elastic.
- Cold ferment. After the last stretch and fold, cover the dough back up and place it in the refrigerator overnight.*
- [Day 2] Prep. Remove sourdough from refrigerator and let it warm up a bit at room temperature. Line a large bowl with a tea towel and dust it lightly with flour.
- Shape. Scrape dough out of its bowl onto a clean countertop. Shape dough into a rough ball, pulling it towards you to create tension. Flip dough over, placing seam side up in the towel-lined bowl. Cover with a kitchen towel or plastic wrap.
- Proof. Let dough rise until puffy and bubbly, about 1-3 hours**. Preheat oven to 450° F. Place your Dutch oven pan in the oven to preheat during this time, if using.
- Score. Carefully tip dough out onto a sheet pan lined with parchment, seam side down. Remove towel. Score dough with a bread lame or very sharp knife in any desired pattern.
- Bake. Lift parchment paper with sourdough, lowering it carefully into Dutch oven. Bake with lid on for 25 minutes. Remove lid and continue to bake, uncovered, for another 18-25 minutes, or until bread is golden and cooked through and internal temperature is 205 – 215° F.
- Cool. Let bread cool at least an hour before slicing into it.
Notes
Did you try this recipe?
Be sure to leave a comment below!