Making a sourdough starter from scratch is simpler than it sounds, and yet the process feels completely magical. With just flour, water, and time, you’ll create a living culture that becomes the foundation for naturally leavened bread, sourdough discard recipes, and endless delicious baking projects.
This guide walks you through what sourdough starter is, how to make your own, how to feed and care for it, and how to troubleshoot common issues. No fancy tools, no stress, just a reliable, easy, from-scratch method that works.
Table of Contents
- This sourdough starter guide is:
- Recipe overview
- What is sourdough starter?
- Starting from scratch vs. getting starter from a bakery
- What flour to use for sourdough starter?
- What you’ll need
- How to make sourdough starter (step-by-step)
- What’s normal (and what isn’t)
- How to feed & care for sourdough starter
- What to do with sourdough discard
- Sourdough discard recipes
- FAQ & troubleshooting sourdough starter
- Sourdough recipes
- Sourdough Starter Recipe
This sourdough starter guide is:
- Beginner-friendly and low pressure. This guide walks you through each step slowly, without complicated ratios or jargon.
- Made with just flour and water. All it takes is time, patience, and 2 ingredients.
- Flexible and forgiving. Starters don’t need much to thrive, and I’ll show you how to tell what’s normal (and what’s not).
- Teaches you why, not just how. Understanding what’s happening makes sourdough far less intimidating.
- The foundation for endless sourdough recipes. Once your starter is alive and happy, you can bake all the bread, sweets, and savory treats your heart desires!
Recipe overview
⏱️ Time: 4–7+ days
🌡️ Ideal temperature: At least 64°F / 18°C
🥣 Ingredients: Flour + water
💪 Skill level: Beginner
What is sourdough starter?
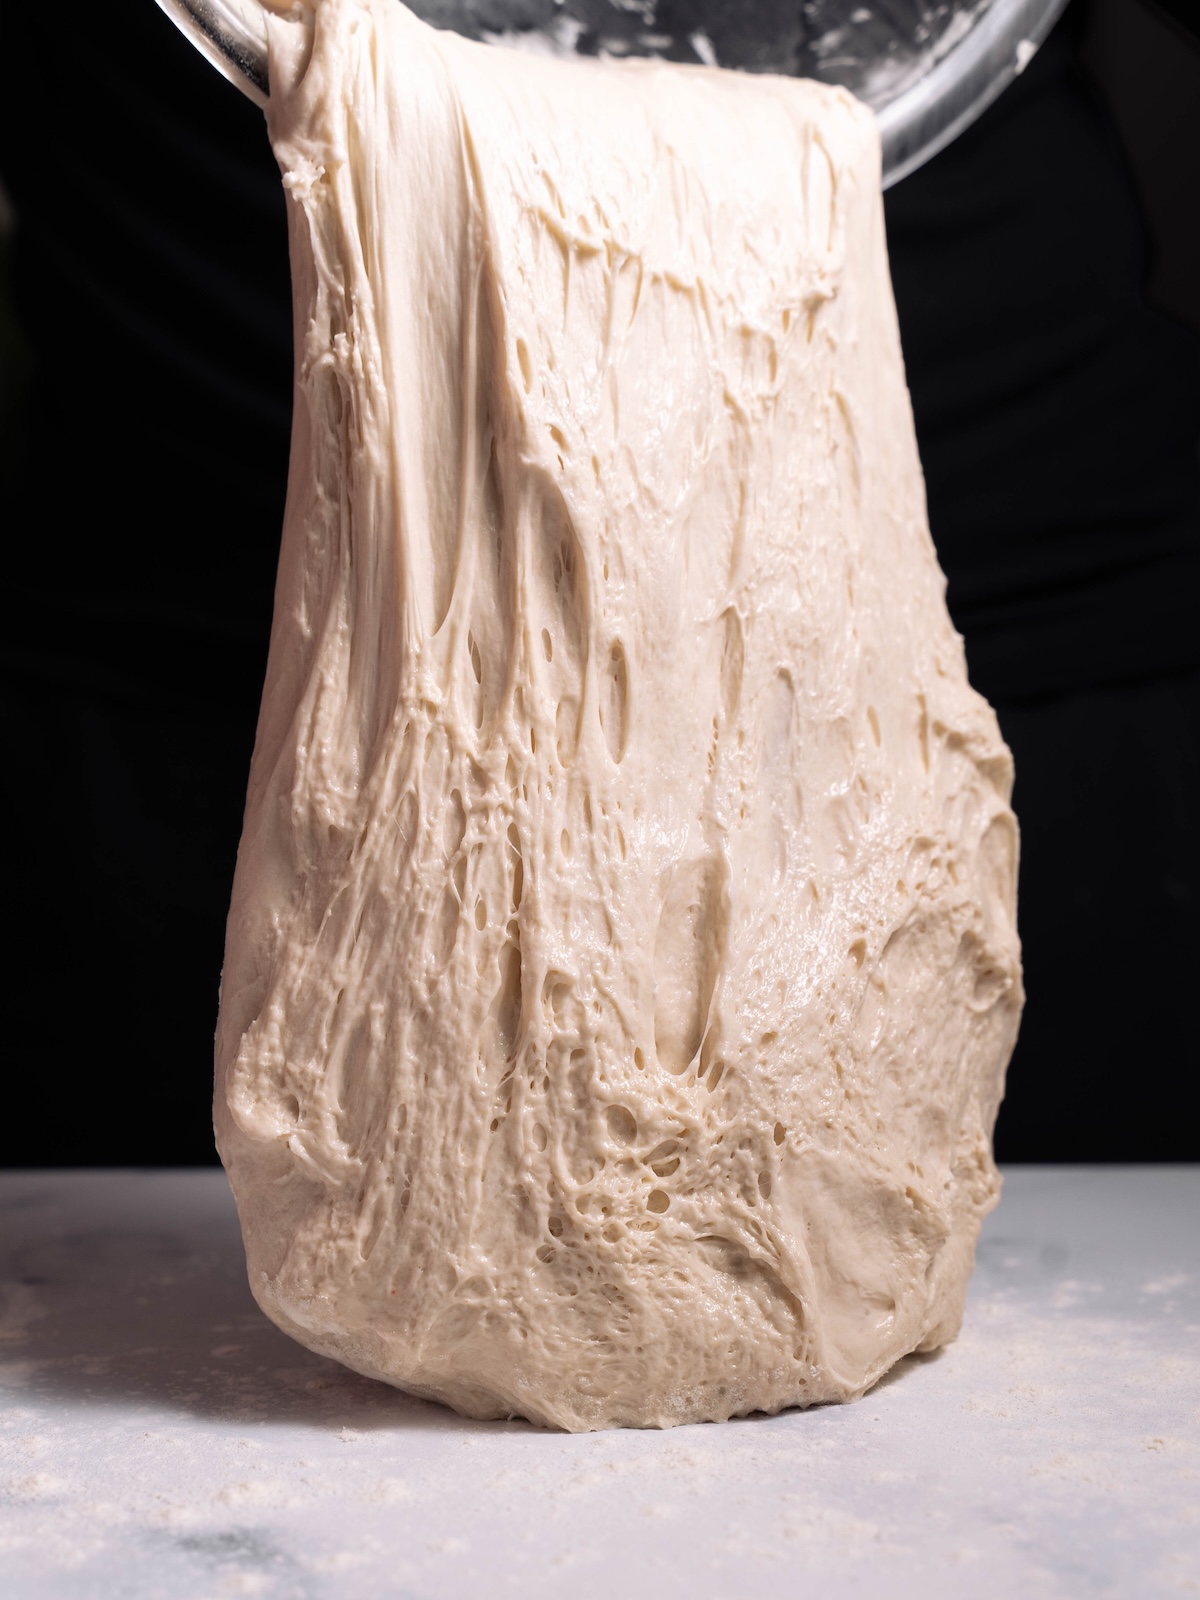
Sourdough starter is a mixture of flour and water that captures wild yeast from the environment and beneficial bacteria from the flour you use. Over several days, natural fermentation will occur as these bacteria eat away at the natural sugars in the flour, releasing carbon dioxide in return. This process creates a bubbly, active culture that can leaven bread without commercial yeast.
What’s really amazing is that the wild yeast and lactic acid bacteria work together to create not just lift, but also flavor and structure to your sourdough bread.
Unlike commercial yeast, sourdough starter:
- Develops complex, tangy flavor
- Improves texture and keeping quality
- Can be maintained indefinitely with regular feeding
Once established, it becomes your “mother starter” that you’ll feed, use, and keep alive for years to come.
Starting from scratch vs. getting starter from a bakery
⚡Shortcut alert: You can always ask a local bakery for sourdough starter. Any bakery or pizza kitchen that uses sourdough in their products will have excess starter on hand, as they need to feed their mother starter daily. Ask around and you’re sure to find someone willing to give you an established starter (sometimes, they’ve been going for years!).
This is a great shortcut if available, but starting from scratch:
- Teaches you how sourdough works
- Helps you learn what a healthy starter looks and smells like
- Creates a stronger connection to your baking
This guide focuses on making sourdough starter from scratch, because once you’ve done it once, you’ll gain so much confidence in working with sourdough.
What flour to use for sourdough starter?
Flour choice does matter, especially in the beginning. When you create a sourdough starter from scratch, you’re largely relying on the bacteria and microbes in the flour itself to get things going.
The best flours for creating a sourdough starter are:
- Stoneground
- Organic
- Whole wheat or wholemeal
These flours have more naturally occurring microorganisms, giving your starter the best chance of taking off. If you can find a flour that ticks all of these boxes, you’re more likely to have success. Flours that are bleached and/or highly processed may not work as well.
Once your initial starter is established, you can transition it to all purpose or bread flour. Changing the flour that you use for your starter can stress the bacteria out a bit, but a slow transition of mixed flours will allow the microbes to do their thing.
👉 Want to make a starter with a different type of flour (ie rye, buckwheat, whole wheat, etc) for a particular recipe? No need to create multiple types of starter. Simply do your final feed with this flour before starting the recipe. Just know that the starter may be a little slower to rise than usual.
What you’ll need
You really don’t need much to get started. Here’s what I recommend:
- Flour & water. See tips above for what type of flour to start with. You can use bottled water or just your tap water as long as it isn’t super chlorinated.
- A kitchen scale. It’s best to measure your ingredients by weight. You’ll want this for making sourdough bread anyway.
- A couple glass jars with loose lids (not sealed shut).
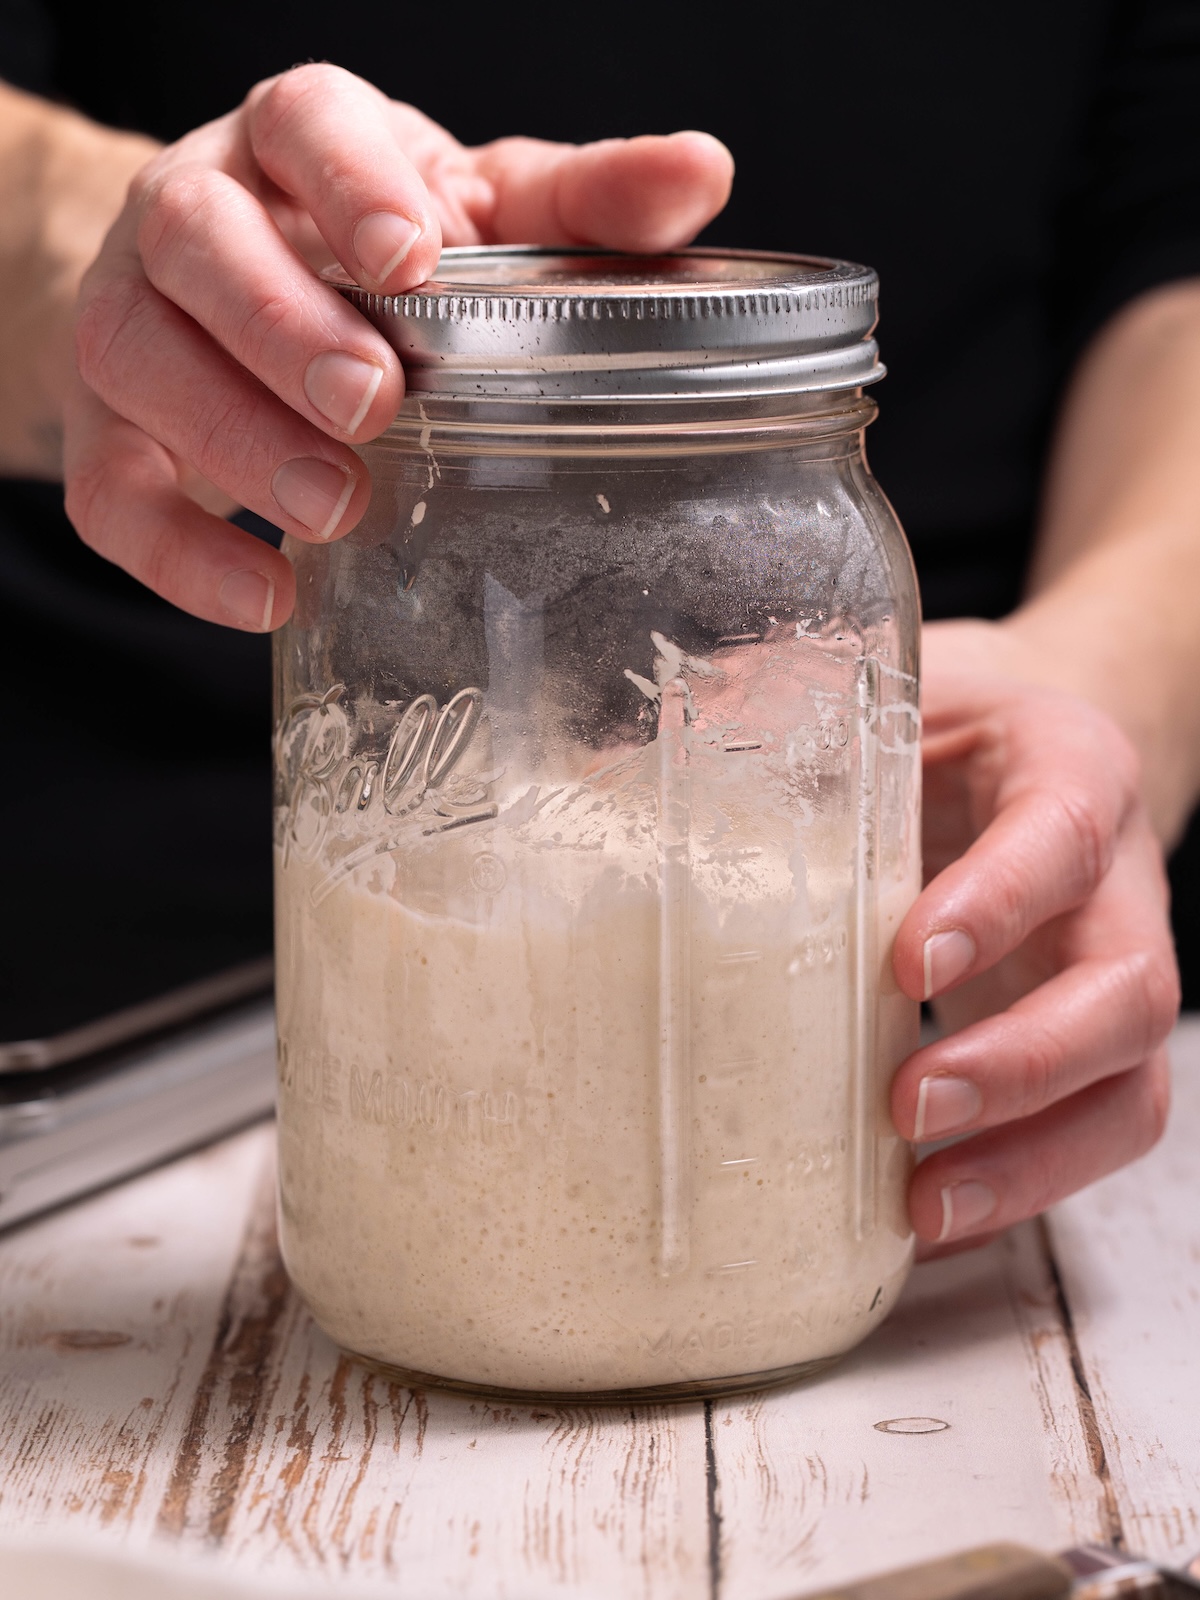
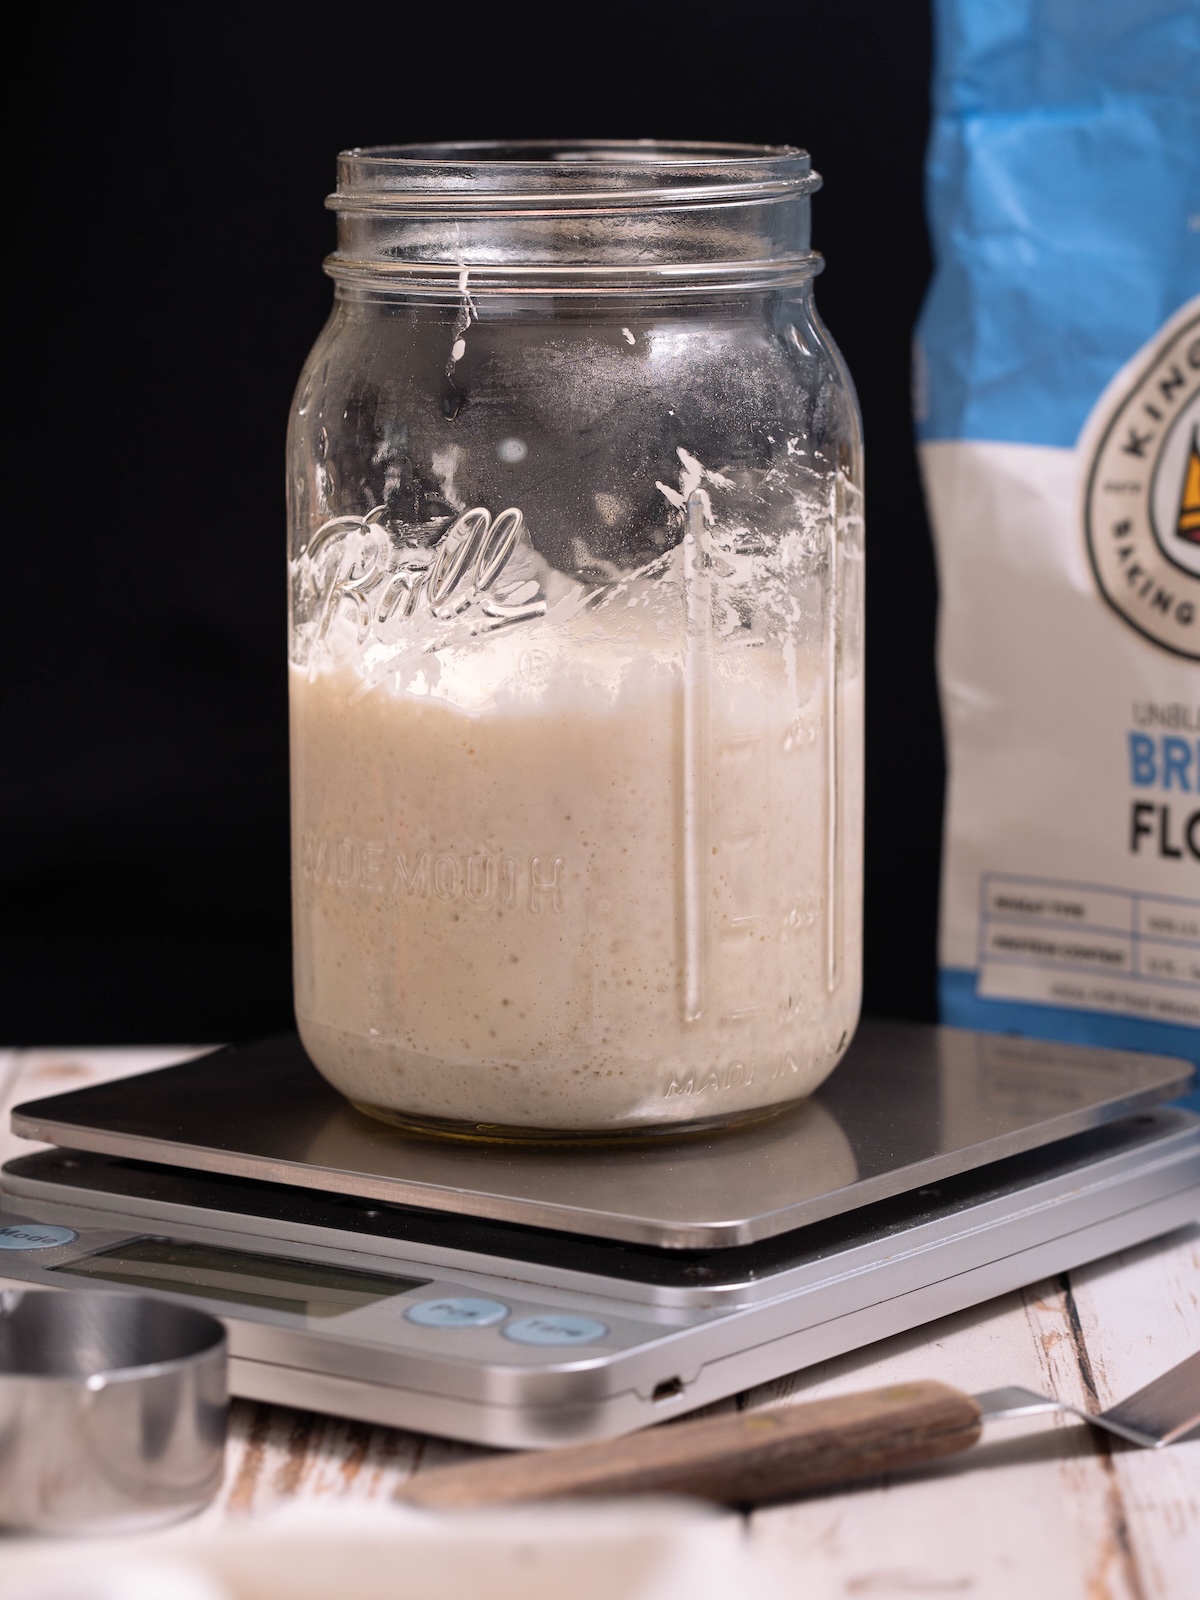
How to make sourdough starter (step-by-step)
Day 1: mix
- Combine 50 grams flour and 50 grams tepid water in a clean jar.
- Stir until smooth and no flour pockets remain.
- Cover loosely with a lid or wrap (do not seal).
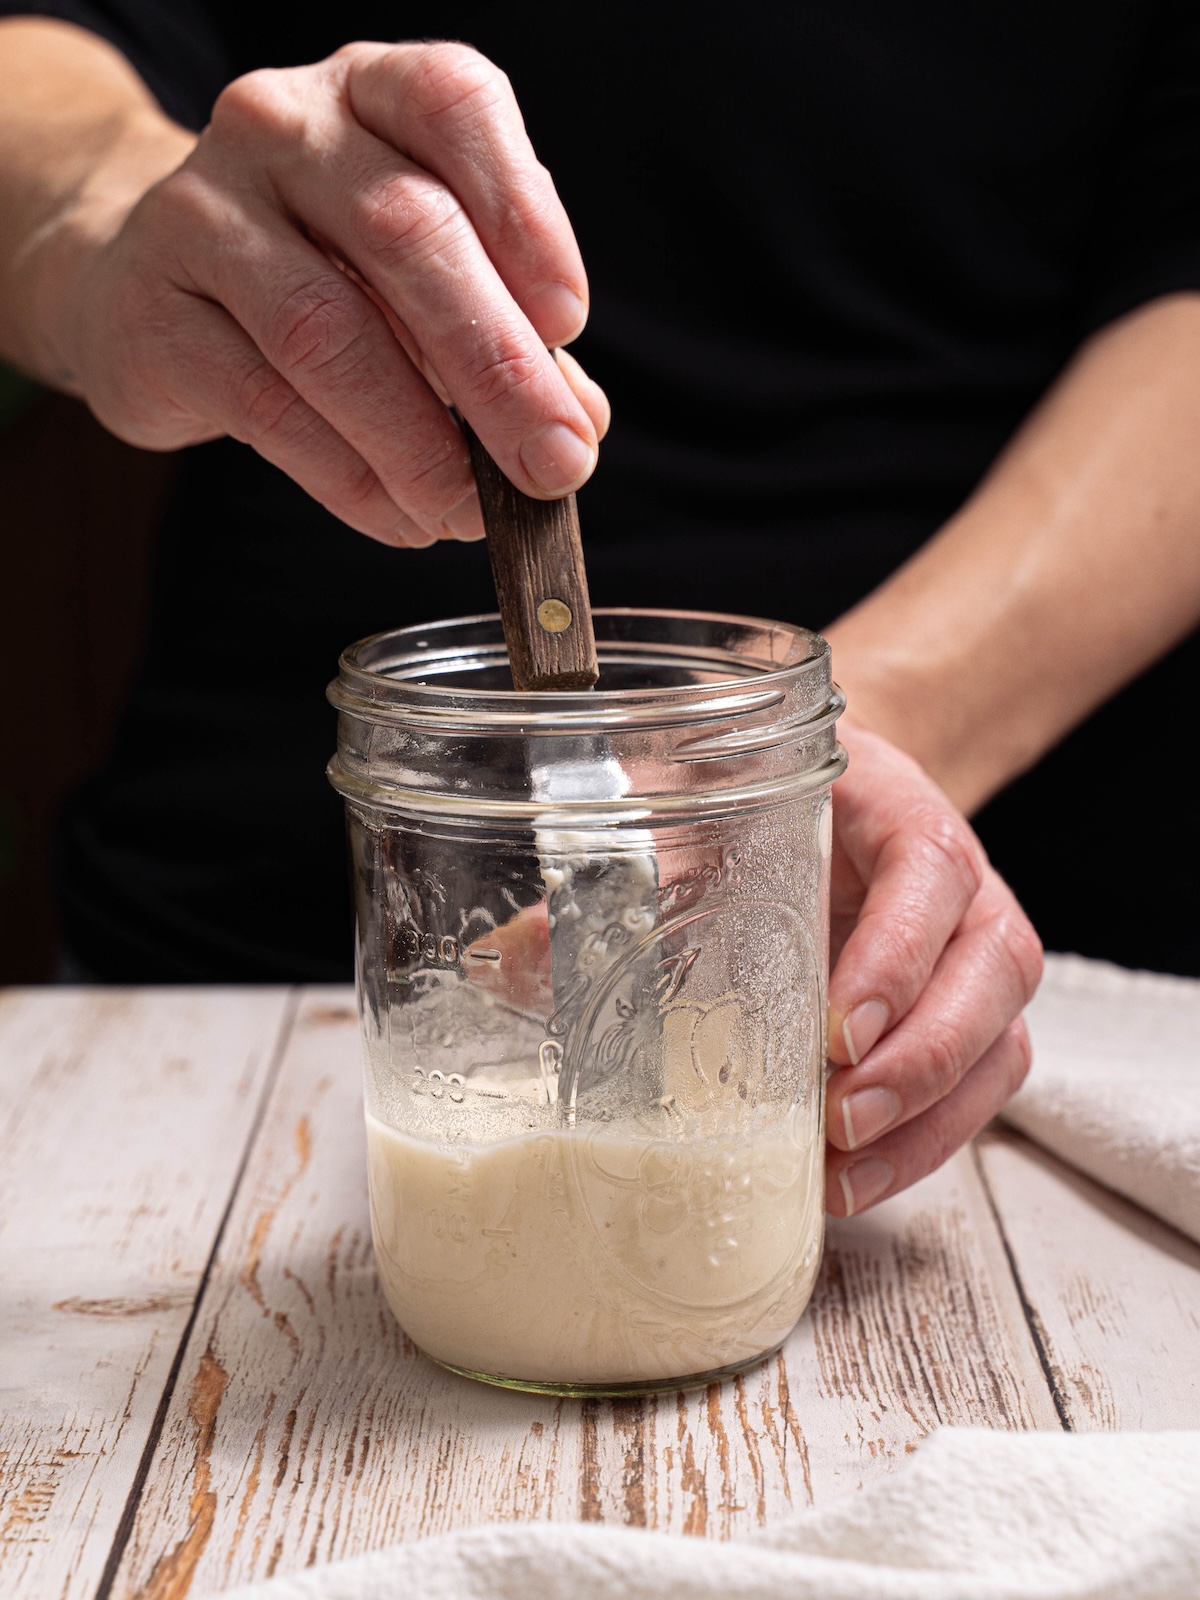
Day 2: mix again
- After 24 hours, give the mixture a stir. Do not feed yet — just mix. There is plenty of food in there for the bacteria to munch on!
- Cover loosely again.
Day 3: and mix again
- After another 24 hours, stir the mixture again. You may see a bubble or two at this point, but keep mixing and waiting for a few more days. This initial bit of fermentation will die off as the mixture grows more acidic.
- Cover loosely again.
Days 4+: keep mixing!
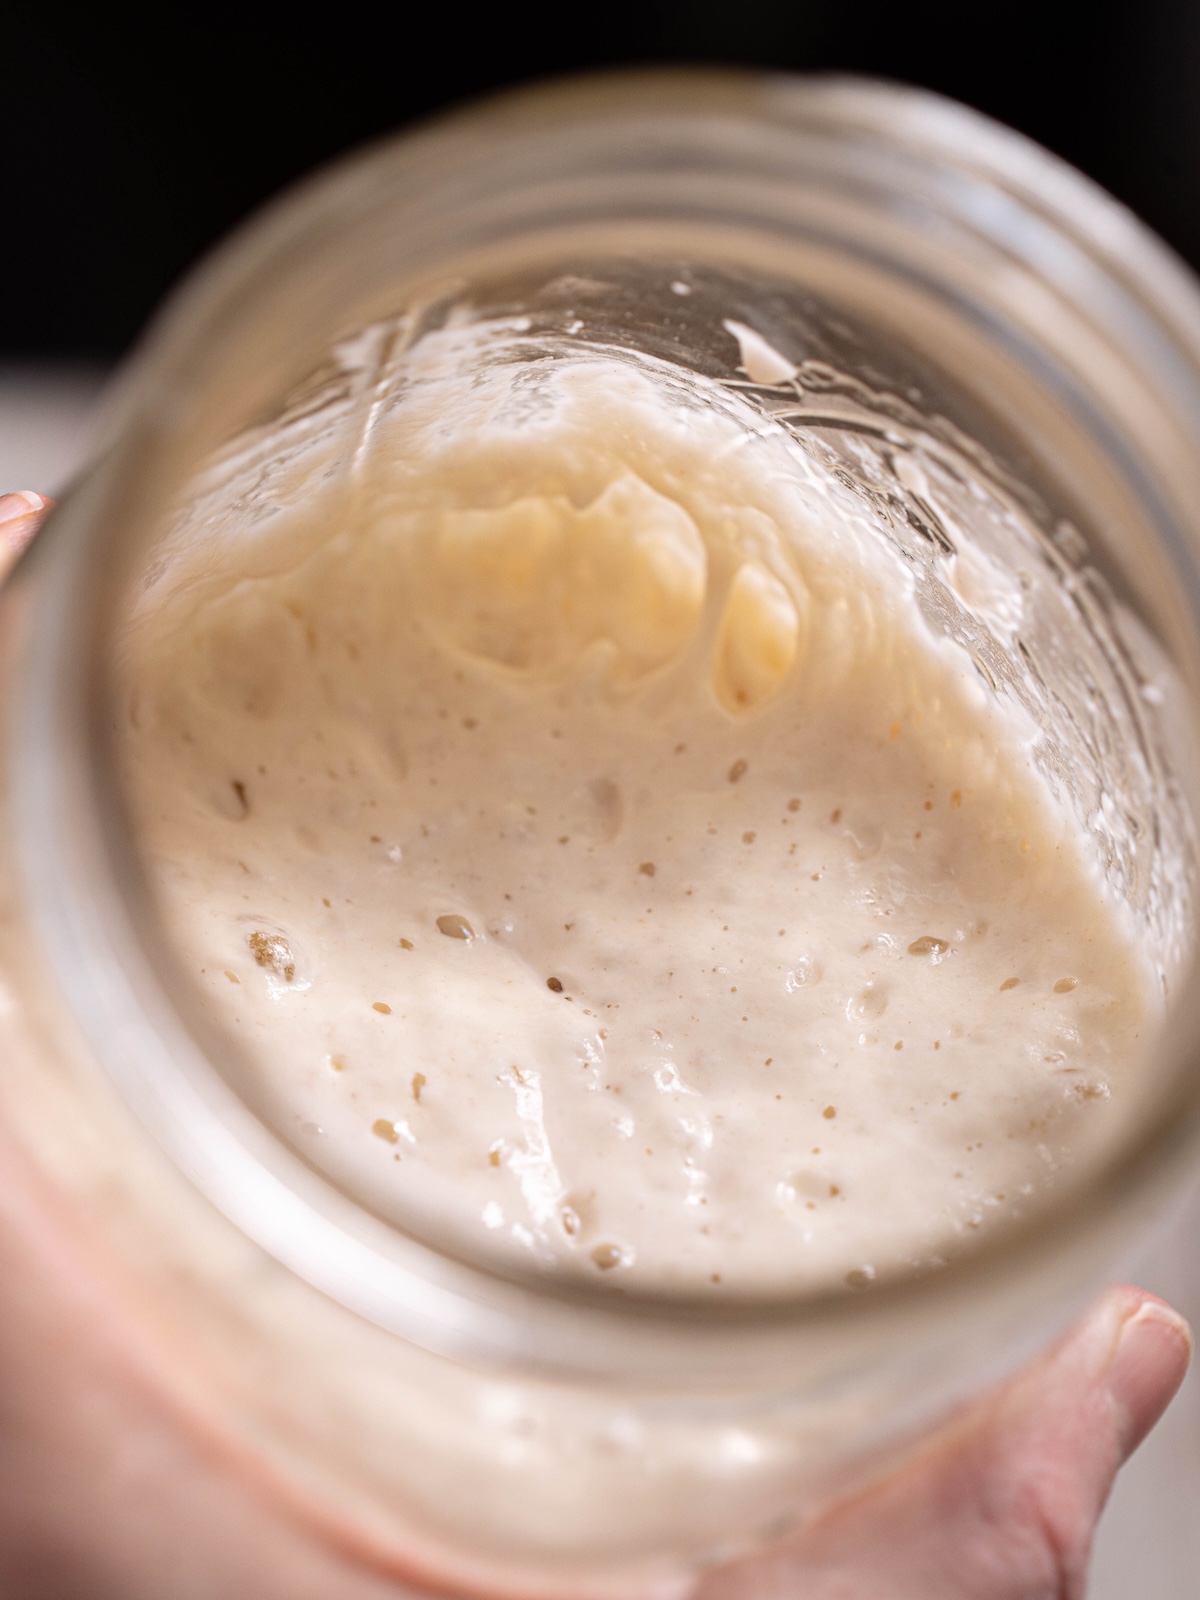
Every 24 hours, stir the mixture and wait. Bit by bit, you’ll see bubble activity start to increase. Somewhere along the way, your starter will make a big jump, nearly doubling in size. That’s when it’s ready to start feeding!
This can take some time, and temperature will make a difference. In a warm house, this first big rise may take as few as 5 days. In a colder house or in the wintertime, it may take a week or longer.
Once doubled: first feed
- After that first big rise, add 50 grams flour + 50 grams tepid water to your mixture. Stir well into a thick paste.
- Watch this mixture over the next 6–12 hours to see how it reacts. You want to see another considerable rise after this first feed.
So, how do you know when your starter is ready? You’re looking for the starter to make a significant rise in reaction to being fed.
If your starter:
- Grows in size significantly
- Looks bubbly and airy
- Smells pleasantly sour or beer-like
🎉 It’s ready!
If the reaction is weak or slow, wait another 12-24 hours, feed again, and repeat until you see a strong rise. This may take another 2-3 days. Sourdough is all about patience!
Tips for making your first starter:
- When feeding, use the same type of flour that you started with.
- Don’t forget to stir the mixture every day, or it may grow a layer of mold on top.
- Temperature will affect how long it takes to get going. Keep your starter in a warm place, but not on direct heat. The ideal temperature range is between 64°- 77° F (18°- 25° C).
Once your starter is ready, you can start using it to make sourdough. If you won’t be using it in a recipe right away, stick it in the refrigerator and feed it occasionally, about once a week.
After you make your first batch of sourdough bread, don’t forget to set aside some of the mother starter! Feed this bit of leftover starter, stash it in the fridge, and keep it alive for next time.
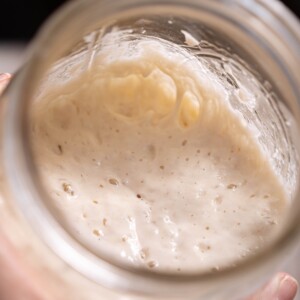
What’s normal (and what isn’t)
Early on, you may notice:
- A burst of bubbles in the first few days
- A lull where activity seems to stop
This is normal, as early bacteria will die off as the acidity increases. What you’re waiting for is lift — when the starter suddenly increases in size significantly, around days 5–7 in a warm house.
💡Tip: Stir your starter daily. Neglect can allow mold to grow.
How to feed & care for sourdough starter
Once your starter is active:
- Store your starter in the fridge if baking occasionally
- Try to feed it every 1–2 weeks
- Always feed after removing starter for baking
Basic feed:
- Equal weights flour + water + starter*
- Stir well, cover loosely, refrigerate or leave at room temp if baking soon
Before baking, feed your starter and let it become active and bubbly. This can take anywhere from 4-12 hours, depending on how mature your starter is and how warm the environment is. Once you’ve baked a few loaves, you’ll get the hang of how long your starter takes to activate.
Typically, I feed my starter before I go to bed the night before I want to bake something.
*Note: feeding your starter a 1:1:1 ratio of flour, water, and starter is referred to as “100% hydration”. It’s a pretty common feeding ratio and it’s what I like to use because it’s simple and gives the bread a good tangy flavor. Some bakers use different ratios. You’ll find what works for you as you go along your sourdough journey.
👉 Use your starter in my easy sourdough bread recipe to get your feet wet. Then, once you’ve mastered a basic sourdough, explore all my popular sourdough recipes for more inspiration.
What to do with sourdough discard
Every time you feed your sourdough starter, you’ll end up with some leftover starter, or “discard”. But just because we call it discard doesn’t mean it needs to be wasted! Use it in:
- Homemade crackers
- Pancakes & waffles
- Biscuits & scones
- Pie crust & pastries
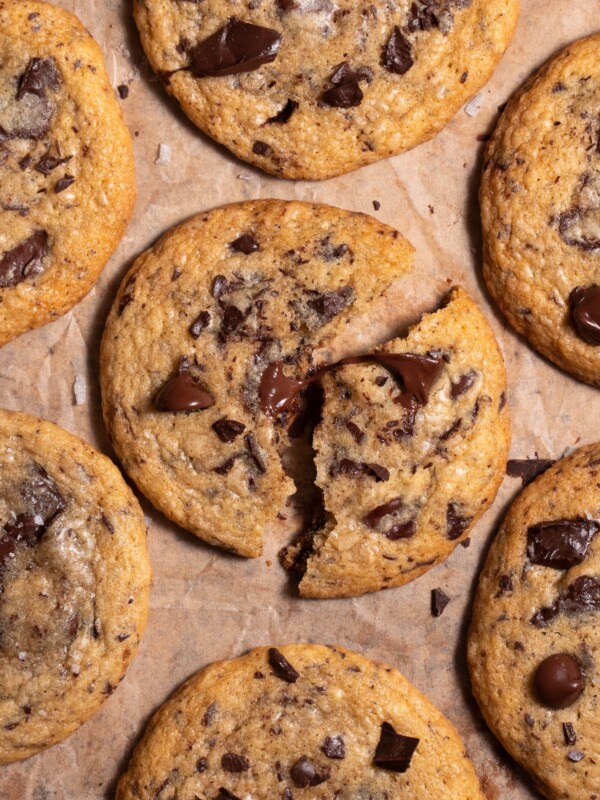
- Cookies (sourdough chocolate chip is my fave!)
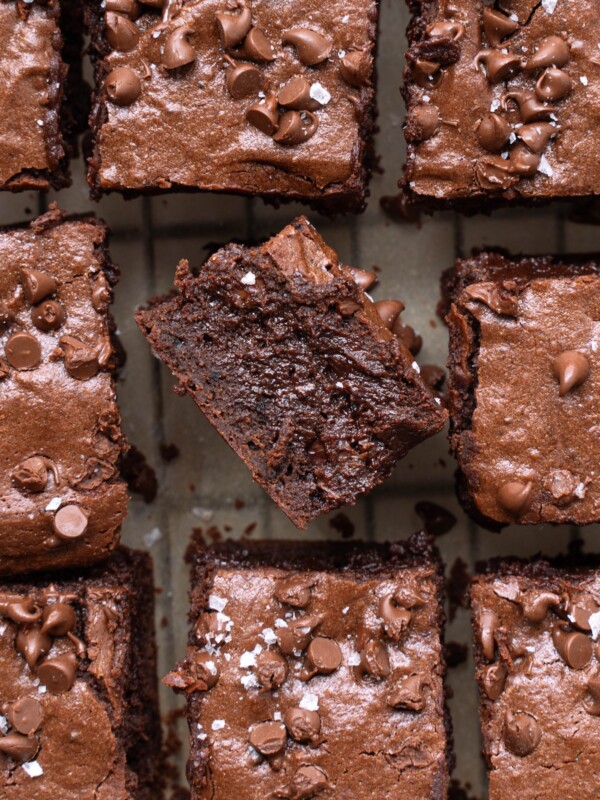
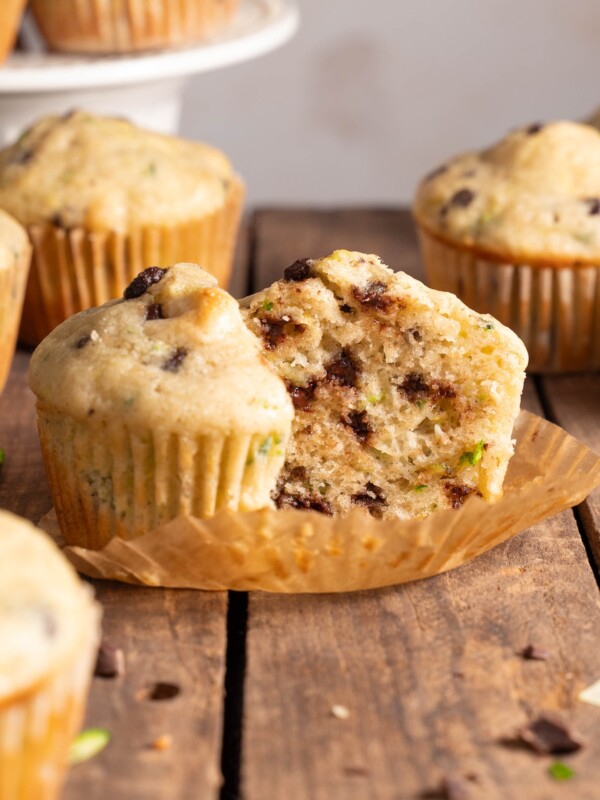
- Cakes & quick breads
- Your favorite savory bakes
Sourdough discard recipes

FAQ & troubleshooting sourdough starter
Usually at least 5 days, and possibly longer depending on temperature and flour choice.
Not necessarily. If it smells okay, shows no signs of mold, and has some bubbles, keep mixing it every day and waiting.
Discard your mixture and start over if you see mold (fuzzy, green, black, or pink growth) or if the mixture has a rotten smell.
Between 64°-70°F / 18°-25°C. Cooler temperatures slow the fermentation process.
Creating a sourdough starter is an act of patience and trust, but once it clicks, it opens the door to a whole new exciting world of baking. Be patient and curious, and don’t be afraid to experiment.
Once you’re ready to start baking, try some of these sourdough recipes!
Sourdough recipes
If you make your own sourdough starter using this guide, please leave a comment and star rating. I really appreciate your feedback. Thank you!
Sourdough Starter Recipe
Equipment
- Kitchen scale
Ingredients
- 50 grams flour*
- 50 grams lukewarm water
Instructions
Day 1: Mix
- In a clean glass jar, combine 50 grams flour and 50 grams water. Stir well until no dry bits remain. Scrape down the sides. Cover loosely with a lid or cloth (don't seal airtight).Let sit at room temperature (ideally 64–75°F / 18–24°C) for 24 hours.
Day 2: Stir
- After 24 hours, stir the starter thoroughly to redistribute moisture and yeast. Cover loosely and let sit another 24 hours.
Days 3-7: Keep stirring
- Every 24 hours, give the starter mixture another stir. You may see a few bubbles a couple days into the process that die off – this is normal. Cover loosely and wait another 24 hours, then stir again.When the mixture has a sudden significant increase in size (ideally doubling), it's ready to feed.
Feed
- Add another 50 grams flour and 50 grams lukewarm water to the jar. Stir well until smooth. Mark the starter’s height with a rubber band or marker. Cover loosely and watch over the next 6–12 hours.If the starter reacts to this feeding by rising significantly, looks airy and bubbly, and smells pleasantly sour, it's ready! Use to make bread or store in the fridge and feed again within a week.If the rise is weak or inconsistent, repeat this feeding process once every 24 hours until the starter reliably rises after feeding.
Notes
Did you try this recipe?
Be sure to leave a comment below!